Are you looking for an effective way to convert your GarageBand files to MP3? Converting music from one format to another is a common task for musicians and producers, so it makes sense that you would want to make sure your songs are in the most widely accepted format. Luckily, GarageBand makes it easy to export your projects as MP3s.
In this blog post, we’ll provide a step-by-step guide on how to convert GarageBand files into MP3s. We’ll also discuss the advantages of usig the MP3 format and why it’s important for musicians and producers to understand how the different formats work.
Converting GarageBand Files To MP3
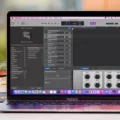
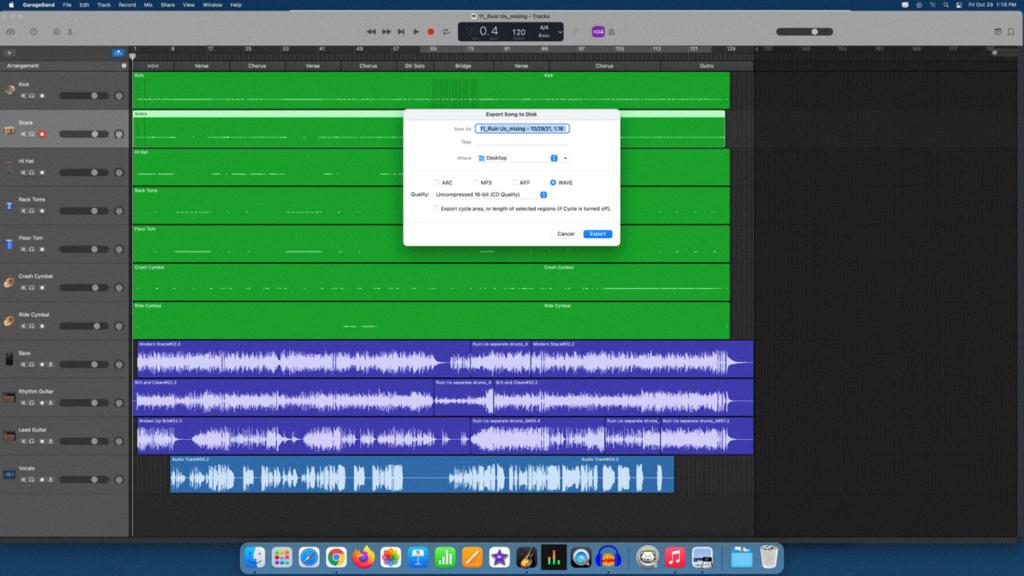
The fist step in converting your GarageBand project files into an MP3 is to open up the project in GarageBand. Once it is open, select ‘Share’ from the top menu bar and then select ‘Export song to disk’. This will open up a new window where you can choose where you want to save your file, what type of file you want it saved as, and what name you want it saved under.
For this example, we will be saving our project as an MP3 file so we need to select ‘MP3’ from the dropdown menu of available file formats. You can also choose other options such as AAC or AIFF if you prefer thse formats over MP3s. Once this is done, click ‘Save’ and your project will be converted into an MP3 that you can now share with others or use in other projects.
Advantages Of Using The MP3 Format
There are several advantages of using the MP3 format over other audio formats such as WAV or AIFF files. One of these advantages is that the smaller size of an MP3 file allows for faster downloads and streaming over slower internet connections when compared with larger WAV or AIFF files. Additionally, snce most audio players natively support playing back MP3s, users don’t have to worry about needing additional software installed in order for their device to be able play back the audio file properly.
Another advantage is that due to its smaller size, users can store more music on their devices without having to worry about running out of storage space quickly as they would with larger WAV or AIFF files. Finally, due its popularity and widespread support among audio players, many streaming services (such as Spotify) prefer users submit their music in the form of an MP3 rather than any other format if they wish their music to be distributed on these platforms.
Converting GarageBand Audio to MP3
To convert GarageBand audio to MP3, first open the project in GarageBand on your Mac. Then, go to Share > Export Song to Disk. Select a location to save the exported file from the Where pop-up menu, and choose MP3 as the format for the exported file. If you’d like to rename the file, select the name in the Save As field and enter a new name. Finally, click Save and your GarageBand audio will be converted and saved as an MP3 file.
Converting GarageBand to Music
To convert GarageBand to music, first make sure you have completed your song in GarageBand. Once that is done, click on the ‘Share’ menu and select ‘Export Song to Disk’. Then, choose your desired format; AAC and MP3 are compressed, smaller files, while AIFF (Mac compatible) and WAVE (Mac & Windows compatible) are uncompressed, higher-quality files. Once you have made your selection, enter a filename and folder location to save your song. When the export is complete, you will be able to play your GarageBand project as music on any device or platform that supports the selected file type.
Source: shakerlibrary.org
Saving Music from GarageBand
To save music from GarageBand, you must first export your project as an audio file. To do this, go to File > Export > Song to Disk and choose your desired file format (such as MP3). This will create a copy of the song in the chosen file format. You can then save this new file on your computer or any other desired storage device. Additionally, you may also want to save the GarageBand project itself in case you need to make changes to the song later. To do this, go to File > Save As and choose a name for the file and location whre it should be saved.
Exporting a Song from GarageBand to Apple Music
Exporting a song from GarageBand to Apple Music requires a few steps. First, you must make sure you have an Apple Music subscription. Then, open your GarageBand project and select the song you want to export. Tap the Share button in the top right corner of the screen, then select “Send Song to iTunes” from the list of options. You will be asked to enter a title for your track, ater which you can select the desired quality settings for exporting. Once the export is complete, you can find your track in iTunes. Finally, open Apple Music and log in with your account information. Select “My Library” from the left menu and select “Music” at the top of the window. Click “Add Music” and find your exported song from iTunes. Select it and click “Open” to import it into Apple Music.
Conclusion
In conclusion, converting GarageBand files to MP3 is a popular and efficient way to share your music with others. MP3 is a compressed audio format that can be quickly uploaded and downloaded, making it an ideal choice for sharing music online. Additionally, MP3 files are compatible with most devices and audio players. While AAC and AIFF are both higher quality than MP3, they are less practical for distributing music online due to their larger file size. Ultimately, the choice of format depends on your neds and preferences.

