The Apple Macbook Air is the perfect laptop for anyone looing to stay connected on the go. With its lightweight design and long battery life, it is ideal for travel, work, and entertainment. But how do you connect a wireless printer to your Macbook Air?
The first step is to make sure your printer has Wi-Fi capabilities. If it does, then you can easily connect it to your Macbook Air via the Wi-Fi network. To do this, go to System Preferences > Network and select the Wi-Fi connection that corresponds to your printer’s network name. Then click “Connect” and enter in the necessary information if required. Once connected, you will be able to print documents directly from your Macbook Air.
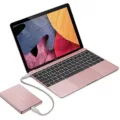
If your printer does not have Wi-Fi capabilities or if you are unable to connect via Wi-Fi, you can use a USB cable instead. First, plug one end of the USB cable into an available USB port on your Macbook Air and then plug the other end into the USB port on your printer. Once connected, you should see a prompt appear on your screen asking if you want to install any additional software required for printing. Select “Yes” and follow any additional instructions until finished.
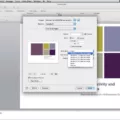
Once installed, open up any document or file that you would like to print from withn an application such as Pages or Word and select “Print” from the File menu at the top of the screen. Select “Printer” from within Print Settings and choose which printer you would like to use (the name should appear here). Finally, click “Print” in order for it to start printing out!
Connecting a wireless printer to a Macbook Air doesn’t have to be complicated or time consuming – just follow thse simple steps and you’ll be ready in no time!
Connecting a Wireless Printer to a MacBook Air
To get your Macbook Air to recognize your wireless printer, start by opening the System Settings. To do this, go to the Apple menu and select System Settings. Once you have opened the System Settings, click on the Printers & Scanners tab in the sidebar. If your printer is listed in the right-hand column of printers, select it. If it isn’t listed, click on the Add Printers, Scanners or Fax button to add it. After selecting your printer, you’ll be prompted to enter any login information associaed with it (if applicable). Once finished, you should be able to print wirelessly from your Macbook Air!
Source: techradar.com
Troubleshooting Macbook Air Printer Connection Issues
It could be that your Macbook Air is not properly connected to the printer. Make sure that all necessary cables or wireless connections are in order, and that power is getting to the printer. If everything looks okay, try turning the printer off and back on aain before attempting to reconnect your Macbook Air. If you’re still having trouble, it may be worth running a compatibility check to ensure that the printer and your Macbook Air are compatible with one another.
Compatible Printers for Macbook Air
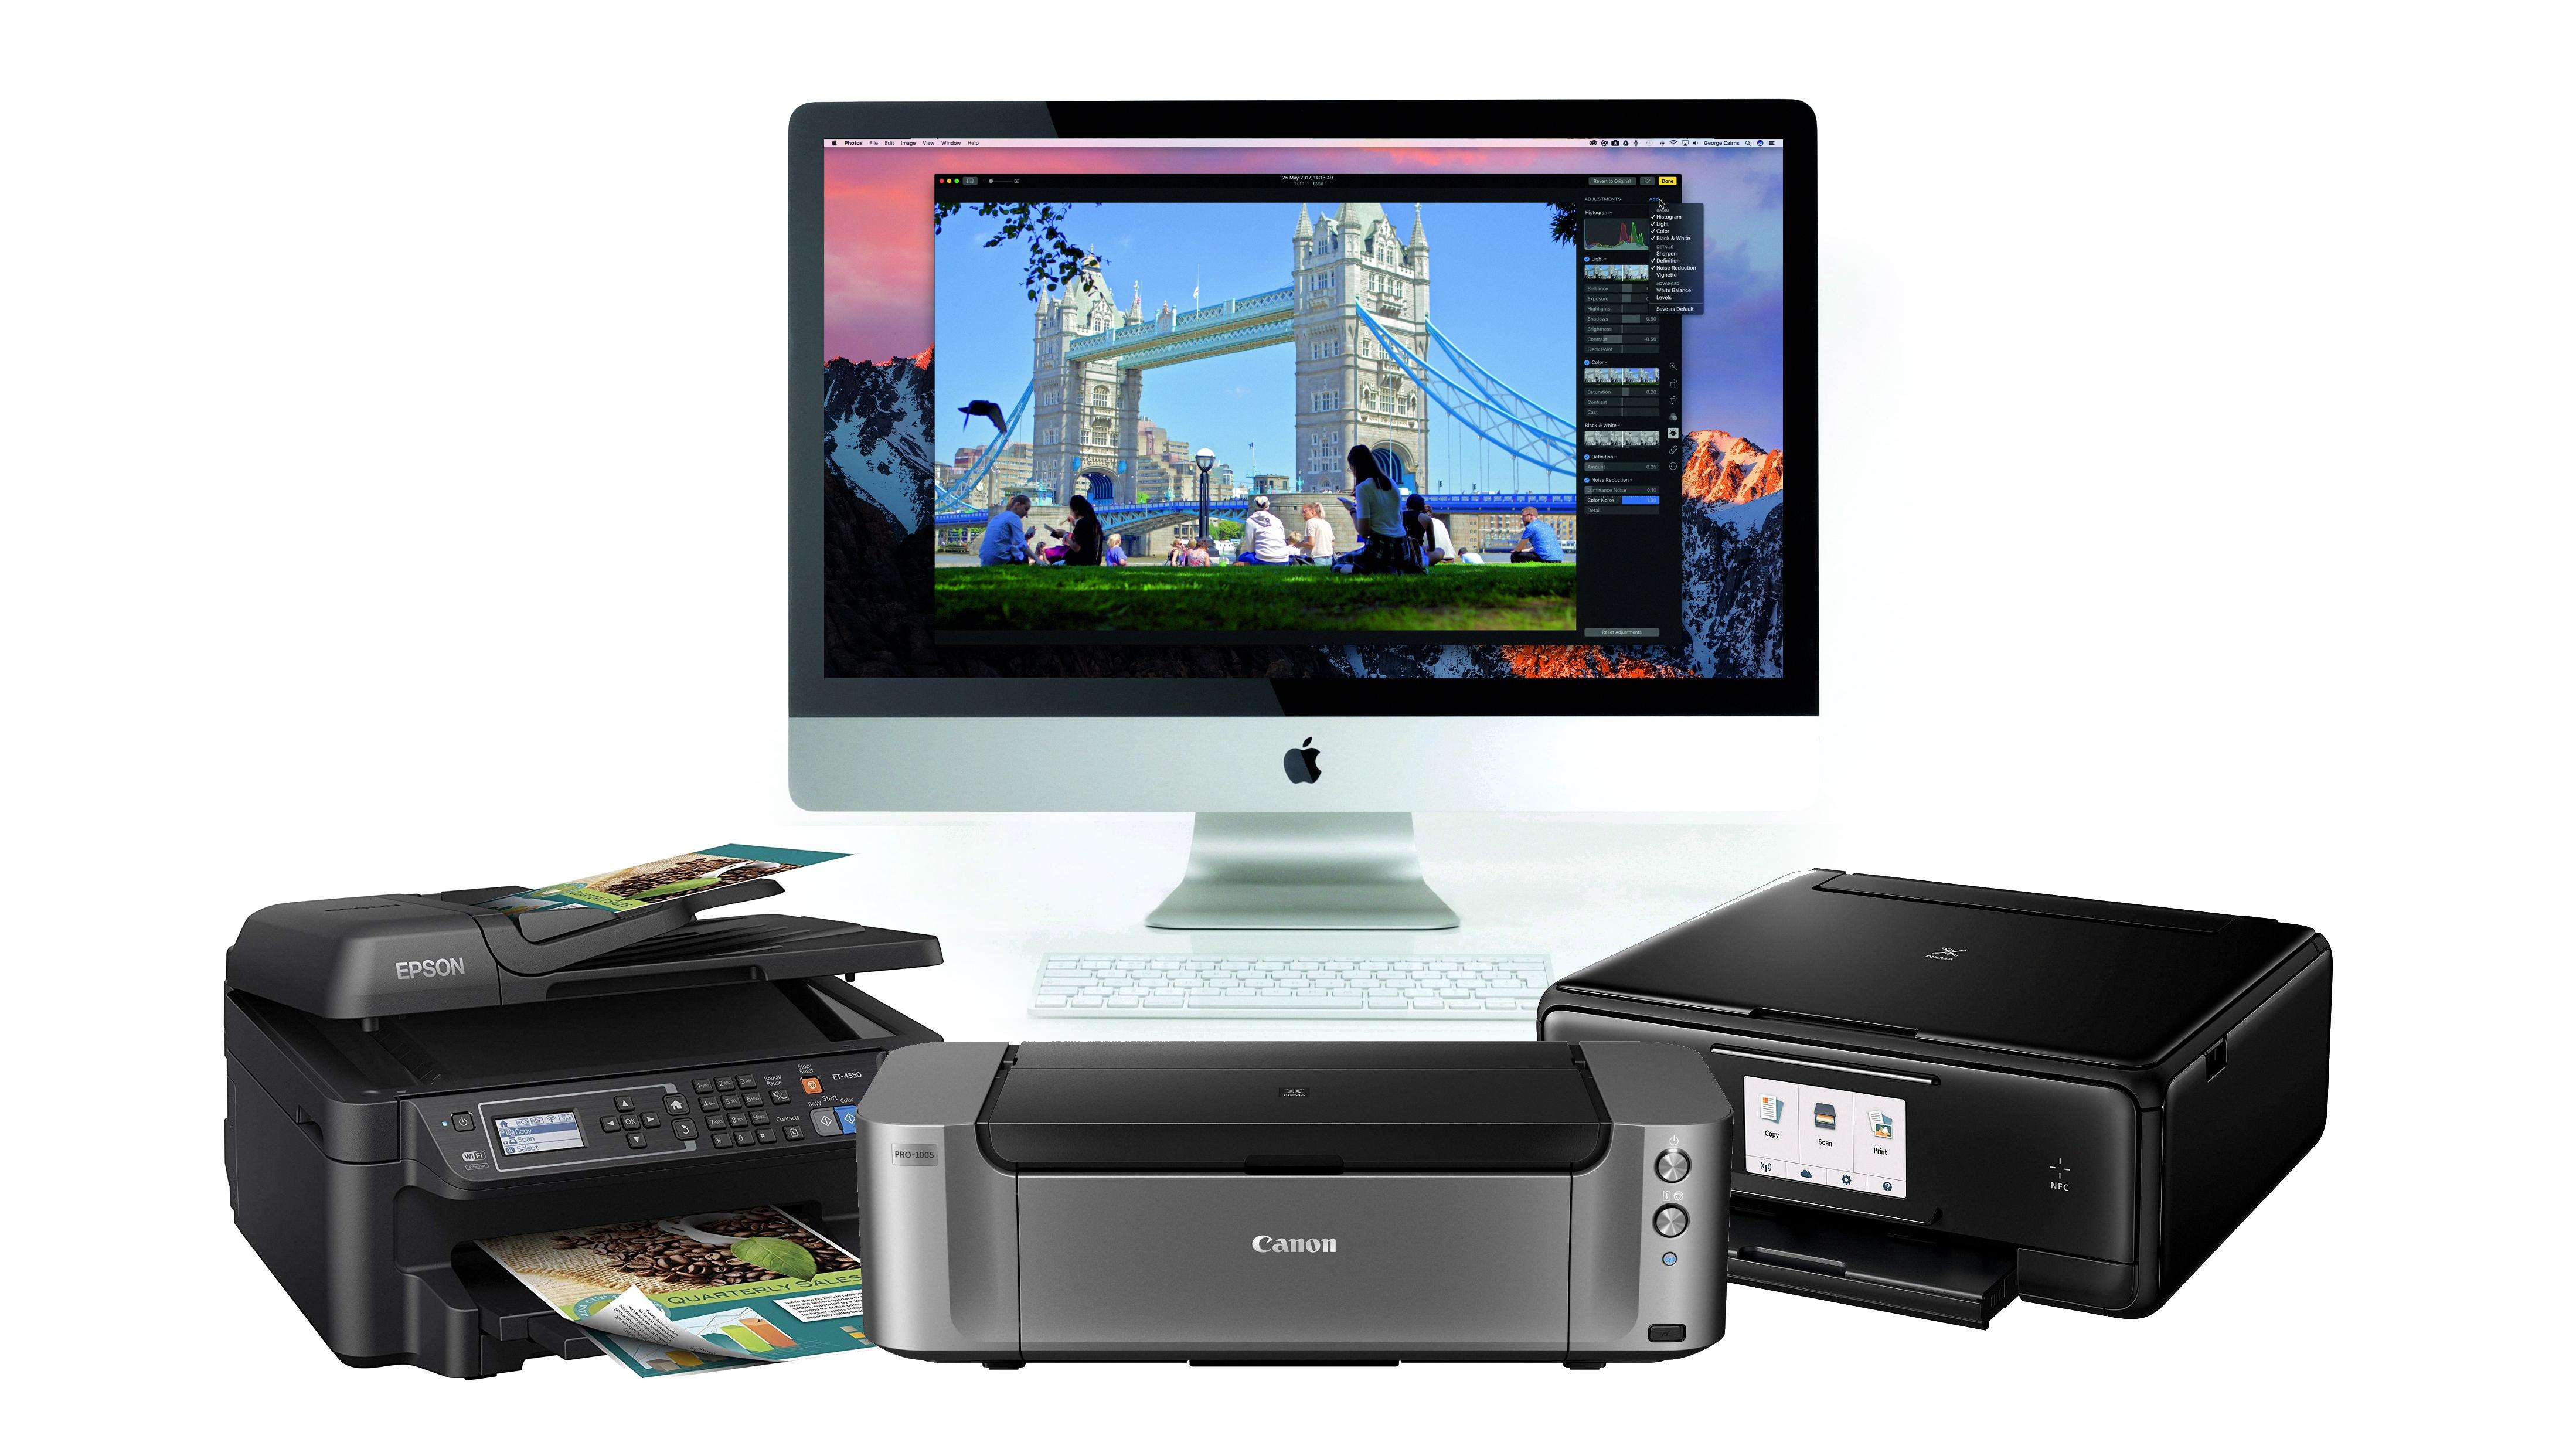
The MacBook Air is compatible with many different printers, including the HP Envy Inspire 7220e, Canon PIXMA TS7450, HP DeskJet Plus 4120, Epson Expression Premium XP-6100, and HP Envy Pro 6420. These printers can be easily connected to your Macbook Air via a USB cable or via Wi-Fi. All of thee printers offer excellent print quality and are user friendly. Additionally, they can all be used with both Windows and Mac operating systems. For users who need to print in large volumes, the Epson Workforce WF-110W is ideal as it offers up to 18 pages per minute printing speed.
Connecting a Macbook Air to an HP Printer
Yes, you can connect your Macbook Air to an HP printer. To do so, you need to make sure that both devices are on the same Wi-Fi network or use a USB cable to connect them. Once they are connected, you can open the app you want to print from and click File > Print. If your printer is already set up on your network or USB connection, no additional drivers will be needed.
Troubleshooting Wireless Printer Detection Issues
There are a few possible reasons why your wireless printer may not be detected. First, make sure that your printer is connected to the same Wi-Fi network as your computer. If it is, but still not being detected, check to see if there are any software updates available for the printer. If all else fails, try removing and re-adding the printer in Windows Settings > Devices > Printers & Scanners. This often gets things up and running again.
Adding a Printer That Is Not Showing Up
In order to add a printer that isn’t showing up, you’ll need to open the Windows Start menu and click on Settings. Then, select Devices and choose Printers & Scanners. Once you’re on this page, click Add a Printer. After selecting this option, you’ll be brought to the “Add Printer” screen with an option that says “The printer that I want isn’t listed.” Selecting this option will allw you to manually add a network printer in Windows 10 by entering the name of your printer and its port information. If you’re unsure of what your port information is, contact your system administrator or printer manufacturer for help locating it.
Adding a Printer to a Mac That Does Not Show Up
If your printer isn’t showing up after connecting it to your Mac, you may need to reset the Mac printing system. To do this, first make sure that you have connected your printer to your Mac with a USB cable (or wirelessly). Then open System Preferences from the Apple menu and click on Print & Scan. Click the “+” at bottom left of the Print & Scan preference pane and let Apple deliver the software over the internet. This should help you add your printer successfully to your Mac.
Enabling AirPrint on a Macbook Air
To enable AirPrint on your MacBook Air, the first step is to make sure that your printer is connected to the same Wi-Fi network as your Mac. Once that’s confirmed, open a document on your Mac and choose File > Print in the application you’re using. Then, select the Printer menu and choose your AirPrint printer. After that, select any othr desired print options and then click Print to send it to the printer.
Checking If a Mac Is Connected to a Network Printer
To check if your Mac is connected to a network printer, open the System Preferences app, then click Printers & Scanners. If you see your printer listed there, it means that your Mac is connected to it. You can also try printing a document to check if the connection is working properly. If you’re able to successfully print something, then your Mac and printer are connected.
Compatibility of HP Printers With Mac
No, not all HP printers work with Mac. However, most of them do. To check if your HP printer is compatible with Mac, you can visit the HP Software and Driver Downloads page to see if a driver is available for your model. AirPrint may also be available as an option for some models; this allows you to print without needing to download or install drivers. If you have any questions or need help getting your printer set up with your Mac, plase contact HP Customer Support for assistance.
Troubleshooting Mac-HP Printer Connection Issues
It’s possible that your Mac isn’t connecting to your HP printer because the printer is not powered on, or because the printer is not properly connected to your Mac. To resolve this issue, power down the printer and disconnect it from your Mac (if applicable). Once you have done this, re-add the printer in System Preferences -> Printers & Scanners. If this fails to connect your printer, then it is possible that there is an issue with the hardware/software of eiter your Mac or printer. In this case, we recommend consulting a certified technician to help diagnose and resolve any potential issues.
Connecting an HP Printer to a Mac
To get your HP printer online on your Mac, you will need to frst add the printer to your Mac. To do this, click the Apple menu in the top left corner of your screen and then select “System Preferences”. Once you have System Preferences open, click “Printers & Scanners” and then click the “+” icon in the bottom left corner. In the Add Printer window, select the IP icon and type the manual printer IP address in the Address field, and then select AirPrint from the Protocol drop-down menu. Wait for the Mac to connect to the printer. Once it is connected, your HP printer should now be online on your Mac.
Troubleshooting HP Printer Issues on Mac
The issue of HP Printers not working with Macs is likely due to a certificate issue. The printer driver software installed on the Mac requires a valid certificate in order to function properly. In some cases, the certificate has been revoked, or not recognized by macOS, resulting in the printer not working as expected.
To resolve this issue, you will need to ensure that the printer driver software has an up-to-date and valid certificate. This can be done by downloading and installing the latest version of HP’s Printer Driver software from their website, or by contacting HP support for assistance. Once the new version of the software is installed, try printing again to confirm that it is now working correctly.

