Do you want to connect a laptop to an RCA projector? If you can’t figure out how to complete an RCA projector setup, this laptop to projector connection guide is for you. Today, I will be showing you how to connect a laptop to an RCA projector for presentations in offices, classrooms, or events. With the right equipment, the process is quite simple. Let’s get into it!
Equipment Needed
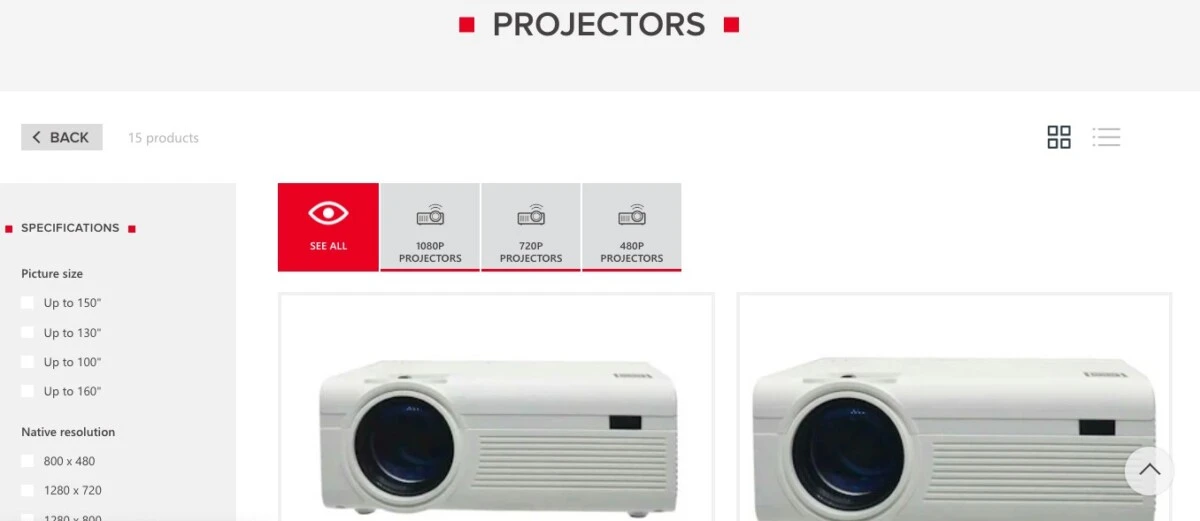
The first step is to check which input ports your projector has. RCA projectors typically have HDMI, AV, VGA, or USB ports. Once you find out which ports your projector has, it’s time to check which ports your computer supports, so you can figure out which projector setup tools you need.
For example, if the projector has HDMI ports, you will need an HDMI cable for your projector. If your laptop has an HDMI port, you can simply use an HDMI cable to connect the computer to the projector directly. However, if your laptop only has a USB port, you will need a USB-to-HDMI adapter so you can connect the two devices.
Step-by-Step Guide to Connect Laptop to RCA Projector
Follow this short laptop to HDMI projector setup guide to connect your laptop to your projector:
- Plug the HDMI cable into the laptop. If necessary, use a USB-to-HDMI adapter.
- Connect the other end of the cable into the projector.
- On the projector, HDMI input should be selected. There will usually be an input button you can press to select HDMI as an input source.
- Select your desired laptop projector settings, as explained in the following section.
If the projector uses a different type of port, such as VGA or AV, the process is similar. Just use an AV or VGA cable instead of an HDMI cable.
If the projector uses a USB port, you can usually connect the laptop to the projector directly with a USB cable.
Configuring Display Settings on Your Laptop
Next, configure the projector display in your laptop’s screen mirroring settings. On Windows, press the Windows key + P to select from different projector display options. You can either duplicate or extend the screen to your projector.
The difference is that when you duplicate the screen, the projector will show exactly what the screen is showing. When you extend the screen, the projector will act as a second monitor extending your existing screen, which will now be split in half between your laptop’s display and the projector.
Similarly, on a Mac, you can go to System Settings > Displays and select the external display to choose between mirroring and extending the screen.
Troubleshooting Connection Issues
Let’s troubleshoot HDMI connection issues and other laptop to projector troubleshooting issues you may face.
The most common problem is no signal. The most common “projector no signal” fix is to ensure that all cables are securely connected.
Also, make sure that the cables are not faulty; you can try different cable and adapters to check if that is the case. Of course, you will need to make sure that the cable is inserted into the correct ports on both your PC and projector.
Try restarting both your laptop and your projector. Also, make sure the correct input source is selected on the projector.
If you are having audio issues, check the cables as well. You should also ensure that the volume is turned up on your laptop.
If the projector shows a distorted display, the problem may be that you have a faulty cable, so try another cable.
If your projector doesn’t turn on, make sure it is connected to a power source or has sufficient battery power, depending on the model.
Alternatives for Wireless Connection
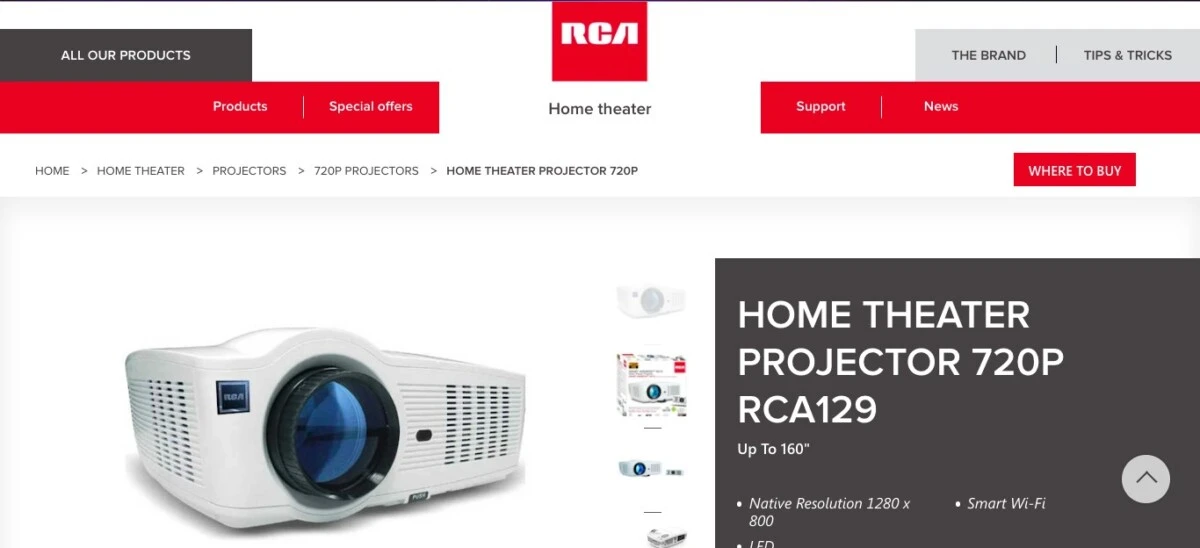
Some projectors support Wi-Fi, which means you can either connect it to your laptop over a wireless network or connect the projector directly to the internet.
For example, the RCA RPJ129 projector supports a built-in Android platform and Wi-Fi support. You can download Netflix, for example, and stream it via the projector.
Some projectors from certain brands may also offer the possibility of a wireless laptop projector connection over Bluetooth. A Bluetooth screen mirroring projector is a great wireless presentation tool. You will need to pair the projector with your laptop in your laptop’s Bluetooth settings, which will allow you to project from your laptop’s screen.
Conclusion
We hope this guide on connecting a laptop to an RCA projector was useful. You can now do your projector setups for your presentations with ease. We also showed you how to troubleshoot projector issues, such as the common no signal issue. From now on, using your RCA projector will be a breeze!

