If you’re having trouble ejecting a CD or DVD from your Macbook Pro, don’t worry—you’re not alone. This is a common issue that can happen for a variety of reasons. In this blog post, we’ll walk you throuh the steps to troubleshoot and resolve the issue so that your CDs and DVDs can eject properly.
First, try one of these methods to get your CD or DVD to eject: hold down the eject key; drag the disc icon to your Mac’s trash bin; right-click on the disc icon and select eject; press Command > E; type the command “drutil tray eject” and press the Return key. If none of these methods work, you may need to reboot or turn off your computer. This will close all programs and processes to make sure no programs are using the files on the disk, whih should allow it to be ejected properly.
If you’re still haing issues at this point, there may be a hardware problem with either your Macbook Pro or with the disc itself. To check if there is a hardware issue, you can insert another disc in your drive and see if it works as expected. If another disc works properly but yours doesn’t, then there may be an issue with the specific disc itself—in which case you should contact its manufacturer for help.
If other discs don’t work either, then there may be an issue with your Macbook Pro’s optical drive itself—in this case, you should contact an Apple-certified repair center for help.
We hope this guide has been helpful in getting your CD or DVD to eject properly from your Macbook Pro! If you have any other questions about troubleshooting your Macbook Pro’s optical drive, feel free to contact us for more help!
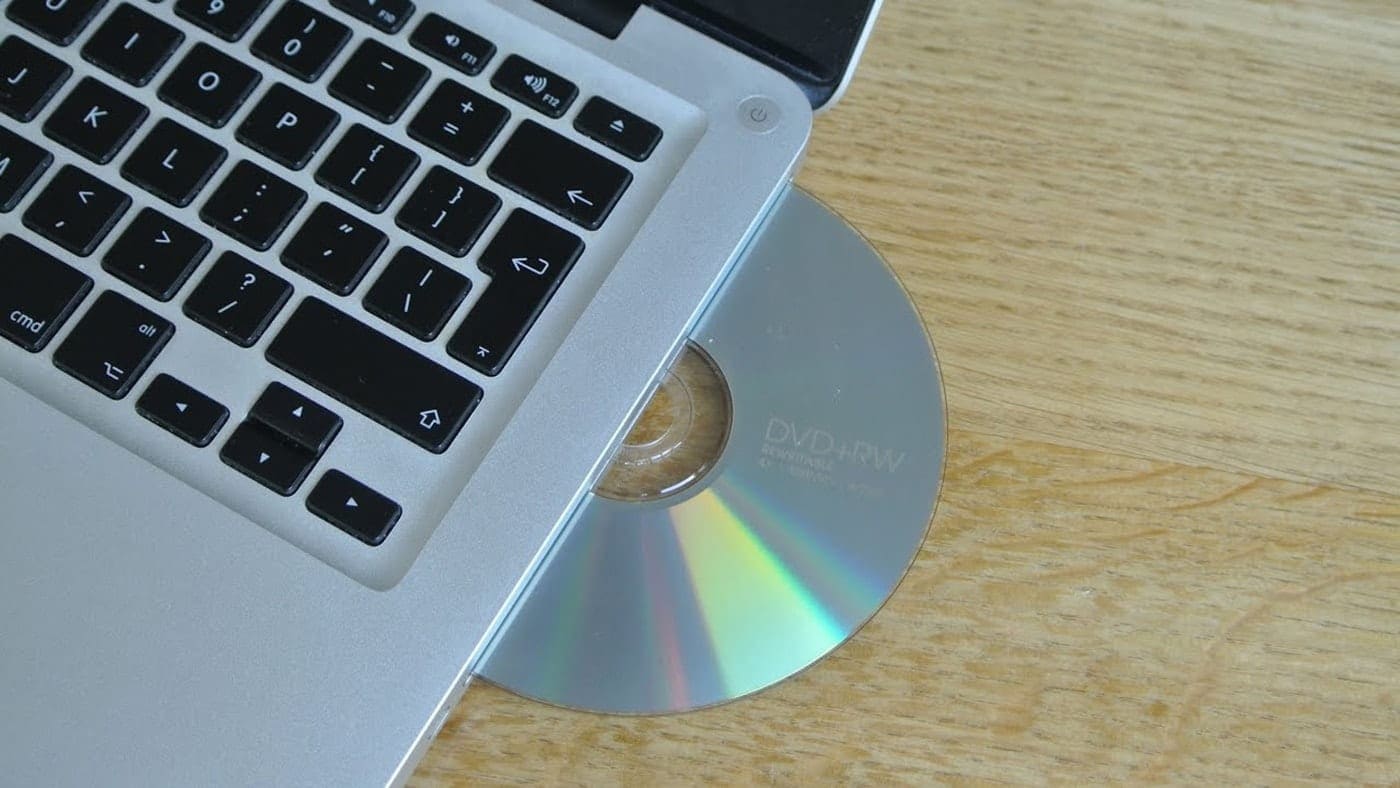
Manually Ejecting a CD from a Macbook Pro
Manually ejecting a CD from your Macbook Pro is easy and straightforward. To do so, you can use one of the followig methods:
1. Hold down the eject key on your Macbook Pro’s keyboard for a few seconds. This shold automatically eject the CD.
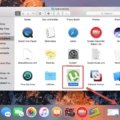
2. Drag the disc icon to your Mac’s trash bin.
3. Right-click on the disc icon and select “Eject”.
4. Press Command+E on your Mac’s keyboard. This will open a dialogue box prompting you to confirm that you would like to eject the CD; click “Eject” to proceed with the process.
Once you have successfully ejected your CD, you can safely remove it from your computer and store it away for future use if desired!
Forcing Ejection of a CD on a Mac Using Terminal
To force eject a CD on a Mac using Terminal, open the Terminal application (usually found in the Applications > Utilities folder). Type “drutil tray eject” and press Return. This should caue the disc to be ejected from the drive without displaying a confirmation message.
Troubleshooting Issues with Ejecting a Disk
It is possible that your disk cannot be ejected because there are still files in use by programs and processes on your computer. To eject the disk, you must make sure that all programs and processes are closed so that no files are being used from the drive. You can try rebooting or turning off your computer to make sure all programs and processes are closed and then attempt to eject the drive again.
Ejecting a CD from a Mac Using a Keyboard Shortcut
The keyboard shortcut to eject a CD from a Mac is to press and hold the F12 key. This shortcut works on any keyboard, including those designed for use with a Windows PC. Some Apple keyboards may also have an eject key located in the upper right corner of the keyboard; if so, simply press this key to eject the CD or DVD from the drive.
Ejecting a CD from a Laptop Without a Button
If your laptop doesn’t have a dedicated eject button, you can still eject the CD by using File Explorer. First, open File Explorer from the Start menu. Then, locate the icon for the disc drive with the CD you’d like to eject in the Computer window. Right-click on this icon and click Eject. The disc tray shuld open, allowing you to remove your disc.

