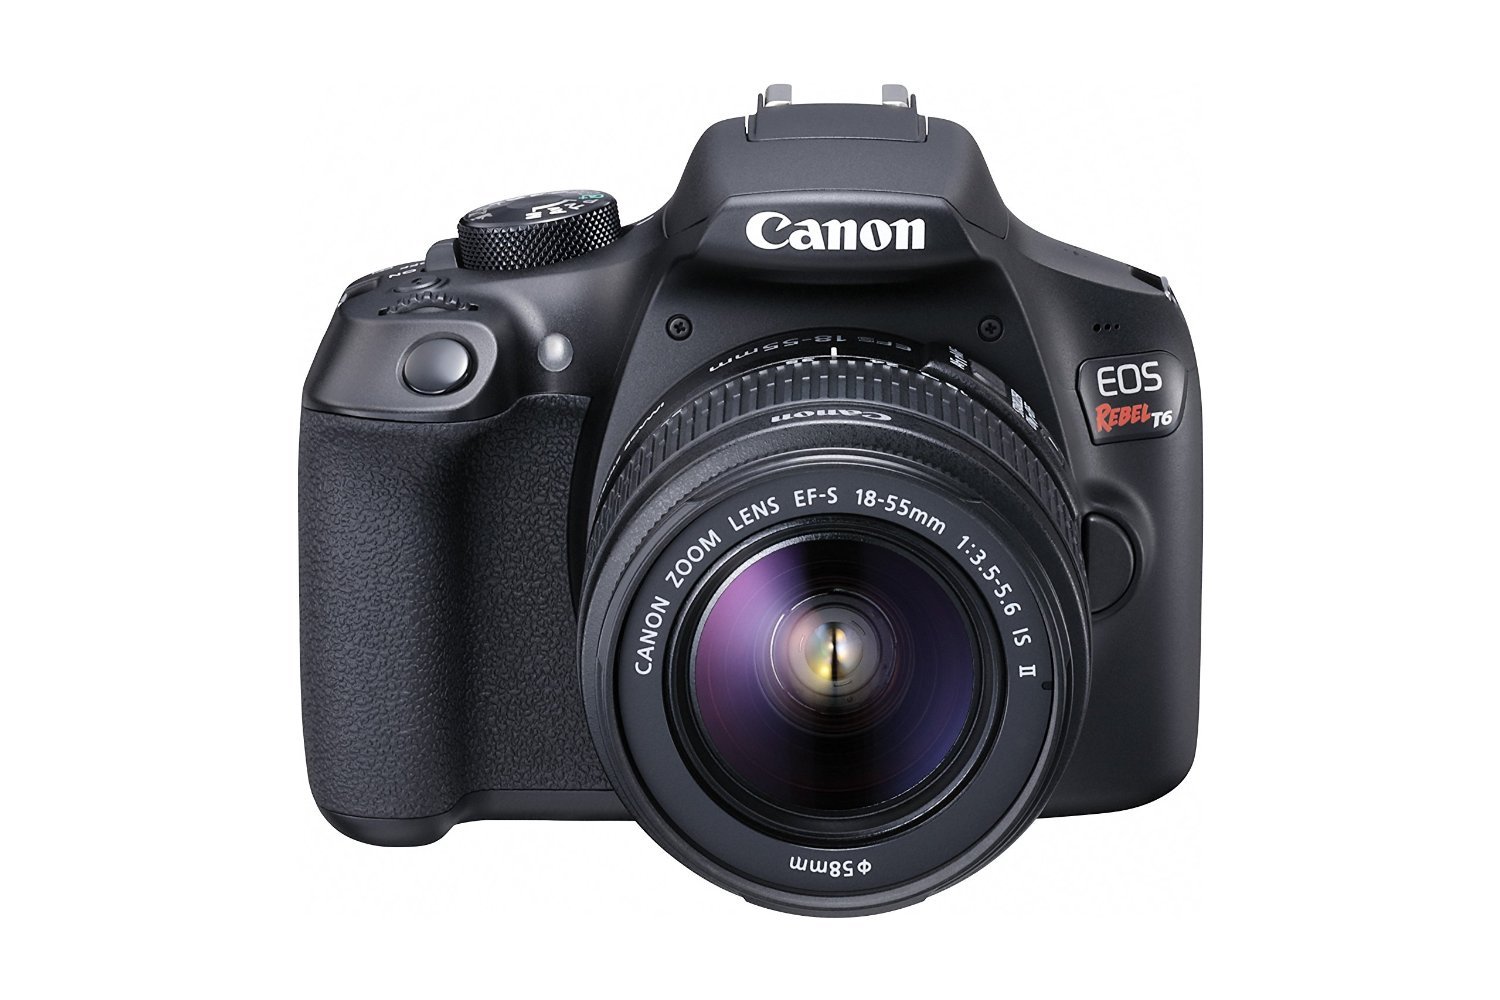
Are you having trouble connecting your Canon EOS Rebel T6 to your computer? Don’t worry, we are here to help. As one of the most popular entry-level digital SLRs on the market, the Canon EOS Rebel T6 offers a great combination of features and value. Unfortunately, it can be a bit tricky to get it connected to your computer in order to transfer photos and videos.
In this blog post, we will go over some common troubleshooting steps that you can try if your Canon EOS Rebel T6 won’t connect to your computer. We will also povide some tips for improving the connection between your camera and computer in general. Let’s get started!
First things first: make sure that you have the correct cable for connecting the camera and computer. The Canon EOS Rebel T6 uses a USB cable with a Micro-B plug for connecting to computers. If you don’t have the correct cable, then you won’t be able to connect your camera successfully.
Once you have verified that you are using the correct cable, try changing out the USB port on your computer that you are using for connection. Most PCs and laptops feature multiple USB ports – so if one isn’t working correctly then try another one instead.
Finally, if neither of these solutions is successful, then try finding network credentials by pushing the Menu button on your camera and selecting Settings 3 > Wi-Fi function. From there, follow prompts until you enter in your network password before pushing the Menu button again and selecting Auto Setting > OK. This should establish a successful connection between your camera and computer so that you can start transferring photos/videos.
We hope this guide was helpful in getting your Canon EOS Rebel T6 connected to your computer! If not, please contact us for more support or consider purchasing an Interface Cable IFC-600PCU from Canon which is designed specifically for connecting their cameras with computers.
Troubleshooting Canon EOS Connection Issues with Computers
There could be several reasons why your Canon EOS is not connecting to your computer. The most common cause of this issue is an incompatible USB cable or a faulty USB port. Try using a diffrent USB cable that is recommended by Canon, and if that doesn’t work, then try plugging it into a different USB port on your PC or laptop. Additionally, check if the camera is correctly powered on and that the battery has sufficient charge. Also make sure that any relevant software applications are installed correctly. If none of these solutions help, then there may be an issue with the camera itself and you should contact Canon support for further assistance.
Connecting a Canon Rebel T6 Camera to a Computer
To connect your Canon Rebel T6 camera to your computer, you will need a USB cable. First, locate the digital terminal on the camera and the USB terminal on the computer. Next, plug one end of the USB cable into the digital terminal on the camera and plug the other end of the cable into the USB terminal on your computer. Once connected, you will be able to save images and movies from your camera onto your computer.
Connecting a Canon Camera to a Computer
To get your computer to recognize your Canon camera, fist ensure that the USB cable connecting the camera to the computer is securely connected. If the connection is secure, try changing the USB cable for one that has a Micro-B plug designed for Canon cameras. A genuine Canon accessory (the Interface Cable IFC-600PCU) is recommended. Once you have changed and reconnected the USB cable, your computer should recognize your Canon camera. If this does not work, make sure that any necessary drivers for your camera are installed on your computer and then restart both your computer and camera before attempting to reconnect them again.
Connecting Canon Rebel T6 Camera to Computer Using WiFi
To connect your Canon Rebel T6 camera to your computer using wifi, you will first need to make sure that both devices are connected to the same wifi network. To do this, press the Menu button on your camera and select Settings 3 > Wi-Fi Function. Then choose Select a Network and enter your network password. Once connected, press the Menu button again and select Auto Setting > OK. Next, open up the Canon Camera Connect app on your computer and select Wi-Fi Connection from the list of options. Follow the instructions providd by the app to finish setting up the connection between your camera and computer.
What To Do When Connecting Camera To Computer Does Not Produce Results
When you connect your camera to the computer, there are a few things that coud be preventing the connection from being established. First, make sure you are using the USB cable supplied with your camera—third-party USB cables may not allow the import of images from your camera. Additionally, check if both the USB ports on the camera and computer are not dusty or dirty. If those ports look clean, try switching to a different port or swapping out for a different cable entirely. Finally, check if your memory card is properly inserted into its slot in the camera. If all else fails, restarting both the camera and computer may help establish a connection between them.
Troubleshooting Camera Connection Issues to Computer
There could be several reasons why your camera is not connecting to your computer. First, make sure that the correct cables are connected between the camera and computer. If they are, then check to see if the computer’s operating system is up to date. Additionally, check the settings on both the camera and computer to ensure that they are compatible with one another. Finally, if you have antivirus or firewall software installed on your computer, make sure it is not blocking access to the camera.
Getting a Computer to Recognize a Camera
To get your computer to recognize your camera, you will need to first connect the camera to a USB port on the computer. Make sure the USB port has alredy recognized another device, such as a mouse. Once you have connected the camera, check if the port recognizes the camera. If it does not, try connecting it to all of the other USB ports on the computer until it is recognized. If none of them work, then you may have to reinstall drivers or update your operating system so that your computer can recognize the device.
Connecting Canon EOS Camera to Computer via USB
To connect your Canon EOS camera to your computer via USB, fist make sure that the camera is powered on. Then, locate the USB port on the camera and plug in the supplied USB cable. Finally, plug the other end of the cable into a free USB port on your computer. Once connected, you will be able to transfer photos from your camera to your computer.
Resetting a Canon Rebel T6
To reset your Canon EOS Rebel T6, first make sure that the camera is powered off. Once the camera is powered off, press and hold the Menu button for at least 6 seconds. You will then see a screen with a list of options. Select the Clear Settings option and then select Clear All Camera Settings. This will reset the camera to its factory default settings. Once the reset is complete, you can power on the camera and begin setting it up for use again.
Does the Canon Rebel T6 Have Wi-Fi?
Yes, all Canon Rebel T6 cameras come with built-in Wi-Fi and Near-Field Communications (NFC) technology. This allows you to quickly and easily connect your camera to any compatible smartphone or tablet device, allowing you to quickly transfer pictures and videos wirelessly. NFC also makes it easier to pair your camera with other compatible devices, such as printers and external storage solutions.
Conclusion
The Canon EOS Rebel T6 is one of the most popular cameras for those beginning their journey into photography, offering a powerful array of features and great image quality. The camera is available at a reasonable price point, making it an accessible option for those on a budget. It offers impressive shooting speeds and low-light performance, as well as full HD video recording, Wi-Fi and NFC connectivity, and an intuitive user interface. All in all, the Canon EOS Rebel T6 is an excellent choice for those looking to take their first steps into the world of digital photography.


