If you want to boot your Mac Air from a USB drive, it can be a bit tricky if you don’t know the right steps. But don’t worry! We’re here to walk you through the process and get your system up and running in no time.
Before we begin, make sure that you have an external USB drive that is compatible with your Mac Air. You can find this information on Apple’s website or by calling Apple Support. Once you have a compatible drive, follow the steps below:
1. Connect the USB drive to your Mac Air and turn on the computer.
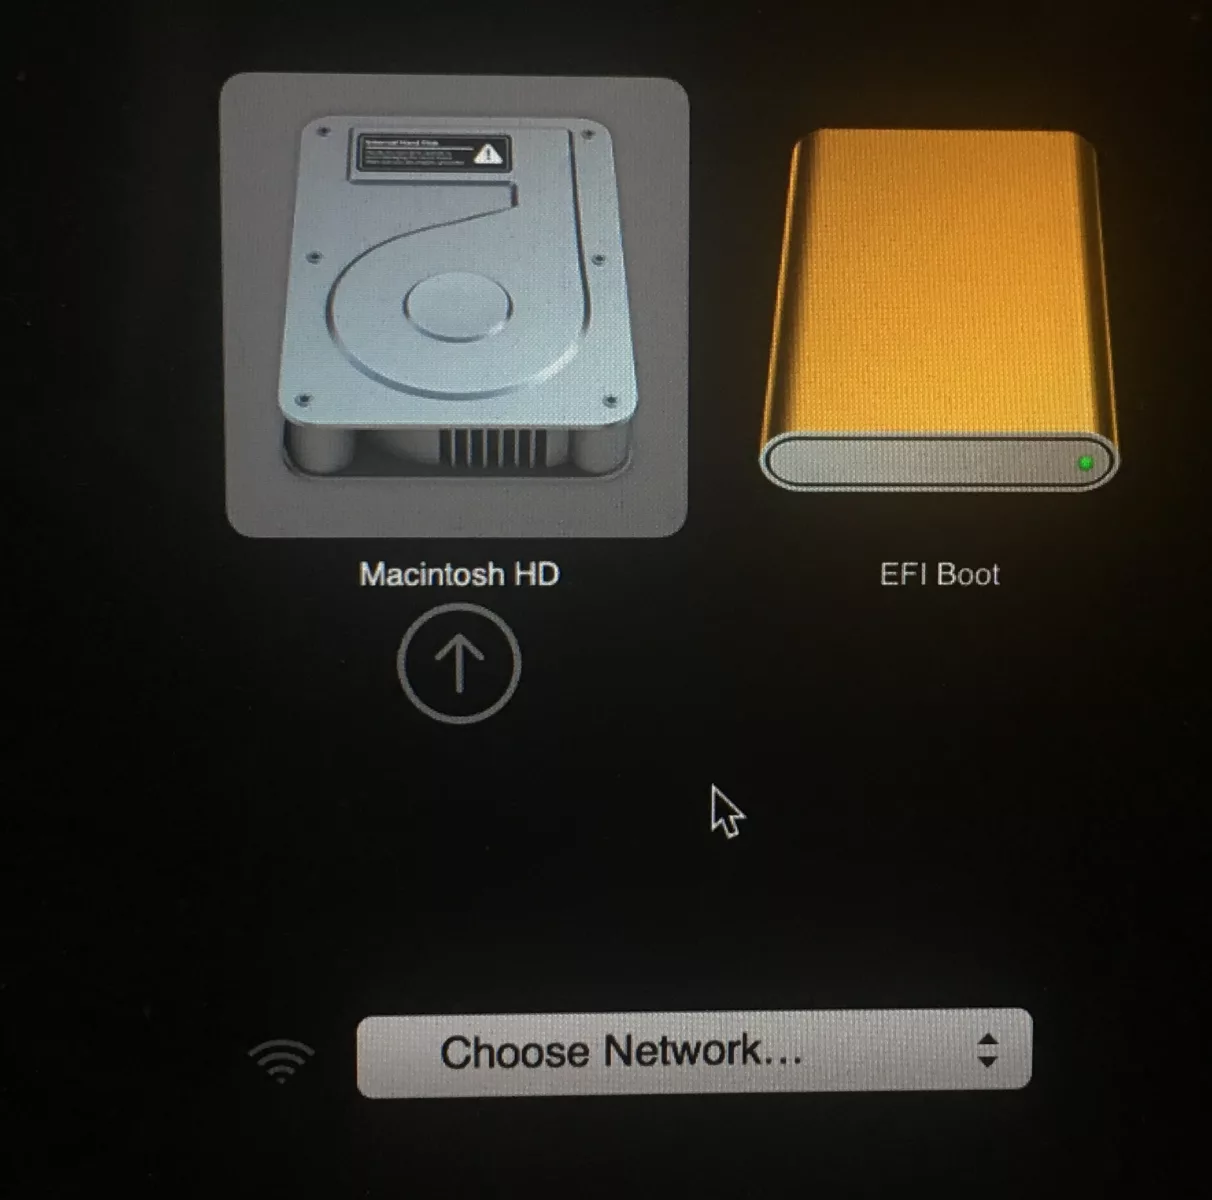
2. When the startup screen appears, press and hold down the “Option” key on your keyboard. This will bring up a list of available startup disks to choose from.
3. Select the USB drive as your startup disk and press “Enter” on your keyboard to continue with the boot process.
4. The computer will now begin booting from the USB drive instead of its internal hard drive.
5. Once it has finished booting, you may be asked for a username and password depending on how you configured your settings before connecting the USB drive. Enter in thee credentials when prompted and then you should be able to log in normally just like any other time when using your Mac Air.
And there you have it! You now know how to boot your Mac Air from a USB drive whenever necessary – whether it’s for an update or just running some diagnostic tests on your system! Just remember to always keep backups of all important files before attempting any major changes like this so that no data is lost in case something goes wrong dring setup or installation processes..
Booting a MacBook From USB
To boot a MacBook from USB, you will need to power on the system and press and hold the Option (Alt) key on the keyboard. Once the computer starts, you sould be presented with a selection of startup disks. Select the USB drive as your startup disk and the system will begin to boot from it. Make sure that the USB drive is properly inserted into a USB port before beginning this process.
Accessing the Boot Menu on a MacBook Air
To get to the boot menu on a MacBook Air, start by powering on your Mac and then press and hold the power button as it starts up. Release the power button when you see the startup options screen, which should include your startup disks and a gear icon labeled Options. Clicking this Options icon will bring you to the boot menu, where you can select from varios startup options such as “Safe Boot” or “Verbose Mode”. You may also need to access this menu if you want to choose a different startup disk or troubleshoot an issue with your Mac.
Installing MacOS on a MacBook Using a USB
To install macOS on your MacBook from a USB drive, you will need to first format the USB drive. To do this, open Disk Utility and select the USB drive in the sidebar. Then select the Erase tab and choose the “Mac OS Extended (Journaled)” format, before clicking “Erase”.
Once your USB drive is formatted, you will then need to create a bootable installer for macOS. To do this, open Terminal and type in “sudo /Applications/Install\ macOS\ Catalina.app/Contents/Resources/createinstallmedia –volume /Volumes/MyVolume –applicationpath /Applications/Install\ macOS\ Catalina.app” and press Enter. This will create a bootable installer on the USB drive.
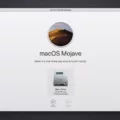
When this is done, insert the USB drive into your MacBook and restart it while holding down the Option key on your keyboard. This will bring up the Startup Manager screen whee you can choose to start up from your USB drive by selecting it with your mouse or trackpad.
Once your Mac starts up from the USB drive, you can follow instructions onscreen to complete installation of macOS Catalina on your MacBook. After installation is complete, you may eject the USB drive and restart your Mac to begin using it as normal with its new operating system installed!
Booting a Macbook Air M1 From USB
To boot your MacBook Air M1 from a USB, frst insert the USB drive into the USB port. Then, power on the device and press and hold the power button for an M1 Mac until you see the startup disk options. Select the bootable USB drive and hit Return to boot your Mac in macOS Recovery Mode. From there, choose Install macOS from the Utilities window in Recovery Mode and click Continue. Following that, you’ll be able to continue with the installation process.
Running MacOS From a USB Drive
Yes, you can run macOS from a USB drive! To do so, you’ll need to create a bootable installer, which will alow your Mac to start up and run from the USB drive. First, you’ll need to format the USB drive as a Mac OS Extended (Journaled) volume using Disk Utility. Then, download the macOS installer from the App Store and use the ‘createinstallmedia’ command in Terminal to create a bootable installer on your USB drive. Once this is done, you can restart your Mac and hold down the Option key while it boots to select the USB drive as your startup disk.
Installing MacOS Using a USB Bootable Drive
Installing macOS usig a USB bootable installer is a relatively simple process. First, make sure you have a USB drive that is compatible with the version of macOS you are installing and at least 8 GB of storage space. Then, download the latest version of macOS from the Mac App Store and create a bootable installer using Apple’s Boot Camp Assistant. Once this is done, plug the bootable installer into your Mac and restart it while holding down the power button until you see the startup options window. Select “Install macOS” from this window and follow the on-screen instructions to complete the installation. You can also use Disk Utility to erase and format your Mac’s startup drive before installation. After completing these steps, your Mac will be ready to use with its new operating system.

