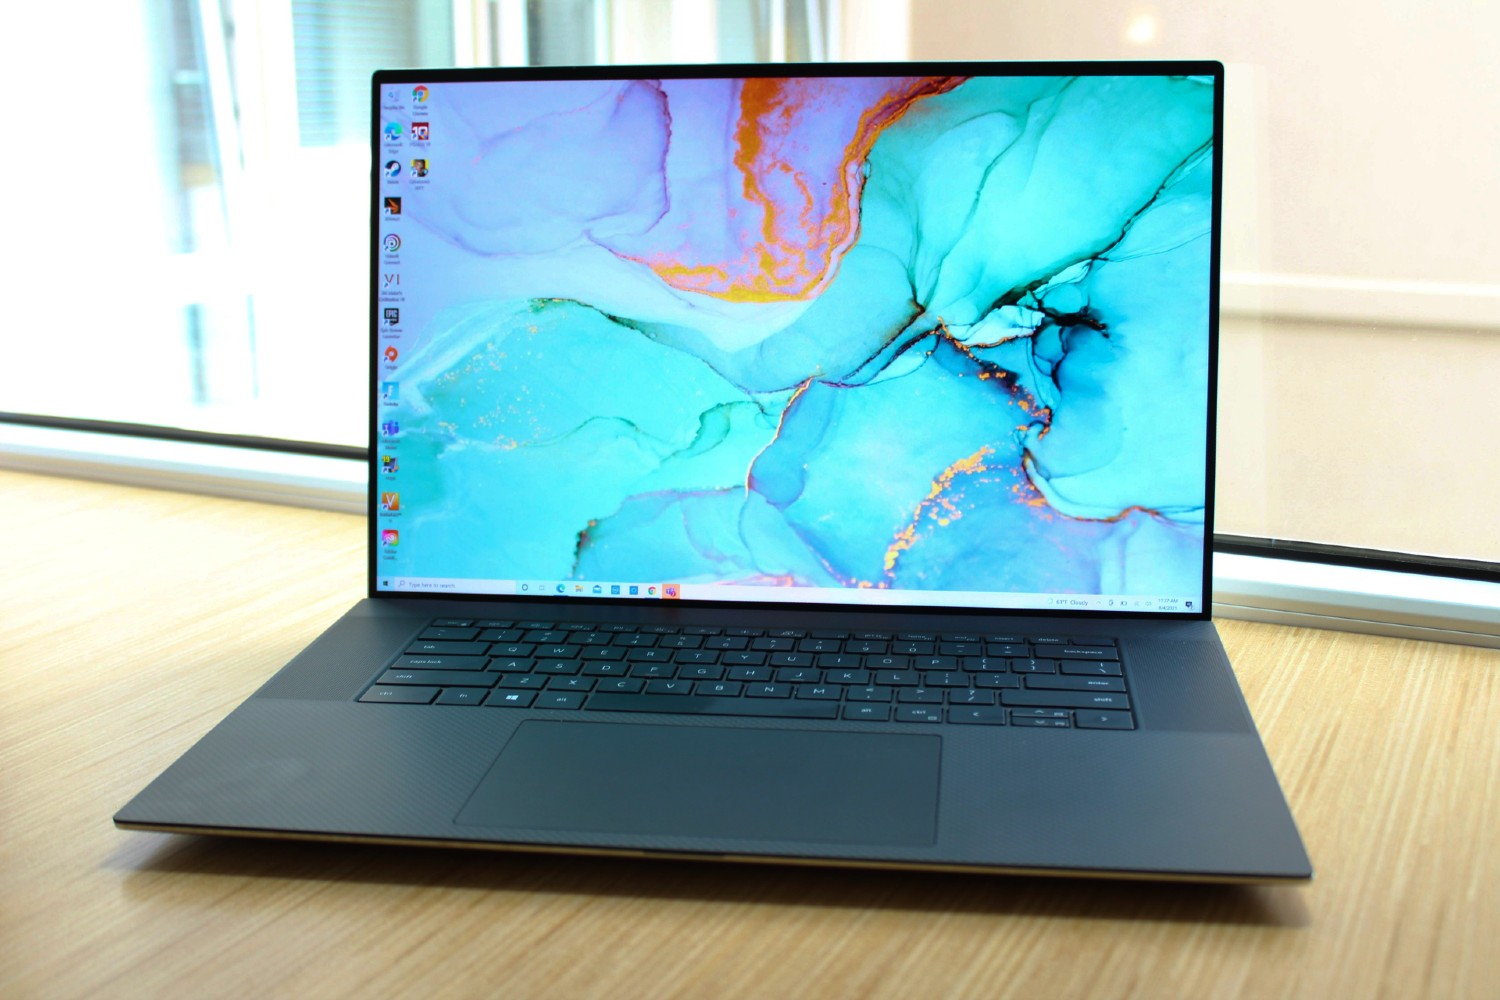
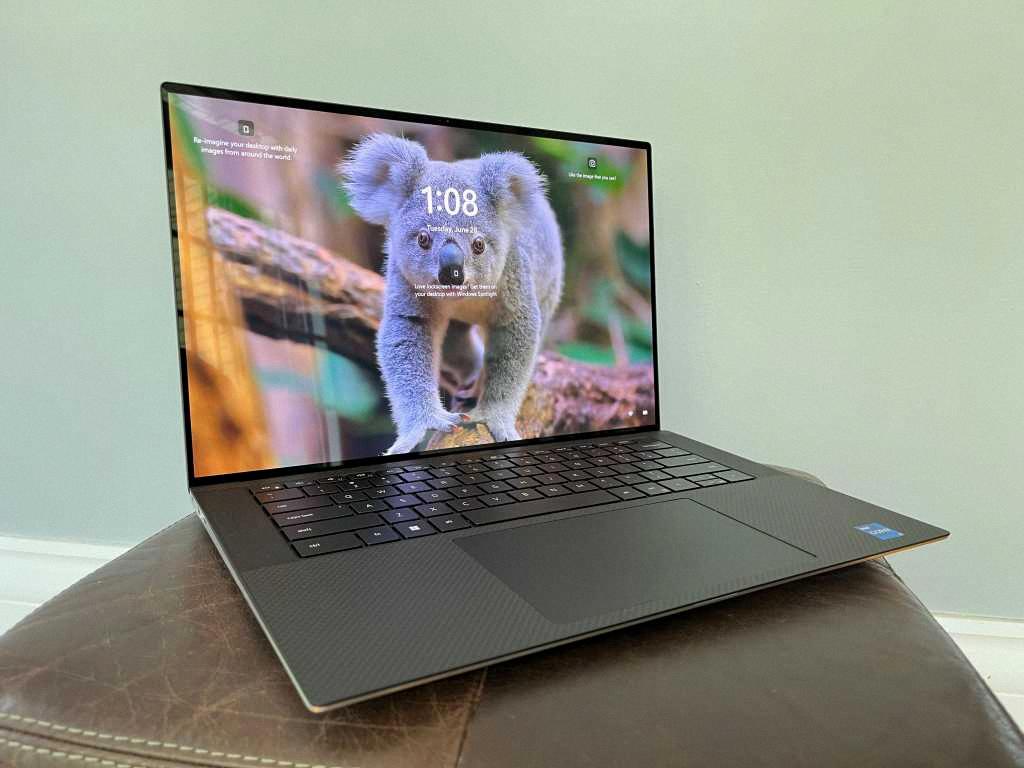
When a blinking red light appears on your XPS laptop, it is an indication that the battery has a low state of charge and it will not start the laptop. This can be a frustrating experience, especially if you need to get work done or use your laptop for personal reasons. However, there are a few things you can do to troubleshoot and solve this issue.
Firstly, check if the battery charge indicator light turns on when you connect the AC adapter from a working wall outlet. If it does not turn on, then the issue could be with the AC adapter or the power cable. Try using a different power cable or adapter to see if that resolves the issue.
If the battery charge indicator light does turn on, then press and hold the power button for 15 to 20 seconds to drain residual power. After this, connect the AC adapter or power cable and the battery (for Dell laptops). This will help reset the system and may resolve the issue.
If the blinking red light persists, then it could be a failure with the power, POST (power-on self-test) process, or video. In such cases, it is recommended to contact a professional technician to diagnose and fix the issue.
It is also important to note that a blinking orange light means that the laptop is running on the battery and the battery power is less than 10%. If you frequently see this, then it may be time to replace the battery.
A blinking red light on your XPS laptop can be a sign of a low battery state of charge or a more complex issue with the power, POST, or video. By following the troubleshooting steps mentioned above, you can resolve the issue or seek professional help if needed. Always ensure to take care of your laptop and its battery to avoid such issues in the future.

Troubleshooting a Dell Laptop with Blinking Red Light
If your Dell laptop is blinking red, it indicates that the battery is low on charge and is unable to power up the laptop. This condition typically occurs when the battery has been drained out or is faulty. To check if the battery is charging, connect the AC adapter to a working wall outlet and check if the battery charge indicator light turns on. If it does, this means that the battery is charging, and you can try to power on the laptop after a few minutes of charging. However, if the battery charge indicator light does not turn on, it may indicate a problem with the AC adapter or the battery itself. In this case, you may need to replace the battery or the AC adapter to resolve the issue. It is recommended to contact Dell support for further assistance if you are unsure about the root cause of the problem.
Troubleshooting Dell XPS Won’t Turn On
If your Dell XPS won’t turn on, there are several steps you can take to troubleshoot the issue:
1. Press and hold the power button for 15 to 20 seconds to drain residual power. This can help reset the system and allow it to turn on.
2. Ensure that the AC adapter or power cable is properly connected to the laptop and to a working power source. Sometimes, a loose connection can prevent the system from turning on.
3. If you have a Dell laptop, ensure that the battery is also properly connected and charged. A dead battery can prevent the system from turning on even when connected to a power source.
4. Check for any signs of damage to the power cord or charging port. If either of these is damaged, the system may not be able to charge or turn on.
5. If the system still won’t turn on, it’s possible that there is a hardware issue. This could be related to the power supply, motherboard, or other components. In this case, it may be necessary to seek professional repair or replacement.
Troubleshooting a Dell XPS that won’t turn on can be a complex process that requires careful attention to detail. By following these steps and seeking professional help if needed, you can get your system up and running again in no time.

Forcing a Restart on a Dell XPS
To force restart your Dell XPS, you can follow these steps:
1. Press and hold the power button: Locate the power button on your Dell XPS. Press and hold it for 15 to 20 seconds. This will drain any residual power from the system.
2. Unplug the power cable: If your Dell XPS is still on after holding the power button for 15 to 20 seconds, unplug the power cable from the device.
3. Remove the battery: If your Dell XPS has a removable battery, you can remove it by sliding the battery release latch located on the bottom of the laptop.
4. Wait a few seconds: Wait for a few seconds before plugging the power cable back in or reinserting the battery.
5. Turn on your Dell XPS: Once you have plugged in the power cable or reinserted the battery, press the power button to turn on your Dell XPS.
By following these steps, you can force restart your Dell XPS and resolve any issues that may be causing it to malfunction.
Conclusion
A blinking red light on a Dell XPS laptop indicates that the battery has a low state of charge and cannot start the laptop. When faced with this issue, it is recommended to connect the AC adapter from a working wall outlet and check if the battery charge indicator light turns on. If the light does not turn on, it may be necessary to press and hold the power button for 15 to 20 seconds to drain residual power. For Dell laptops, it is also important to ensure that both the AC adapter or power cable and the battery are connected. If the issue persists, it is advisable to check the status of the battery using a Win10 battery report or seek professional assistance as the battery may be falling and require replacement.


