When it comes to storing information on CD and DVD discs on a Mac, there are several options available. One of the most commonly used methods is using the built-in software called iDVD. iDVD is a free DVD burning software that allows you to author and burn music, movies, and photos to a DVD.
To get started, you’ll need a blank disc to insert into your optical drive. Once the disc is inserted, you can double-click on it to open its window. From there, you can simply drag and drop the files and folders you want to burn onto the disc window.
Before burning the disc, you can arrange and rename the files to your liking. This step is optional but can help organize the content on the disc. Once everything is ready, you can choose the “File” option and select “Burn [disc]”. Follow the onscreen instructions to complete the burning process.
If you prefer a different software option, you can also create a burn folder on your Mac. To do this, click on your desktop or open a Finder window. Then, click on “File” and select “New Burn Folder”. Give the folder a name and drag and drop the files you want to burn into the folder. open the burn folder and click on “Burn”. Insert a DVD into your disc drive and follow the prompts to complete the burning process.
While iDVD is a popular choice for burning DVDs on Mac, there are also other free software options available. Some of these alternatives include Burn, LiquidCD, and simply using the Finder’s built-in burning feature. These software options provide similar functionality and can be used to burn QuickTime movies, MP3 music, and digital photos to a DVD.
There are various software options available for burning DVDs on a Mac. iDVD is a commonly used free software that allows you to author and burn music, movies, and photos to a DVD. However, there are also other free software alternatives such as Burn and LiquidCD, as well as the built-in burning feature in Finder. Choose the software that best suits your needs and start burning your DVDs on Mac today.
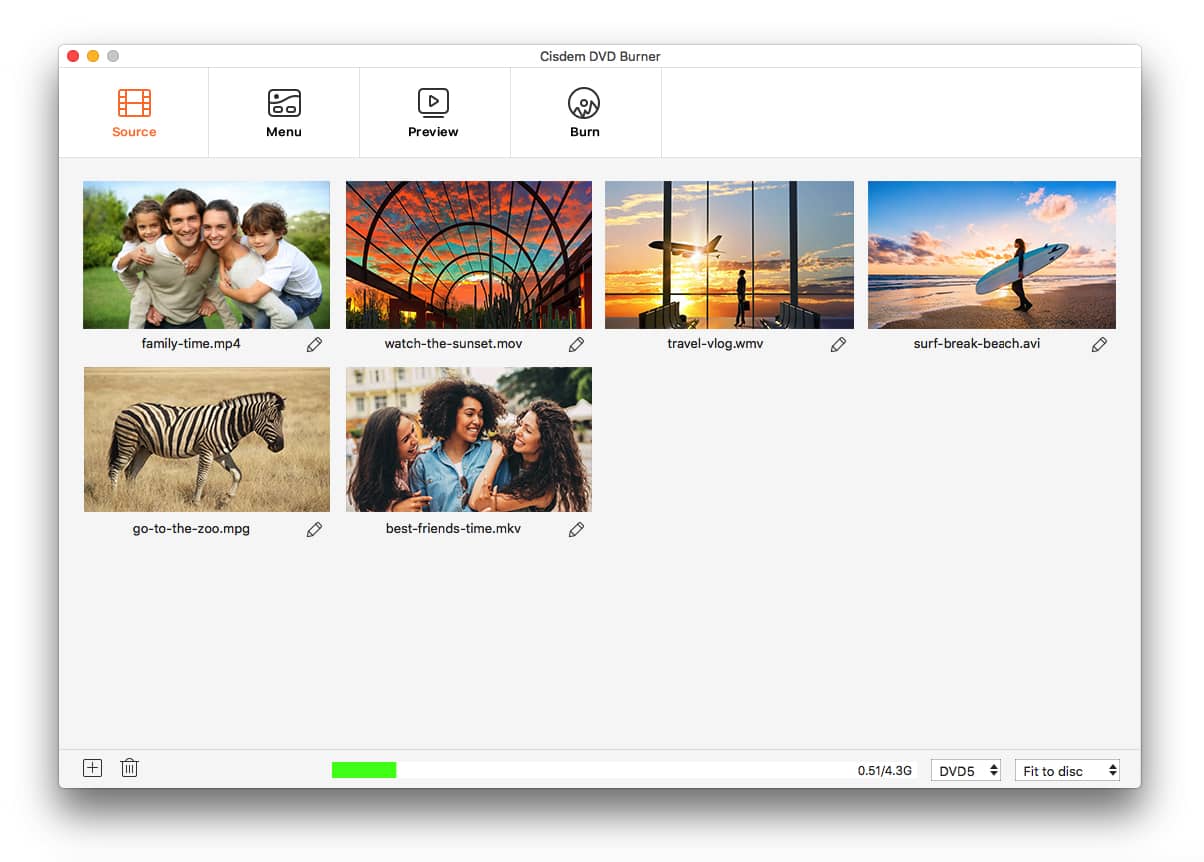
How Do You Burn a DVD on Your Mac for Free?
To burn a DVD on your Mac for free, you can use the built-in software called Finder. Here’s a step-by-step guide:
1. Insert a blank DVD into your Mac’s optical drive. Make sure it is compatible with your DVD burner.
2. Open Finder by clicking on its icon in the Dock or selecting it from the Applications folder.
3. In Finder, select “File” from the menu bar and choose “New Burn Folder.” A new folder will appear on your desktop with the name “Untitled folder.”
4. Rename the folder by right-clicking on it and selecting “Rename.” Give it a meaningful name that represents the content you want to burn onto the DVD.
5. Now, navigate to the files and folders you want to burn on your Mac. You can do this by opening a new Finder window and locating the files or folders you wish to include on the DVD.
6. Drag and drop the desired files and folders into the “Untitled folder” you created earlier. You can also arrange the files within the folder to your preference.
7. Once you have added all the files and folders you want to burn, go back to the Finder window displaying the contents of the “Untitled folder.”
8. At the top of the Finder window, click on “File” in the menu bar and select “Burn [folder name] to Disc.” Replace “[folder name]” with the actual name of your burn folder.
9. A new window will appear, giving you the option to adjust the burn settings. Ensure that the “Burn Disc” checkbox is selected and choose the appropriate burning speed.
10. click on the “Burn” button to start the burning process. The progress will be displayed, and once completed, your DVD will be ready to use.
Remember that the burning speed and the type of DVD you use can affect the overall quality and compatibility of the burned disc. It’s advisable to use high-quality DVDs and choose an appropriate burning speed to ensure optimal results.
Note: This method uses the built-in burning feature in Finder, which is suitable for basic burning needs. If you require more advanced features or want to create custom DVD menus, you may need to explore third-party software options.
Does Mac Have a DVD Burning Program?
Mac does have a DVD burning program called iDVD. This software is the default DVD burning solution for Mac users. It is designed to make the process of burning videos onto DVDs as simple and user-friendly as possible.
IDVD allows you to author and burn various types of content such as music, movies, and photos onto widescreen DVDs. You can use either the internal DVD burner on your Mac or an external DVD burning device to burn your content onto DVDs.
Key features of iDVD include:
1. Simple Interface: iDVD has a user-friendly interface that makes it easy for users to navigate and understand the DVD burning process.
2. Authoring Options: With iDVD, you can add menus, chapters, and subtitles to your DVD. This allows you to create a professional-looking DVD with a personalized touch.
3. Customization: iDVD provides various themes and templates that you can use to customize the appearance of your DVD menus and backgrounds. You can also add your own photos and artwork to create a unique design.
4. Preview Function: Before burning your DVD, iDVD allows you to preview your content and make any necessary adjustments. This ensures that your final DVD will meet your expectations.
5. Integration with Other Apple Software: iDVD works seamlessly with other Apple software such as iMovie and iTunes. This allows you to easily import and burn your videos and music from these applications.
What is the Free Disc Burner for Mac?
One of the most popular free disc burners for Mac is iDVD. This software is widely used for burning various types of media onto DVDs. It offers a range of features and is compatible with QuickTime movies, MP3 music, and digital photos.
IDVD is designed to seamlessly integrate with other Apple products such as iTunes, iMovie, and iPhoto. This makes it convenient for users who already use these applications to create and organize their media files. With iDVD, you can easily burn your favorite movies, music, and photos onto a DVD for playback on a DVD player or to share with others.
Some key features of iDVD include the ability to create custom DVD menus, add chapters and subtitles, and even create professional-looking DVD slideshows. The software offers a user-friendly interface, making it easy for both beginners and advanced users to navigate and utilize its features.
In addition to its burning capabilities, iDVD also provides options for customizing the appearance of your DVD. You can choose from various themes, templates, and backgrounds to personalize your DVD menu and enhance the overall viewing experience.
IDVD is a reliable and versatile free disc burner for Mac users. Its integration with other Apple products, easy-to-use interface, and range of features make it a popular choice for those looking to create DVDs of their favorite media.
How Do You Burn a DVD Onto a Mac?
To burn a DVD onto a Mac, you can follow these steps:
1. Begin by clicking on your desktop or opening a Finder window to access your files.
2. From the top menu, click on “File” and select “New Burn Folder.” This will create a new folder specifically for burning files onto a DVD.
3. Give a name to your burn folder by typing it in the provided field. This will help you easily identify the folder later on.
4. Now, you can start adding the files you want to burn onto the DVD into the newly created burn folder. Simply drag and drop the desired files into the folder.
5. Once you have added all the necessary files, open the burn folder by double-clicking on it.
6. In the burn folder, you will find a button labeled “Burn” at the top of the window. Click on it to initiate the burning process.
7. Insert a blank DVD into your Mac’s disc drive. The Mac will recognize the blank DVD and display a prompt asking if you want to burn the files to a disc.
8. Follow the on-screen prompts to confirm the burning process. You may be asked to choose the burning speed or adjust other settings, depending on your preferences.
9. After confirming the burning settings, the Mac will start the process of burning the files onto the DVD. This may take some time, so be patient and let the process complete.
10. Once the burning process is finished, the DVD will be ejected automatically, and you will have a successfully burned DVD with the files you selected.
Remember that the burning process may vary slightly depending on the version of Mac OS X you are using. However, these steps should generally apply to most Mac operating systems.
Conclusion
Software such as iDVD for Mac provides users with an easy and efficient way to store information on CD and DVD discs. Whether it’s videos, music, or photos, iDVD allows you to author and burn these files to a widescreen DVD with the help of an internal Mac DVD burner or external device. With its simple interface and integration with other Apple products like iTunes, iMovie, and iPhoto, iDVD is a widely applied free DVD burning software for Mac users. Additionally, the option to create a burn folder provides a convenient way to organize and burn files to a DVD. these software options make it seamless and hassle-free to store and share data on CDs and DVDs.

