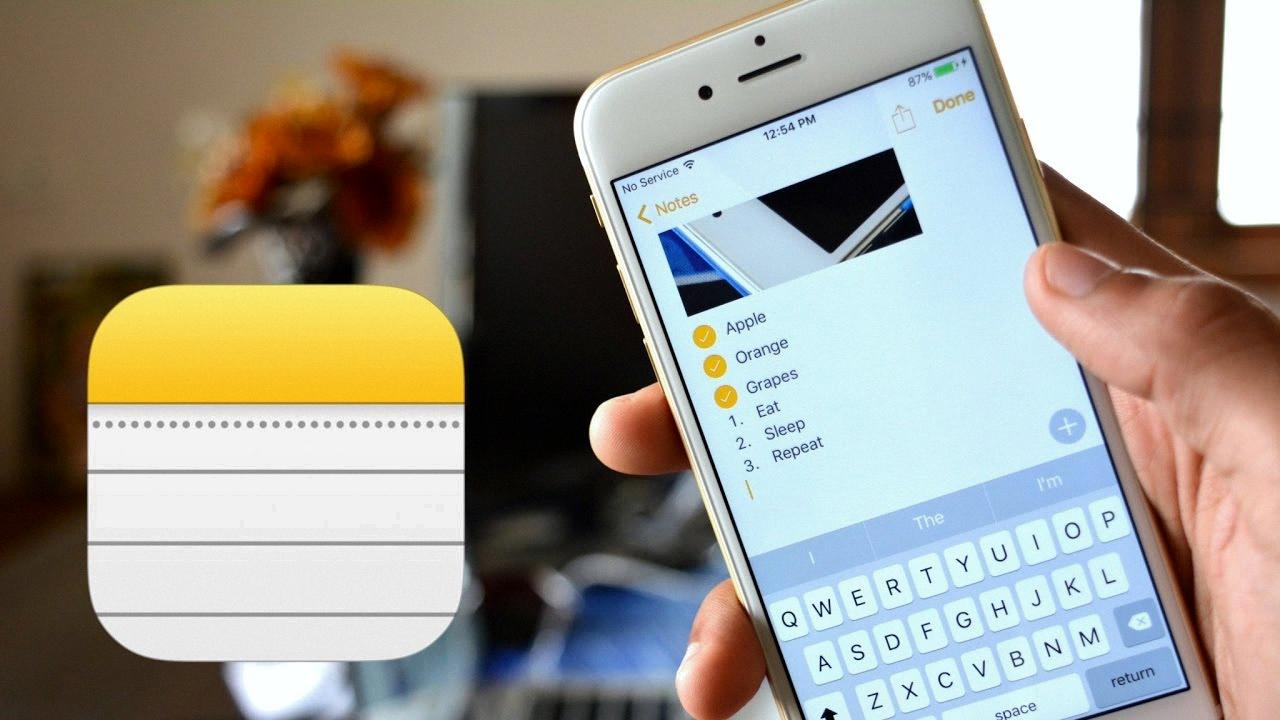
Backing up your iPhone is an essential task that ensures the safety and security of your valuable data, including your notes. Notes on your iPhone can contain important information, such as to-do lists, reminders, and important details you want to remember. Losing these notes due to a device malfunction or accidental deletion can be frustrating and inconvenient. That’s why it’s crucial to back up your notes regularly.
One of the most convenient ways to back up your notes on an iPhone is by using iCloud. iCloud is a cloud-based storage service provided by Apple that allows you to store and sync your data across multiple devices. When you set up iCloud for Notes, your notes are stored in the cloud instead of locally on your device. This means that you can access and view your notes on any device that’s set up for iCloud and Notes, including your iPhone, iPad, iPod touch, and Mac.
To start backing up your notes on iPhone using iCloud, follow these steps:
Step 1: Connect your phone to the internet or a stable Wi-Fi network. Having a reliable internet connection is crucial for iCloud to sync your notes seamlessly.
Step 2: Open “Settings” on your iPhone by tapping on the gear icon. Scroll down and tap on your name at the top of the Settings menu.
Step 3: In the Apple ID menu, tap on “iCloud”. If you’re prompted to enter your Apple ID password, do so.
Step 4: In the iCloud menu, you’ll find a list of apps that can be backed up to iCloud. Find and toggle on the “Notes” option. This will enable iCloud backup for your notes.
Step 5: Your iPhone will now start uploading your notes to iCloud. The time it takes to complete this process may vary depending on the number of notes and your internet connection speed. It’s essential to ensure that your iPhone remains connected to the internet during this process.
Step 6: Once your notes are uploaded to iCloud, they will be available on all your other devices that are signed in with the same iCloud account. This means that you can access your notes not only on your iPhone but also on your iPad, iPod touch, and Mac.
It’s worth mentioning that besides iCloud, you can also back up your notes on iPhone using other methods, such as iTunes or third-party apps. iTunes allows you to create a backup of your entire iPhone, including your notes, on your computer. Third-party apps, such as Google Keep or Microsoft OneNote, provide additional options for backing up and syncing your notes across multiple devices.
Backing up your notes on your iPhone is crucial to ensure that you don’t lose important information. iCloud provides a convenient and seamless way to back up and sync your notes across multiple devices. By following the steps outlined above, you can easily set up iCloud for Notes and ensure that your notes are securely stored in the cloud. Remember to regularly check your iCloud backup settings to ensure that your notes are being backed up automatically.
Can IPhone Notes Be Backed Up?
IPhone Notes can be backed up using iCloud. When you set up iCloud for Notes on your iPhone, your notes are automatically stored in the cloud. This means that even if you lose or upgrade your iPhone, you can still access your notes on any device that is set up for iCloud and Notes.
To back up your iPhone Notes using iCloud, you need to ensure that iCloud Backup is turned on in your iPhone settings. Here’s how you can do it:
1. Open the Settings app on your iPhone.
2. Tap on your name at the top of the settings menu to access your Apple ID settings.
3. Scroll down and tap on “iCloud”.
4. In the iCloud settings, make sure that “Notes” is toggled on. This will enable iCloud backup for your notes.
5. Additionally, you can also tap on “iCloud Backup” and toggle it on to back up all your iPhone data, including your notes, to iCloud automatically.
Once iCloud backup is enabled for Notes, your notes will be securely stored in the cloud, and you can access them on any device that is signed in to your iCloud account and has Notes enabled.
It’s worth noting that you can also use other methods to back up your iPhone Notes, such as using iTunes on your computer or using third-party note-taking apps that offer backup options. However, using iCloud is the most convenient and seamless way to ensure your notes are backed up and accessible across all your Apple devices.
To summarize, iPhone Notes can be backed up using iCloud. By enabling iCloud backup for Notes in your iPhone settings, your notes will be securely stored in the cloud and can be accessed on any device set up for iCloud and Notes.

How Do I Backup All My Notes On My IPhone?
To backup all your Notes on your iPhone, you can use iCloud. Here are the step-by-step instructions:
1. Open the Settings app on your iPhone.
2. Scroll down and tap on your name at the top to access your Apple ID settings.
3. In the Apple ID settings, tap on “iCloud”.
4. Find the “Notes” option and make sure it is toggled on. If it’s already on, then your notes are already being backed up to iCloud.
5. If it’s off, toggle it on. This will initiate the backup process and upload all your notes to iCloud.
6. Depending on the number of notes you have, it may take some time for the backup to complete. Make sure you have a stable internet connection and enough storage space on your iCloud account.
7. Once the backup is finished, sign in to iCloud on another device (such as another iPhone, iPad, or computer) using the same Apple ID credentials.
8. Open the Notes app on the other device, and you should see all your notes synced from your iPhone.
By following these steps, you can securely backup all your Notes from your iPhone to iCloud, ensuring that you have a copy of your important information accessible across multiple devices.
How Do I Backup My Apple Notes Without ICloud?
To backup your Apple Notes without using iCloud, you can follow these steps:
1. Connect your iPhone to the internet or a stable Wi-Fi network.
2. Open the “Settings” app on your iPhone. You can find it by tapping on the gear icon.
3. In the Settings menu, scroll down and tap on “Passwords & Accounts.”
4. Next, tap on “Add Account” and select “Google” from the list of available options.
5. If you already have a Gmail account, you can sign in with your existing credentials. If not, you’ll need to create a new account.
6. Once you’ve signed in or created your Gmail account, go back to the “Settings” menu and tap on “Passwords & Accounts” again.
7. Under the “Accounts” section, you should see your Gmail account listed. Tap on it to access the account settings.
8. In the account settings, you will see a list of apps that can sync with your Gmail account. Toggle the switch next to “Notes” to enable syncing for your Apple Notes.
9. Now that you have enabled syncing for Apple Notes, any new notes you create will be automatically backed up to your Gmail account.
10. To check if your notes are being backed up, open the “Notes” app on your iPhone. You should see your Gmail account listed under the “Accounts” section. Tap on it to view your synced notes.
By following these steps, you can backup your Apple Notes to your Gmail account without using iCloud. This ensures that your notes are securely stored and accessible even if you switch to a different device or if something happens to your iPhone.
Conclusion
The iPhone is a versatile and powerful device that offers a wide range of features and functionalities. From its sleek design to its intuitive user interface, the iPhone offers a seamless user experience. With its advanced camera capabilities, users can capture high-quality photos and videos. The iPhone also provides access to a vast array of apps through the App Store, allowing users to customize their device to suit their individual needs and preferences. Additionally, with the integration of iCloud, users can easily sync and access their notes across multiple devices. the iPhone continues to be a leader in the smartphone market, providing users with a reliable and innovative device that meets their daily communication, entertainment, and productivity needs.


