When it comes to navigating through unknown territories, Apple Maps has emerged as a reliable and user-friendly option for iPhone users. With its intuitive interface and seamless integration with Apple devices, it offers a convenient way to find directions to your desired destination. In this article, we will delve into the various features and functionalities of Apple Maps directions, helping you make the most of this powerful tool.
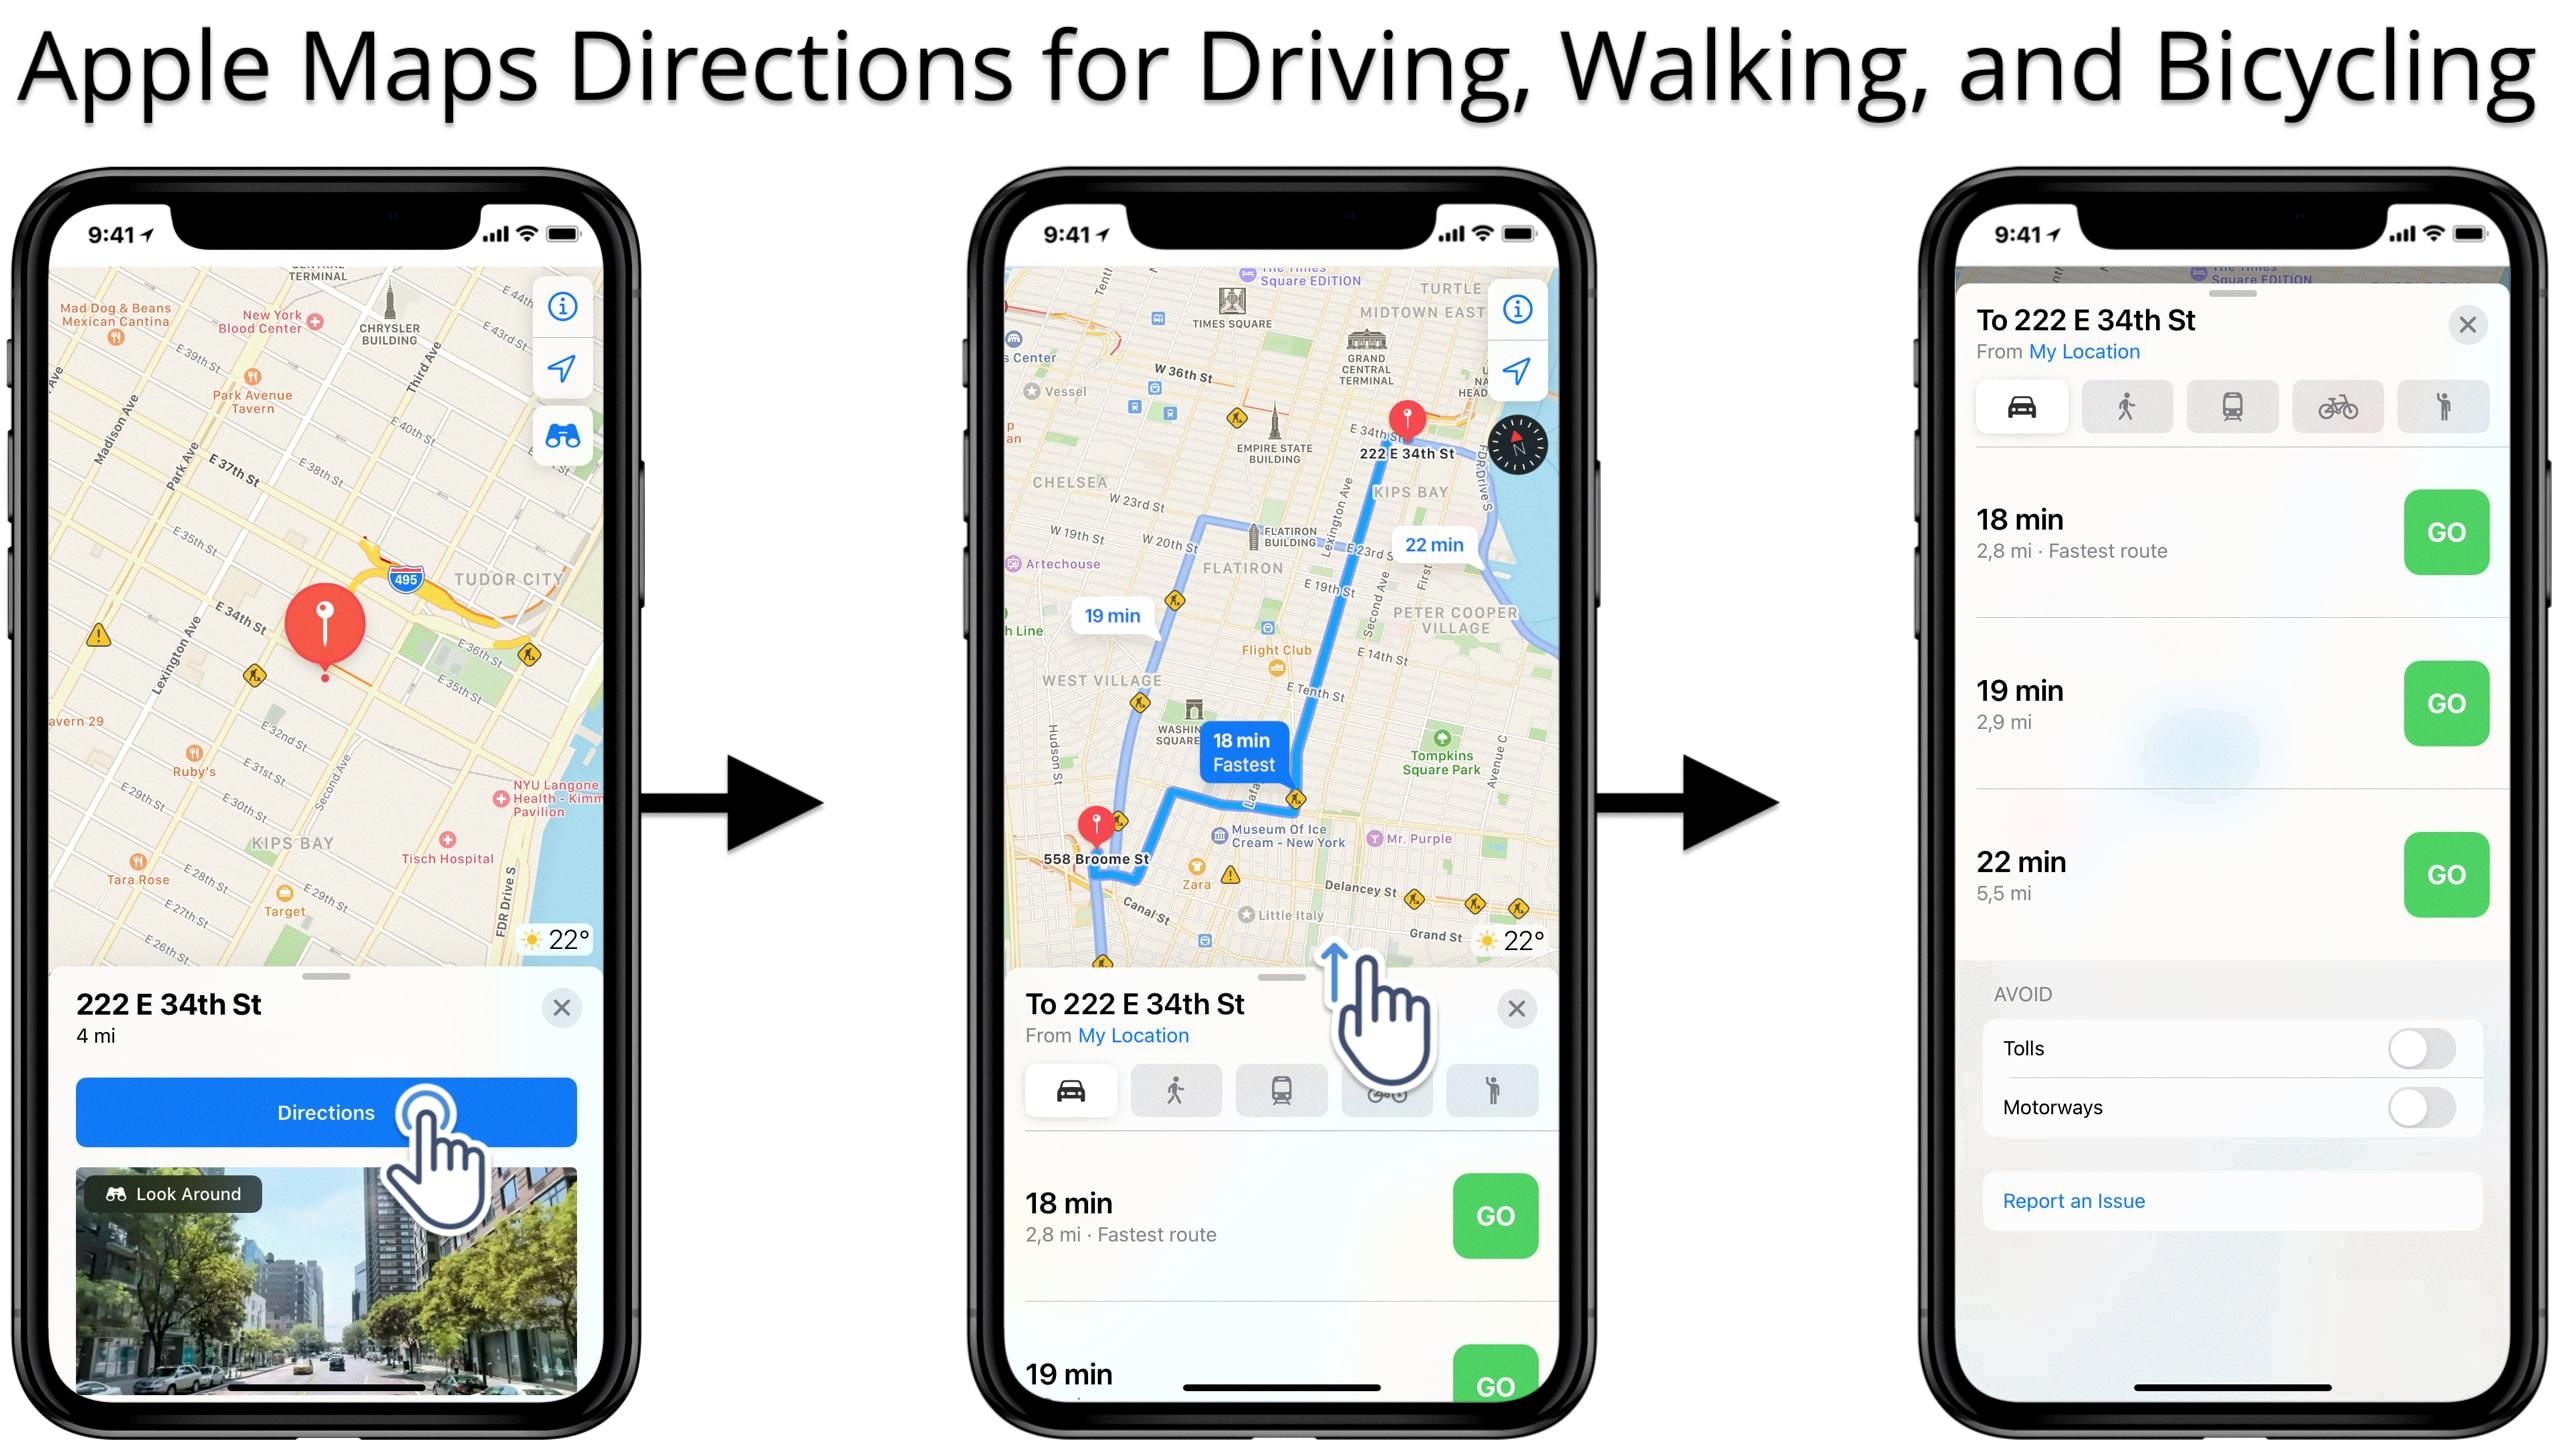
To begin using Apple Maps directions, simply tap on your desired destination in the Maps app or touch and hold anywhere on the map and tap the directions button. This will open up the directions interface, where you can input your starting point and choose your preferred mode of transportation – be it driving, walking, or public transit.
Before setting off on your journey, it is crucial to ensure that your device’s Location Services and Location Access for Maps are turned on. You can do this by going to the Settings app and navigating to Privacy & Security, then tapping on Location Services. Make sure that Location Services is enabled, and that Maps is set to “While Using the App” or “Widgets”. This will ensure that Apple Maps can accurately track your location and provide you with precise directions.
Apple Maps offers various customization options to tailor your route based on your preferences. Once you have entered your starting point and destination, you can tap on the route preview to access additional options. Here, you can choose between the fastest route, the shortest route, or explore alternate routes. This allows you to optimize your journey based on factors such as traffic conditions, distance, or personal preference.
If you have multiple stops to make along your journey, Apple Maps allows you to easily add them to your itinerary. Simply tap on the “Add stop” option in the directions interface, and choose another destination. You can add up to 9 stops, making it convenient for planning road trips or running errands. This feature comes in handy when you need to grab petrol or make a quick stop for a meal.
Comparing Apple Maps with Google Maps
While both Apple Maps and Google Maps offer reliable navigation services, there are subtle differences between the two. One notable distinction is that Google Maps allows you to plan a trip and add multiple stops to your itinerary. This can be particularly useful for those who want to meticulously plan their journeys and include various points of interest along the way. On the other hand, Apple Maps focuses more on providing a seamless and intuitive user experience, with a clean and straightforward interface.
Apple Maps directions provide a user-friendly and efficient way to navigate through unfamiliar locations. With its accurate location tracking and customizable route options, it ensures a smooth and hassle-free journey. While it may not offer as many advanced features as its competitor, Google Maps, it excels in simplicity and integration with Apple devices. So, whether you’re exploring a new city or simply trying to find your way to a local cafe, Apple Maps is a reliable companion to guide you along the way.
How Do I Use Apple Maps For Directions?
To use Apple Maps for directions, follow these steps:
1. Open the Apple Maps app on your device.
2. Tap on the search bar at the top of the screen.
3. Enter your destination by typing the address or the name of the place you want to go to. You can also tap the microphone icon to use voice search.
4. Once you’ve entered your destination, you will see a list of search results. Tap on the correct result that matches your intended destination.
5. A red pin will appear on the map indicating your destination. You can also touch and hold anywhere on the map to drop a pin for a specific location.
6. Tap on the “Directions” button located at the bottom of the screen (it looks like an arrow pointing upwards).
7. Choose your mode of transportation by tapping on the relevant icon at the top of the screen. You can select from options such as driving, walking, or public transit.
8. Apple Maps will provide you with the recommended route to your destination. The route will be displayed on the map, and you can scroll to view the entire route. You will also see the estimated travel time and distance.
9. If you want turn-by-turn directions, tap on the “Start” button located at the bottom of the screen. This will activate the voice-guided navigation feature, which will provide you with step-by-step instructions as you proceed along your route.
10. As you follow the directions, Apple Maps will provide real-time updates on traffic conditions and any potential delays. It will also suggest alternative routes if necessary.
Using Apple Maps for directions is a convenient way to navigate to your desired location. It provides accurate and reliable routing information, ensuring you reach your destination efficiently and safely.

Why Can’t I Get Directions On Apple Maps?
There could be several reasons why you are unable to get directions on Apple Maps. Here are some possible causes:
1. Location Services and Access: Ensure that Location Services is enabled for Apple Maps. To do this, go to the Settings app on your device, tap on Privacy & Security, and then select Location Services. Make sure that Location Services is turned on, and check that Maps is set to “While Using the App” or “Widgets.”
2. Date, Time, and Time Zone: It is essential to have the correct date, time, and time zone settings on your device. Incorrect settings may cause Apple Maps to malfunction. Go to the Settings app, tap on General, and then select Date & Time. Make sure that the settings are accurate and set to automatically update.
3. Internet Connection: Apple Maps requires a stable internet connection to function correctly. Ensure that you have a reliable Wi-Fi or cellular data connection. If you are experiencing connectivity issues, try switching between Wi-Fi and cellular data or resetting your network settings.
4. Outdated App Version: If you are using an outdated version of Apple Maps, it may not work properly. Check for any available updates in the App Store and install them if necessary.
5. Server Issues: Occasionally, Apple Maps may experience server problems, leading to temporary disruptions in service. In such cases, waiting for a while and trying again later can resolve the issue.
6. App Restrictions: If you have enabled restrictions on your device, it is possible that Apple Maps has been restricted. To check this, go to the Settings app, tap on Screen Time, and then select Content & Privacy Restrictions. Ensure that there are no restrictions preventing the use of Apple Maps.
7. Regional Limitations: Apple Maps may have limited coverage in certain regions or countries. If you are in an area with limited Apple Maps support, you may not be able to get directions. In such cases, consider using an alternative mapping service or contacting Apple support for further assistance.
By following these troubleshooting steps, you should be able to identify and resolve the issue preventing you from getting directions on Apple Maps.
What Is The Difference Between Apple Maps And Google Maps?
Apple Maps and Google Maps are both popular navigation apps that provide users with directions and maps. While they serve a similar purpose, there are some key differences between the two:
1. Design and User Interface:
– Apple Maps has a clean and minimalist design, with a focus on simplicity and ease of use. It features a more colorful and visually appealing interface.
– Google Maps, on the other hand, has a more detailed and information-rich design. It offers a wide range of features and options, which can be overwhelming for some users.
2. Data Accuracy:
– Both apps have accurate and up-to-date mapping data, but Google Maps is generally considered more reliable in terms of accuracy and completeness. Google has been collecting mapping data for a longer time and has more resources dedicated to maintaining and updating it.
– Apple Maps has made significant improvements since its initial launch and now provides reliable data in many regions, but it may still have some gaps or inaccuracies in certain areas.
3. Navigation Features:
– Google Maps offers a comprehensive set of navigation features, including real-time traffic updates, alternative routes, lane guidance, and transit information. It also integrates with other Google services, such as Google Street View.
– Apple Maps provides basic navigation features like turn-by-turn directions, real-time traffic information, and voice guidance. It also includes helpful features like proactive suggestions and Siri integration for hands-free navigation.
4. Integration with Devices and Ecosystem:
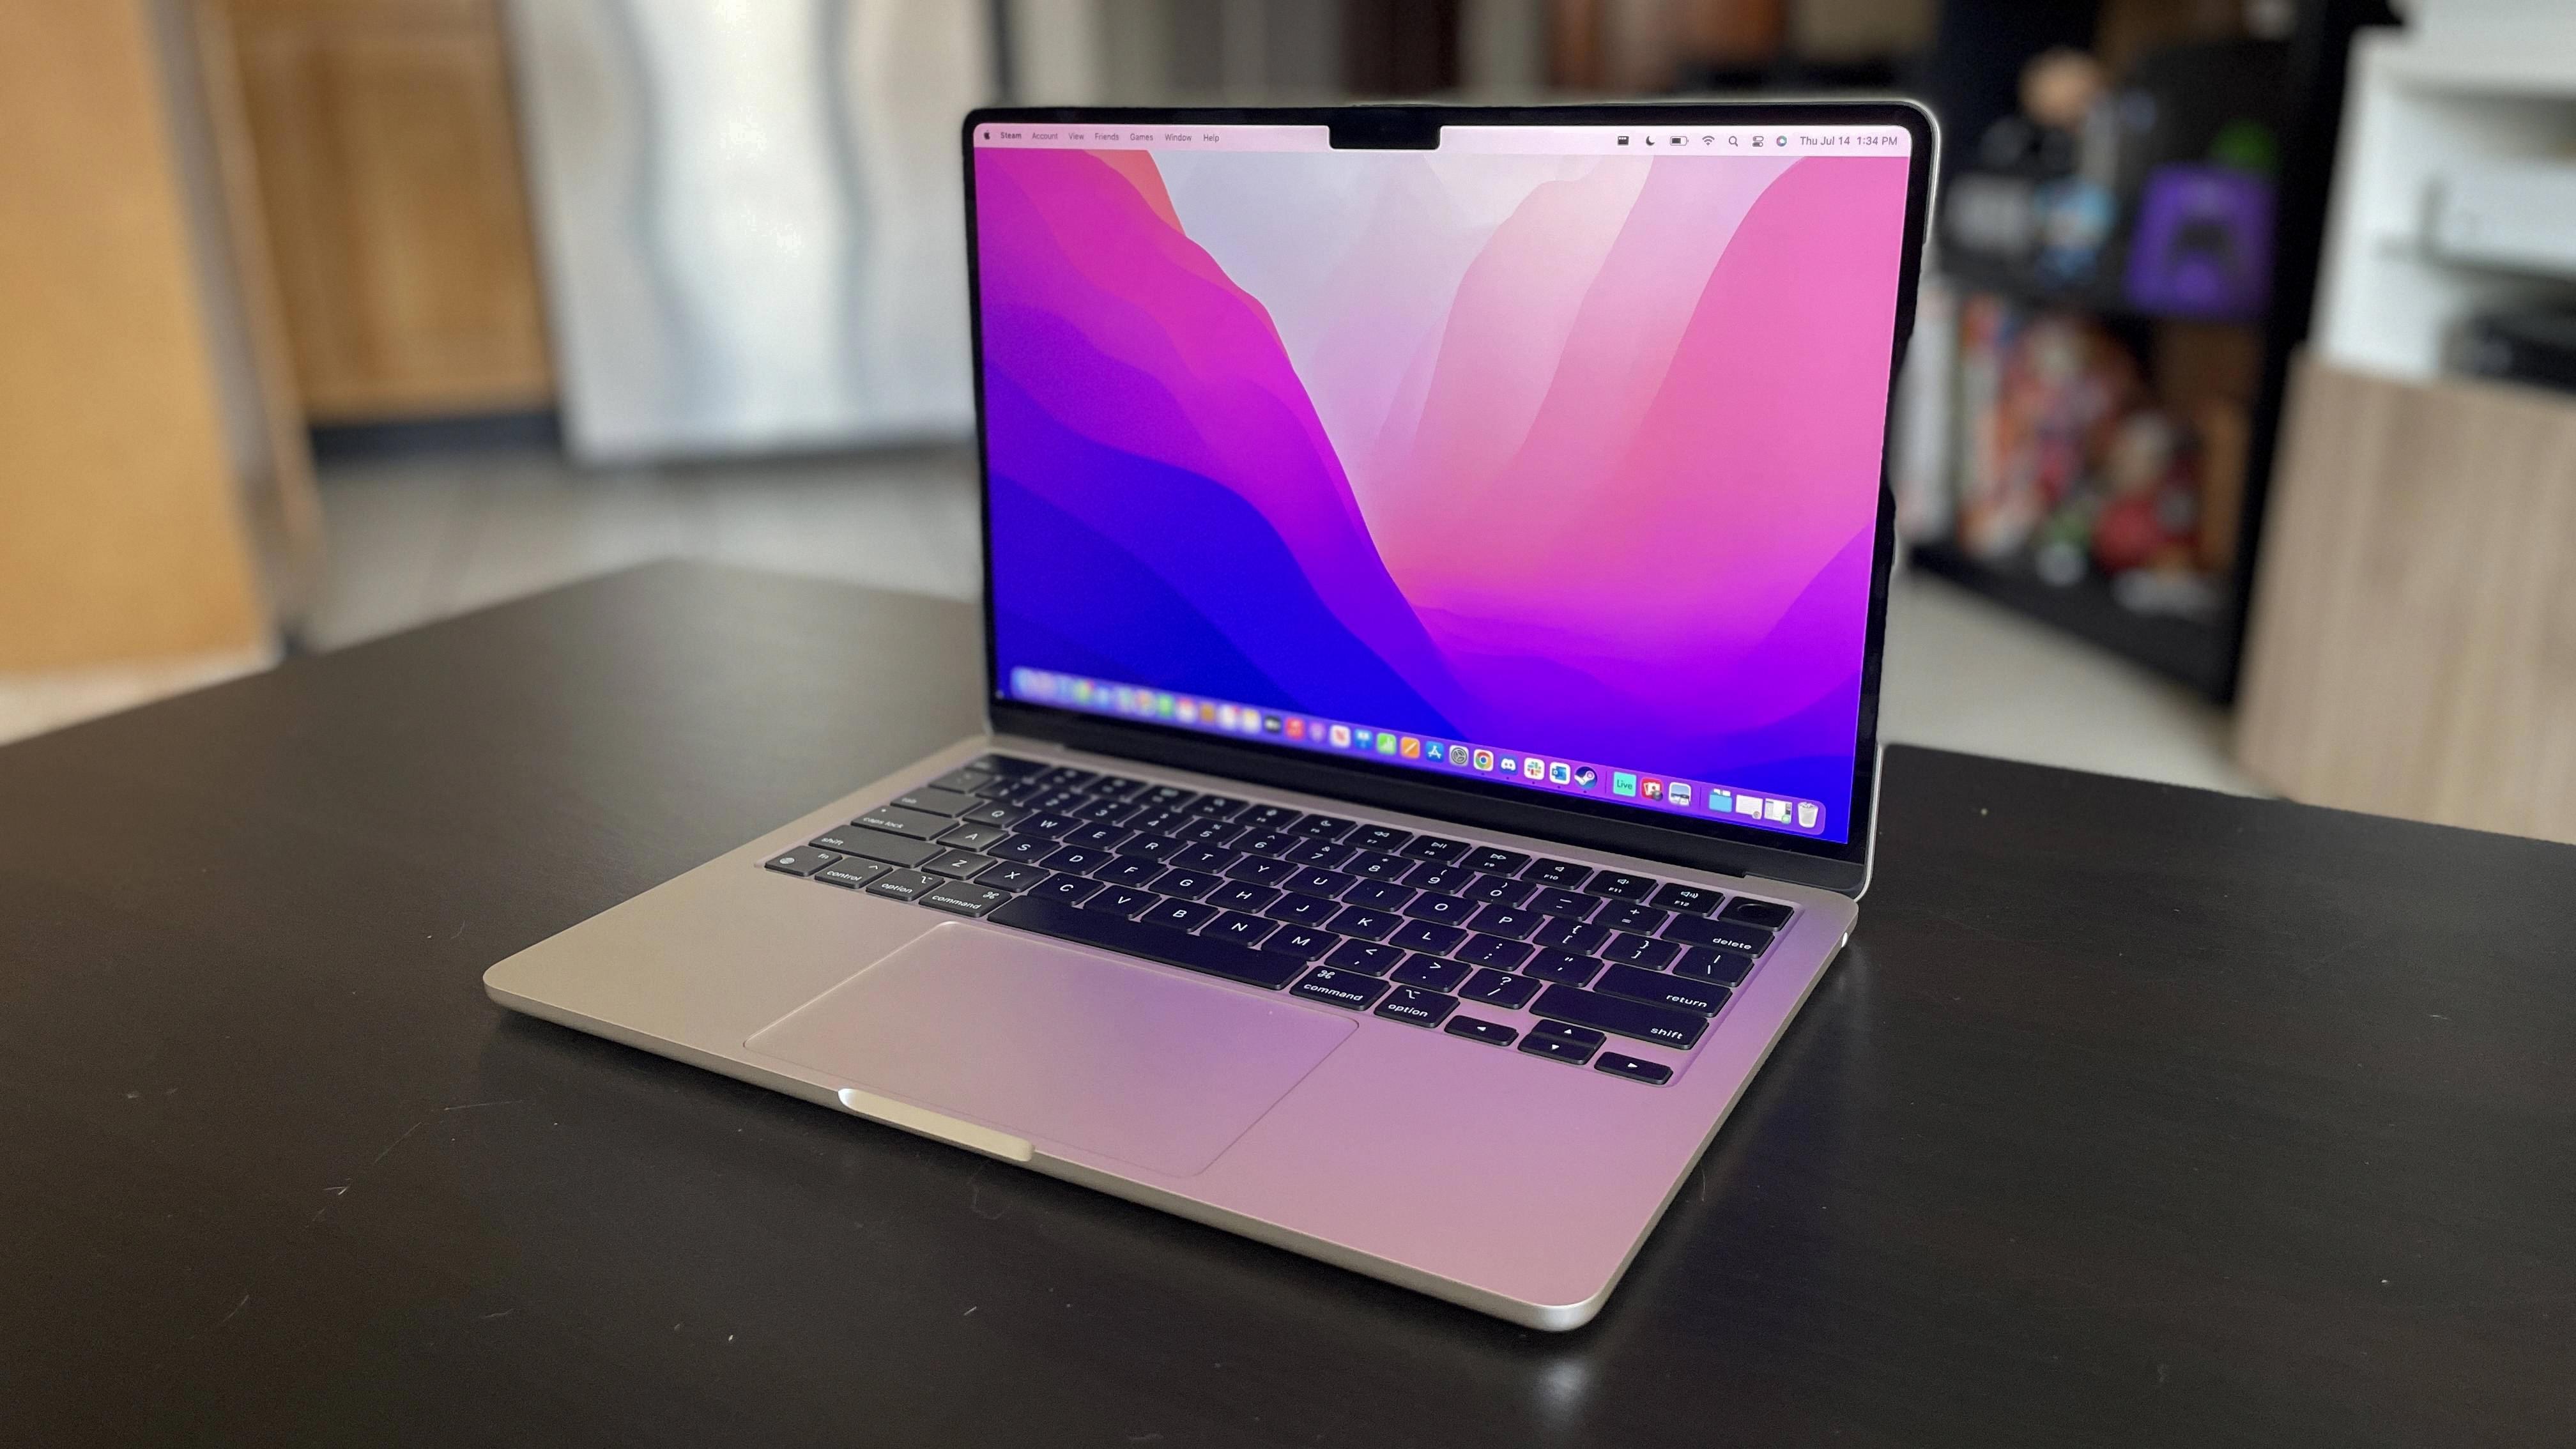
– Apple Maps is the default navigation app on iOS devices, including iPhones, iPads, and Macs. It offers seamless integration with other native Apple apps and services, such as Siri, Calendar, and Contacts. It also syncs with iCloud, allowing users to access their saved locations across multiple devices.
– Google Maps is available on both iOS and Android devices. It offers integration with Google’s ecosystem, including Google Assistant, Google Calendar, and Google Photos. It also provides a web version that can be accessed from any device with an internet connection.
5. Additional Features:
– Google Maps has a wide range of additional features, such as Street View, indoor maps, offline maps, and the ability to add multiple stops to a route. It also has a stronger focus on discovering local businesses and attractions, with reviews, ratings, and photos.
– Apple Maps also includes some additional features, like the ability to book rides with services like Uber and Lyft. It also integrates with Apple’s CarPlay, allowing for a seamless navigation experience in supported vehicles.
Both Apple Maps and Google Maps are reliable navigation apps, but Google Maps offers a more extensive set of features, integration with Google’s ecosystem, and a longer track record of accurate mapping data. Apple Maps, on the other hand, excels in its seamless integration with iOS devices and native Apple services.
How Do I Map A Route On My IPhone?
To map a route on your iPhone using the Google Maps app, follow these steps:
1. Open the Google Maps app on your iPhone or iPad.
2. Search for your destination by typing the address or name of the place in the search bar. Alternatively, you can tap on the map to select a location as your destination.
3. Once you have entered your destination, tap on the “Directions” button located at the bottom left corner of the app.
4. In the top right corner, you will see a “More” option. Tap on it to access additional features.
5. From the menu that appears, select “Add stop” to add multiple destinations to your route.
6. You can now enter the address or name of the next destination you wish to add. Repeat this step for any additional stops you want to include. You can add up to 9 stops in total.
7. Once you have added all the desired stops, tap on the “Done” button to confirm and generate the route.
8. Google Maps will then display the suggested route with the added destinations, providing you with turn-by-turn directions and estimated travel times for each segment of the journey.
By following these steps, you can easily map a route with multiple destinations on your iPhone using the Google Maps app.
Conclusion
Apple Maps offers a user-friendly and convenient way to get directions on your iPhone or iPad. With its easy-to-use interface and accurate navigation, you can confidently rely on Apple Maps to guide you to your destination.
The app allows you to input your desired destination by tapping on a search result or a landmark on the map, or by simply touching and holding on the map. You can also add multiple stops to your itinerary, making it a useful tool for planning trips and making necessary stops along the way.
To ensure the best user experience, it is important to have Location Services and Location Access enabled for Maps. This can be done by going to the Settings app on your device and navigating to Privacy & Security, then selecting Location Services. Make sure that Location Services is turned on and that Maps is set to “While Using the App” or “Widgets”.
Furthermore, it is crucial to have your device’s date, time, and time zone set correctly, as this information is used by Apple Maps to provide accurate directions.
While both Apple Maps and Google Maps offer similar core routes, Apple Maps stands out with its multi-stop routing feature, allowing you to add up to 9 stops to your journey. This can come in handy when you need to make multiple stops for refueling or grabbing a bite to eat.
Apple Maps provides a reliable and efficient navigation experience on iOS devices. Whether you’re exploring a new city or planning a road trip, Apple Maps will help you reach your destination with ease.


