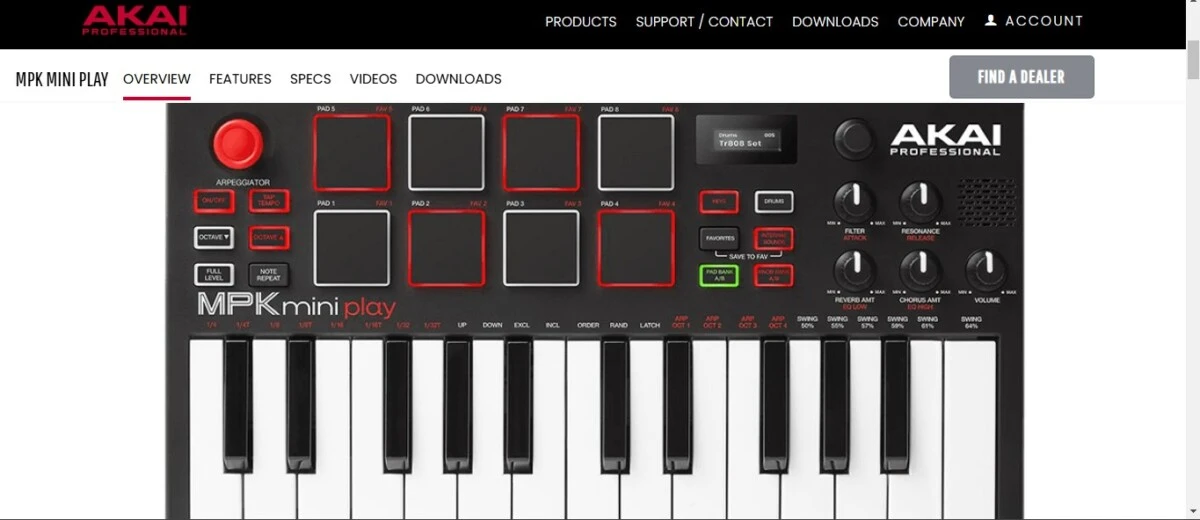
The Akai MPK Mini is a popular and highly versatile MIDI controller. The Akai MPK Mini boasts features such as a highly compact design, 25 mini keys, 8 endless knobs, a four-way joystick, and a brilliant OLED display. All of that makes the Akai MPK a popular MIDI controller for music production.
In this Akai MPK Mini review, we will take a closer look at the CC button, in particular. Read on to learn more!
Understanding the CC Button on the Akai MPK Mini
The CC button on the Akai MPK Mini is one of the most useful Akai MPK Mini control features. It allows you to switch between MIDI CC messages and MIDI Note On messages.
When the CC button is on, it will send CC (continuous controller) messages. This kind of MIDI message transmits a command, such as pan, sustain, and volume, along with a range of values from 0 to 127.
How to Use the CC Button for Enhanced Control
When the CC button is on, you can easily use streaming-type musical gestures. You will be able to use the pads on your Akai Mini to control parameters such as breath, volume, pan, and sustain. You can hit the pads at the value you want them to sound on as. Hitting them at full force will send a value range of 127 – the loudest value.
Benefits of MIDI Control with the CC Button
There are several benefits of the CC button for music production with the MPK Mini. It allows for MIDI controller expressiveness, as you can select different pads and control the value for each one. Even if you have a parameter mapped to zero, you can instantly send a different value with the pads.
Changing Programs on the Akai MPK Mini
You can use the AKAI MPK Mini Prog Change button to change programs. When this button is active, instead of sending Note On messages, the controller will send a message to select a specific program or preset. You can use it when you want to be able to quickly select a plugin preset.
You can also use the Akai MPK Mini Prog Select button to dynamically change controller presets. There are eight built-in presets on the controller. To change a preset, simply hold down the Prog Select button and then press down on a pad to select a number from one to eight.
Using the Akai MPK Mini Without a DAW

You can’t really use the Akai MPK Mini as a standalone device. You need a DAW or at least hardware synthesizers.
However, if you want to use the MPK Mini without a DAW, consider getting the MPK Mini Play version. It has built-in speakers, so you can use it as a standalone keyboard as well.
Remapping MIDI Controls on the Akai MPK Mini
You can remap your MIDI controller’s mappings using the Akai MPK Mini software. The MPK Editor allows you to map different pads to different drum elements. Different DAWs also have different options for mapping your controller. If you are using Ableton, watch this video. For MPC Beats, this video will show you how to customize your MPK Mini controls.
Conclusion
We hope this guide to the Akai MPK Mini CC button was useful. The MPK MIDI controller is very versatile, and it can take some time to truly master the Akai MPK Mini. Be patient with yourself and give yourself time to learn all of its controls.


