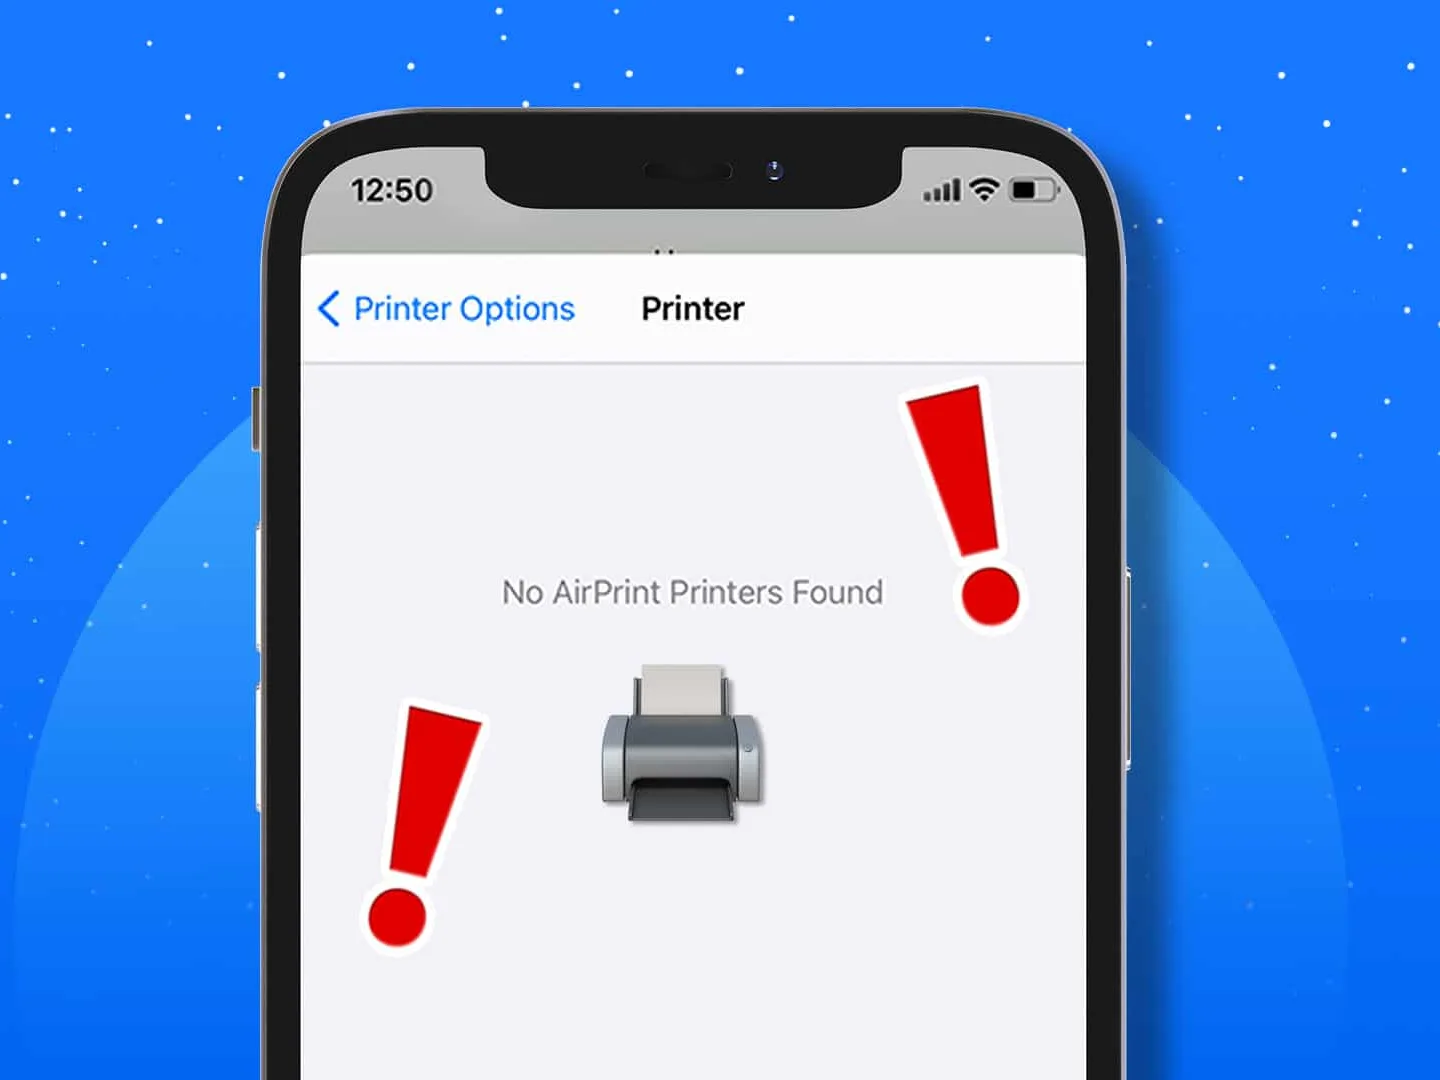
AirPrint is a convenient feature that allows you to wirelessly print from your iOS device, such as an iPhone or iPad, to an AirPrint-enabled printer. However, like any technology, it can sometimes encounter issues. If you’re experiencing problems with AirPrint, here are some troubleshooting steps you can take to get it working again.
1. Move the router closer to the printer: Sometimes, the distance between the router and the printer can affect the quality of the wireless connection. By moving the router closer to the printer, you can ensure a stronger and more stable connection.
2. Check for interference: Other electronic devices, such as cordless phones or microwave ovens, can interfere with the wireless signal. Make sure there are no such devices near your printer or router, or try moving them away to see if it improves the connection.
3. Check printer’s wireless connection: Ensure that your printer has its wireless connection switched on. You can usually find this setting in the printer’s menu or settings. If it’s turned off, switch it on and try printing again.
4. Check iOS device’s settings: Make sure your iOS device is not in Airplane mode, as this will disable the wireless connectivity. You can check this by going to the Settings app and ensuring that Airplane mode is turned off.
5. Check network connection: All devices involved in the printing process, including the printer, iOS device, and router, should be connected to the same network. If they are not, try connecting them to the same network and see if it resolves the issue.
6. Check printer connection status: On your printer, check if there is a light next to a Wireless icon or button. If there is, make sure the light is on. If it’s off or blinking, it indicates that the printer is disconnected from the network. In this case, you may need to reconfigure the printer’s wireless settings.
If none of these steps resolve the issue, you may need to consult the printer’s user manual or contact the manufacturer’s support for further assistance. It’s also worth checking if there are any software updates available for your printer or iOS device, as these updates can often fix compatibility issues.
If you’re experiencing AirPrint connectivity issues, there are several troubleshooting steps you can take to get it working again. By moving the router closer to the printer, checking for interference, ensuring the printer’s wireless connection is on, verifying the iOS device’s settings, and checking the printer’s connection status, you can increase the chances of resolving the problem. If all else fails, consult the user manual or contact the manufacturer’s support for further assistance.

Why Is My AirPrint Not Connecting?
There could be several reasons why your AirPrint is not connecting. Here are some possible explanations:
1. Distance between the router and the printer: Make sure that the router is within range of the printer. If it is too far away, the signal strength may be weak, resulting in connection issues. Move the router closer to the printer to improve the signal strength.
2. Interference: Check if there are any devices or obstacles that could be causing interference with the wireless signal. Other electronic devices, such as cordless phones or microwave ovens, can disrupt the connection. Ensure that the printer and the router are placed away from such potential sources of interference.
3. Printer’s wireless connection: Ensure that the printer has its wireless connection switched on. Some printers may have a physical switch or a button on the control panel to enable wireless connectivity. Consult the printer’s manual for specific instructions on how to turn on the wireless connection.
4. AirPlane mode on iOS device: Check if your iOS device is in AirPlane mode. When AirPlane mode is enabled, all wireless connections, including AirPrint, are disabled. Turn off AirPlane mode to allow the device to connect to the printer wirelessly.
5. Network compatibility: Ensure that all devices (printer, iOS device, and router) are connected to the same network. If the printer and the iOS device are on different networks, they won’t be able to communicate with each other. Check the network settings on each device and connect them to the same network.
By considering these factors and taking the necessary steps, you should be able to troubleshoot and resolve the issue with your AirPrint not connecting.
Why Is My IPhone Not Finding My AirPrint?
There could be several reasons why your iPhone is not finding your AirPrint printer. Here are some possible causes:
1. Check Wi-Fi connectivity: Ensure that your iPhone is connected to the same Wi-Fi network as your AirPrint printer. If they are connected to different networks, your iPhone may not be able to discover the printer.
2. Restart your devices: Sometimes, restarting your iPhone and AirPrint printer can help resolve connectivity issues. Turn off both devices, wait for a few seconds, and then turn them back on.
3. Update iOS: Make sure that your iPhone is running the latest version of iOS. Outdated software can sometimes cause compatibility issues with AirPrint.
4. Check printer compatibility: Ensure that your AirPrint printer is compatible with your iPhone model. Some older printer models may not be compatible with newer iPhone models.
5. Verify AirPrint support: Check if your printer supports AirPrint. Not all printers are AirPrint-enabled, and you may need to install a third-party app or use other printing methods if your printer does not support AirPrint.
6. Confirm printer connectivity: Ensure that the printer is connected to the same Wi-Fi network and that it has a stable wireless connection. Check if the printer’s wireless icon or button light is on and not blinking, indicating a successful connection.
7. Disable VPN or firewall: If you have a VPN or firewall enabled on your iPhone, it may interfere with the AirPrint discovery process. Try disabling them temporarily and check if your iPhone can find the printer.
8. Reset network settings: Resetting the network settings on your iPhone can help resolve any network-related issues. Go to Settings > General > Reset > Reset Network Settings. Note that this will remove all saved Wi-Fi passwords and other network settings.
If none of these solutions work, you may need to consult the printer manufacturer’s support documentation or contact their customer support for further assistance.
How Do I Enable My AirPrint Printer?
To enable your AirPrint printer, follow these steps:
1. Make sure your printer is connected to the same Wi-Fi network as your iOS device (iPhone, iPad, or iPod touch).
2. On your iOS device, open the app that you want to print from.
3. Look for the Share button (usually represented by a square with an arrow pointing upward) or the Actions button (represented by three dots or a box with an arrow) within the app. Tap on it.
4. Scroll down the options and locate the Print button or the word “Print.” Tap on it.
5. A Print Options screen will appear. Tap on “Select Printer” or “No Printer Selected.”
6. Choose your AirPrint-enabled printer from the list of available printers.
7. Customize your print settings if needed, such as selecting the number of copies or choosing double-sided printing.
8. Once you have configured the print settings, tap on the Print button (usually located at the top or bottom right corner).
9. Your iOS device will send the print job to your AirPrint printer, and it should start printing shortly.
Note: If you don’t see your AirPrint printer in the list, ensure that it is turned on and connected to the same Wi-Fi network. Sometimes, restarting the printer or updating its firmware can also resolve connectivity issues.
By following these steps, you should be able to enable your AirPrint printer and print from your iOS device easily.
How Do I Get My IPhone To Recognize My Wireless Printer?
To get your iPhone to recognize your wireless printer, follow these steps:
1. Tap on the “Settings” app on your iPhone’s home screen.
2. Scroll down and tap on “Hardware” (or “General” if you don’t see the “Hardware” option).
3. Look for and tap on “Printers” in the list of options.
4. Tap on “Create Printer Station” to set up a new printer station.
5. Enter a name for your printer station to easily identify it.
6. Tap on “Printer” to select the printer you want to connect to your iPhone.
7. If your printer supports AirPrint, you can tap on “Connect AirPrint Printer” and select your printer from the list of available printers.
8. Once you have selected your printer, your iPhone will attempt to connect to it. If successful, you will see a confirmation message.
In summary:
1. Open Settings.
2. Go to Hardware (or General) > Printers.
3. Create a new printer station.
4. Enter a name for the printer station.
5. Select the printer you want to connect to your iPhone.
6. If available, choose the printer from the AirPrint list.
7. Wait for the connection to be established.
By following these steps, you should be able to successfully connect your iPhone to your wireless printer and start printing wirelessly.
Conclusion
If you are experiencing issues with AirPrint not working, there are several troubleshooting steps you can take. First, ensure that your router is in close proximity to the printer and check for any potential interference that may be disrupting the wireless connection. Additionally, make sure that the wireless connection is switched on for the printer and that all devices, including your iOS device, are on the same network.
To check the printer connection status, verify that the wireless signal is on and that the printer is connected to the same network as your computer or mobile device. If there is a light next to a Wireless icon or button on your printer, make sure it is on. If it is off or blinking, this indicates that the printer is disconnected from the network.
To print using AirPrint, open the app from which you want to print and look for the print option. This can usually be found by tapping the app’s Share button or Actions button. Scroll down and tap the Print button. If the option to select a printer is not available, tap “No Printer Selected” and choose an AirPrint-enabled printer from the list.
If you still encounter difficulties, you can try creating a printer station in the settings of your iOS device. Tap Settings, then Hardware, then Printers, and finally Create Printer Station. Enter a name for the printer station and select the desired printer. Click “Connect AirPrint printer” and choose your printer from the available options.
By following these troubleshooting steps, you should be able to resolve any issues you may be facing with AirPrint not working and successfully print from your iOS device.


