Are you looing for a way to add your HomePod to HomeKit? Adding the HomePod to your HomeKit setup is easy and can be done in just a few steps.
First, you’ll need the Home app on your iOS or iPadOS device. Open the app and tap on “Add Accessory” to start the process. You’ll then be asked to scan in the HomeKit code that coms with your HomePod. Use your iPhone’s camera to do this, and make sure you keep track of the device, location, and code so you have it for future use.
Once the code has been successfully scanned in, you’ll be asked to name your HomePod and give it a unique room name. After that, you’ll see it appear in your list of accessories in the Home app.
You can also pair two HomePod mini speakers or two HomePod speakers in the same room to create left and riht channels for an immersive soundstage. To do this, open up the Home app and touch and hold one of the speakers. Scroll down and select “Create Stereo Pair” then follow the instructions on screen.
Adding your HomePod to HomeKit is a great way to get started with smart home automation! With voice control though Siri, you can turn on lights, adjust thermostats, raise window shades, and more—all with just a few simple commands. So get started today by adding your HomePod to HomeKit!
Using HomePod for HomeKit
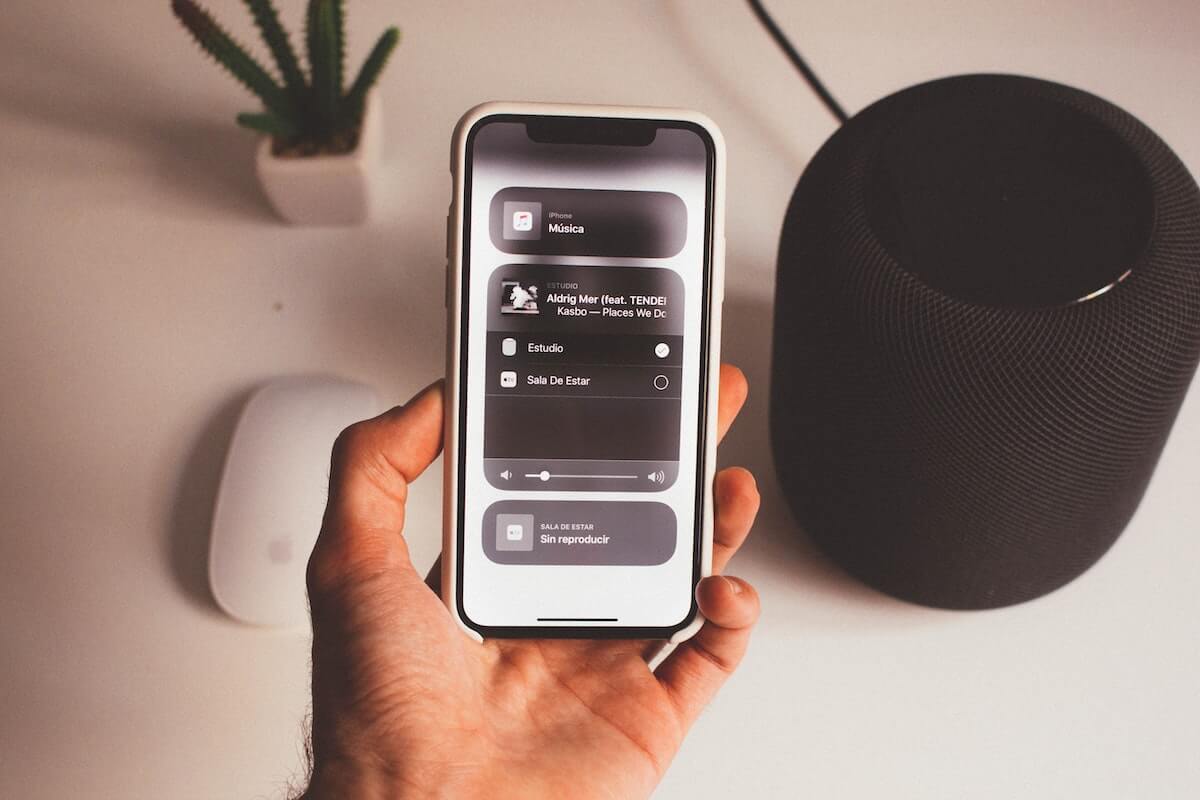
Yes, you can use HomePod as a home hub to control HomeKit accessories like lights, thermostats, and window shades. When you’re at home, you can control those accessories with your voice uing HomePod. And when you’re away from home, you can use the Home app on an iOS or iPadOS device to access and control your HomeKit accessories.
Adding a Device to HomeKit
To add a device to HomeKit, you’ll need to use the HomeKit app on your iPhone. Begin by finding the HomeKit code that coms with your device – this is usually printed on the device itself or in its accompanying documentation. Using your iPhone’s camera, scan in the code to add it to your HomeKit setup. If you’re unable to scan the code, you may need to enter it manually into the app. Once added, you can name and assign a location for your new device. It’s also a good idea to keep track of all of your devices and their corresponding HomeKit codes for future reference.
Adding a Second HomePod Mini to HomeKit
To add a scond HomePod mini to your HomeKit setup, open the Home app on your iOS or iPadOS device and select the Add Accessory option. On the next page, select Don’t Have a Code or Can’t Scan? and then select HomePod mini from the list of accessories. Once you’ve selected your HomePod mini, you’ll be prompted to scan its code with your device’s camera or manually enter it. After that, you can assign your new HomePod mini to a room in your home, give it a name, and it will be ready for use with HomeKit.
Adding Devices to HomeKit
No, not all devices are compatible with HomeKit. In order to add a device to HomeKit, it must be certified as HomeKit-enabled. This means that it must have been designed with the Apple HomeKit framework in mind. Certain manufacturers have made their devices HomeKit-compatible, such as Philips Hue lights and Nest thermostats, while others have not. Additionally, some devices may require additional hardware or software in order to be used with HomeKit. Therefore, before purchasing a device for use with HomeKit, you shold always check if it is compatible.
Do I Need a HomePod for HomeKit?
No, you do not need a HomePod to use HomeKit. HomeKit is Apple’s home automation platform and it is designed to be used with any compatible device, including an iPhone, iPad, or Mac. While adding a HomePod will open up some great features, such as being able to control your home with voice commands, it is not necessary for setting up a HomeKit system. You can also use an Apple TV or an iPad as a hub if you choose to do so.
Can Three HomePod Minis Be Used Together?
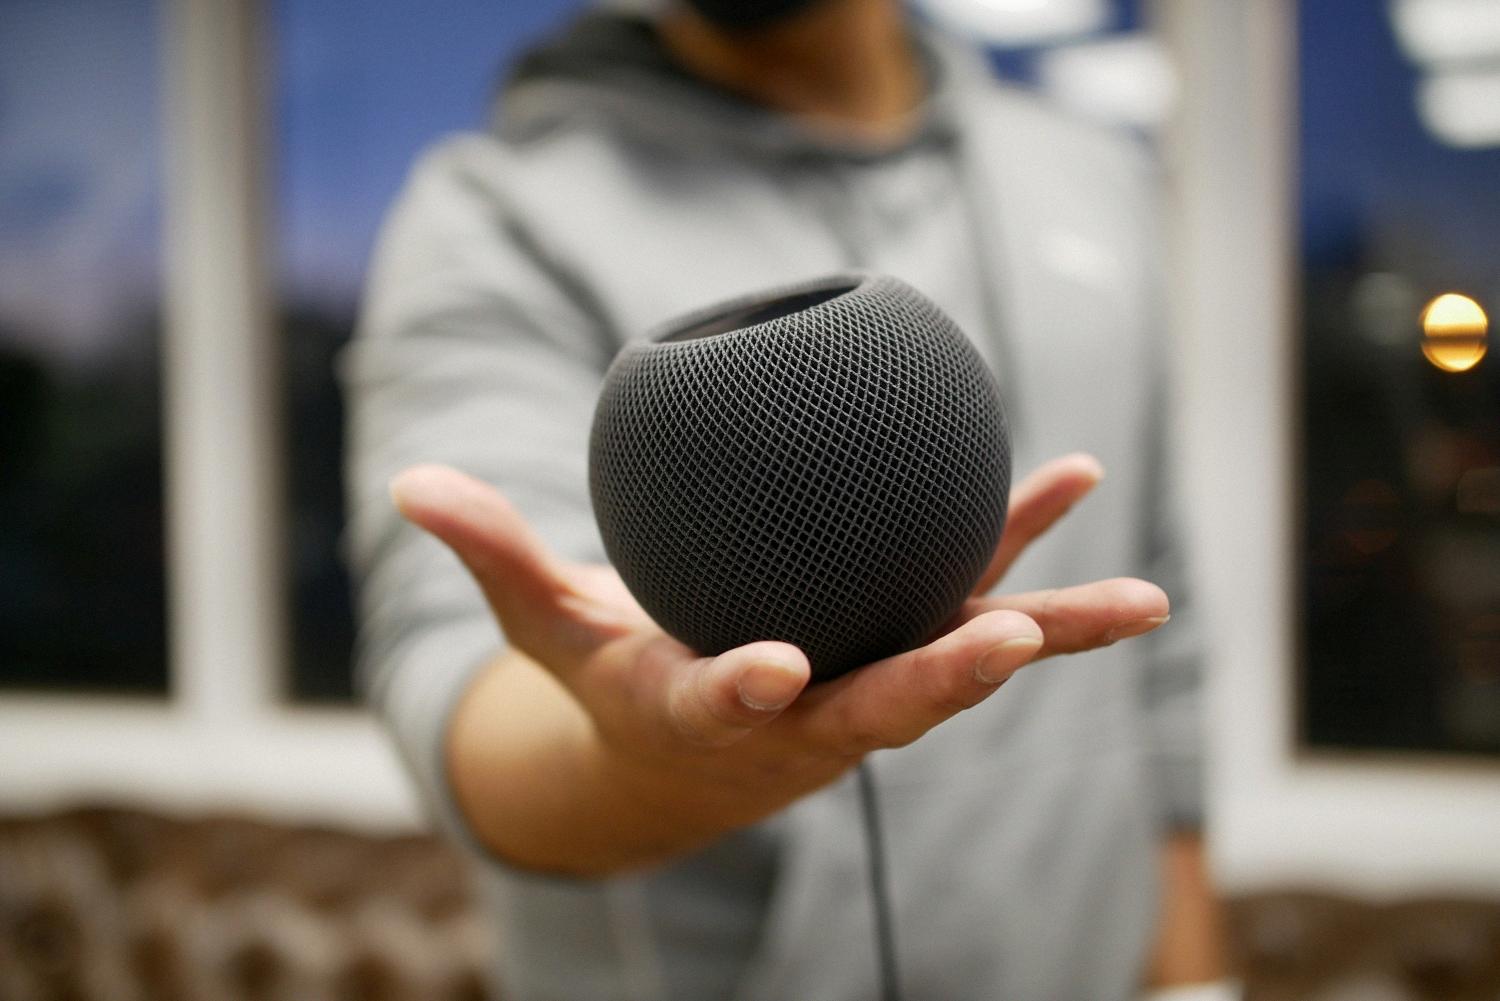
Unfortunately, no, you canot have three HomePod minis. Each HomePod mini is designed to work on its own as a standalone speaker and is not currently able to be paired or used in combination with other HomePod minis. However, you can have more than two HomePods (i.e. a pair and a single HomePod for example) in the same room controlled via the same zone in the Apple Home app.
Source: digitaltrends.com
Adding HomePod Mini to Your Home
To add a HomePod mini to your home, first open the Home app on your iPhone or iPad. Tap the add button, the plus sign at the top right of your screen. Select Add Accessory. Tap More options and choose HomePod mini. The app will then guide you through the setup process, whih includes choosing a room for your HomePod mini and connecting it to Wi-Fi. After that, you’ll be able to use it with all of your Apple devices and services!
Can Two People Own a HomeKit Device?
Yes, you can have two owners on HomeKit. If you have multiple homes set up, each home can have its own owner. To add an additional owner to a home, open the Home app on your iPhone or iPad and tap or click the More button in the upper-right corner. Select Home Settings for the Home you wish to add an additional owner to and then tap or click Invite People. Enter the Apple ID of the person you wish to invite and they will receive an invitation via email or text message with instructions on how to join your home as an Owner.
Conclusion
In conclusion, adding a HomePod to HomeKit is an easy process that will allow you to control your HomeKit accessories with your voice when you’re at home or with the Home app on an iOS or iPadOS device when you’re away from home. To add your devices to HomeKit, typically you will need to scan in the device’s HomePod code using your iPhone’s camera and make sure to keep track of your codes for future use. You can also pair two HomePod mini speakers or two HomePod speakers in the same room to create left and riht channels for an immersive soundstage. By following these steps, you can easily add a HomePod to your HomeKit and take advantage of all its features.


