When it comes to troubleshooting issues on your Mac, having access to powerful tools can make all the difference. One such tool that every Mac user should be familiar with is Single User Mode. In this article, we’ll explore what Single User Mode is, how to access it, and the various tasks you can perform using this mode.
What is Single User Mode?
Single User Mode is a mode in which your Mac boots into a single superuser, giving you exclusive access to your system. While it may sound technical, Single User Mode is actually a valuable tool for both advanced users and beginners alike. It allows you to perform maintenance tasks and troubleshoot problems that may require exclusive access to shared resources, such as running disk repairs or resetting passwords.
How to Access Single User Mode
To access Single User Mode, follow these simple steps:
1. Shut down your Mac completely.
2. Press and hold the power button.
3. Wait until you see the Apple logo or a spinning globe.
4. Release the power button.
5. In the Recovery app window, choose Utilities > Terminal.
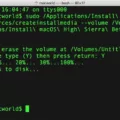
Once you’ve successfully accessed Single User Mode, you’ll be greeted with a command prompt, similar to the Terminal app. From here, you can manually run various troubleshooting utilities and commands to diagnose and fix issues on your Mac.
Tasks You Can Perform in Single User Mode
Single User Mode gives you access to a wide range of powerful tools and commands. Here are some common tasks you can perform:
1. Running File System Checks: One of the most common tasks performed in Single User Mode is running a file system check (fsck) to repair any errors on your hard drive. This is particularly useful if you’re experiencing frequent crashes or encountering disk-related errors.
2. Resetting Passwords: If you’ve forgotten your administrator password, Single User Mode allows you to reset it easily. By using the appropriate commands, you can regain access to your Mac without losing any data.
3. Managing Startup Items: If you’re experiencing slow startup times or unexpected behavior during boot, Single User Mode allows you to manage and disable problematic startup items. This can help resolve issues caused by incompatible or faulty software.
4. Network Troubleshooting: Single User Mode also provides access to network commands, allowing you to troubleshoot connectivity issues, reset network settings, or test network configurations.
Closing Thoughts
Single User Mode is a powerful tool that can help you troubleshoot and fix various issues on your Mac. By accessing this mode, you gain exclusive control over your system, allowing you to perform maintenance tasks and run powerful commands. Whether you’re an advanced user or a beginner, Single User Mode is a valuable resource in your troubleshooting arsenal.
Remember, when you’re done using Single User Mode, you can easily disable it by typing ‘exit’ or ‘reboot’ at the command prompt. This will restart your Mac and boot it back into the normal operating mode.
So the next time you encounter an issue with your Mac, don’t panic. Instead, consider using Single User Mode to take control and resolve the problem with ease. Happy troubleshooting!
What Does Single-user Mode Do?
Single-user mode is a specific mode in which a computer operating system starts up with only one user, known as the superuser or root user, having complete control and access to the system. In this mode, the operating system bypasses the normal multi-user environment and only allows the superuser to perform tasks and make changes.
Here are some key features and functionalities of single-user mode:
1. Exclusive access: Single-user mode provides exclusive access to the superuser, ensuring that no other users or processes are active during this mode. This allows the superuser to perform maintenance and troubleshooting tasks without interference or conflicts.
2. Maintenance and repair: Single-user mode is primarily used for system maintenance, repair, and recovery. It allows the superuser to perform various tasks such as disk checking and repair, file system recovery, software updates, and configuration changes that may require exclusive control over system resources.
3. Troubleshooting: When a system encounters issues or errors during normal booting, single-user mode can be used to isolate and diagnose the problem. By starting up in single-user mode, the superuser can investigate and fix system errors, incorrect configurations, or problematic software installations.
4. Network server maintenance: In network server environments, single-user mode is particularly valuable. It enables administrators to perform critical tasks on network servers without disrupting the services provided to other users. For example, running file system checks or making changes to network configurations can be done in single-user mode to avoid impacting regular network operations.
5. System customization: Single-user mode allows the superuser to modify system settings, install or uninstall software, and make configuration changes that may require exclusive control over the system. This can be useful for customizing the system to meet specific requirements or resolving compatibility issues.
6. Security and protection: Single-user mode enhances system security by limiting access to a single authorized user. This helps prevent unauthorized users from gaining control over the system and making potentially harmful changes.
Single-user mode is a specialized mode that grants exclusive control and access to the superuser. It is primarily utilized for system maintenance, repair, troubleshooting, network server maintenance, system customization, and ensuring system security.
What is The Difference Between Safe Mode And Single-user Mode On Mac?
Safe mode and single-user mode on Mac are two distinct modes that serve different purposes in troubleshooting and fixing issues with the system.
Safe mode, also known as a diagnostic mode, is designed to help identify and resolve problems that may occur during regular system startup. When you boot your Mac into safe mode, it performs a series of automated checks and disables certain software and extensions that could potentially cause conflicts or issues. This mode is especially useful when you encounter problems like frequent crashes, software compatibility issues, or performance slowdowns. By loading only essential system components, safe mode allows you to isolate the problem and determine whether it is caused by a third-party application, device driver, or system software.
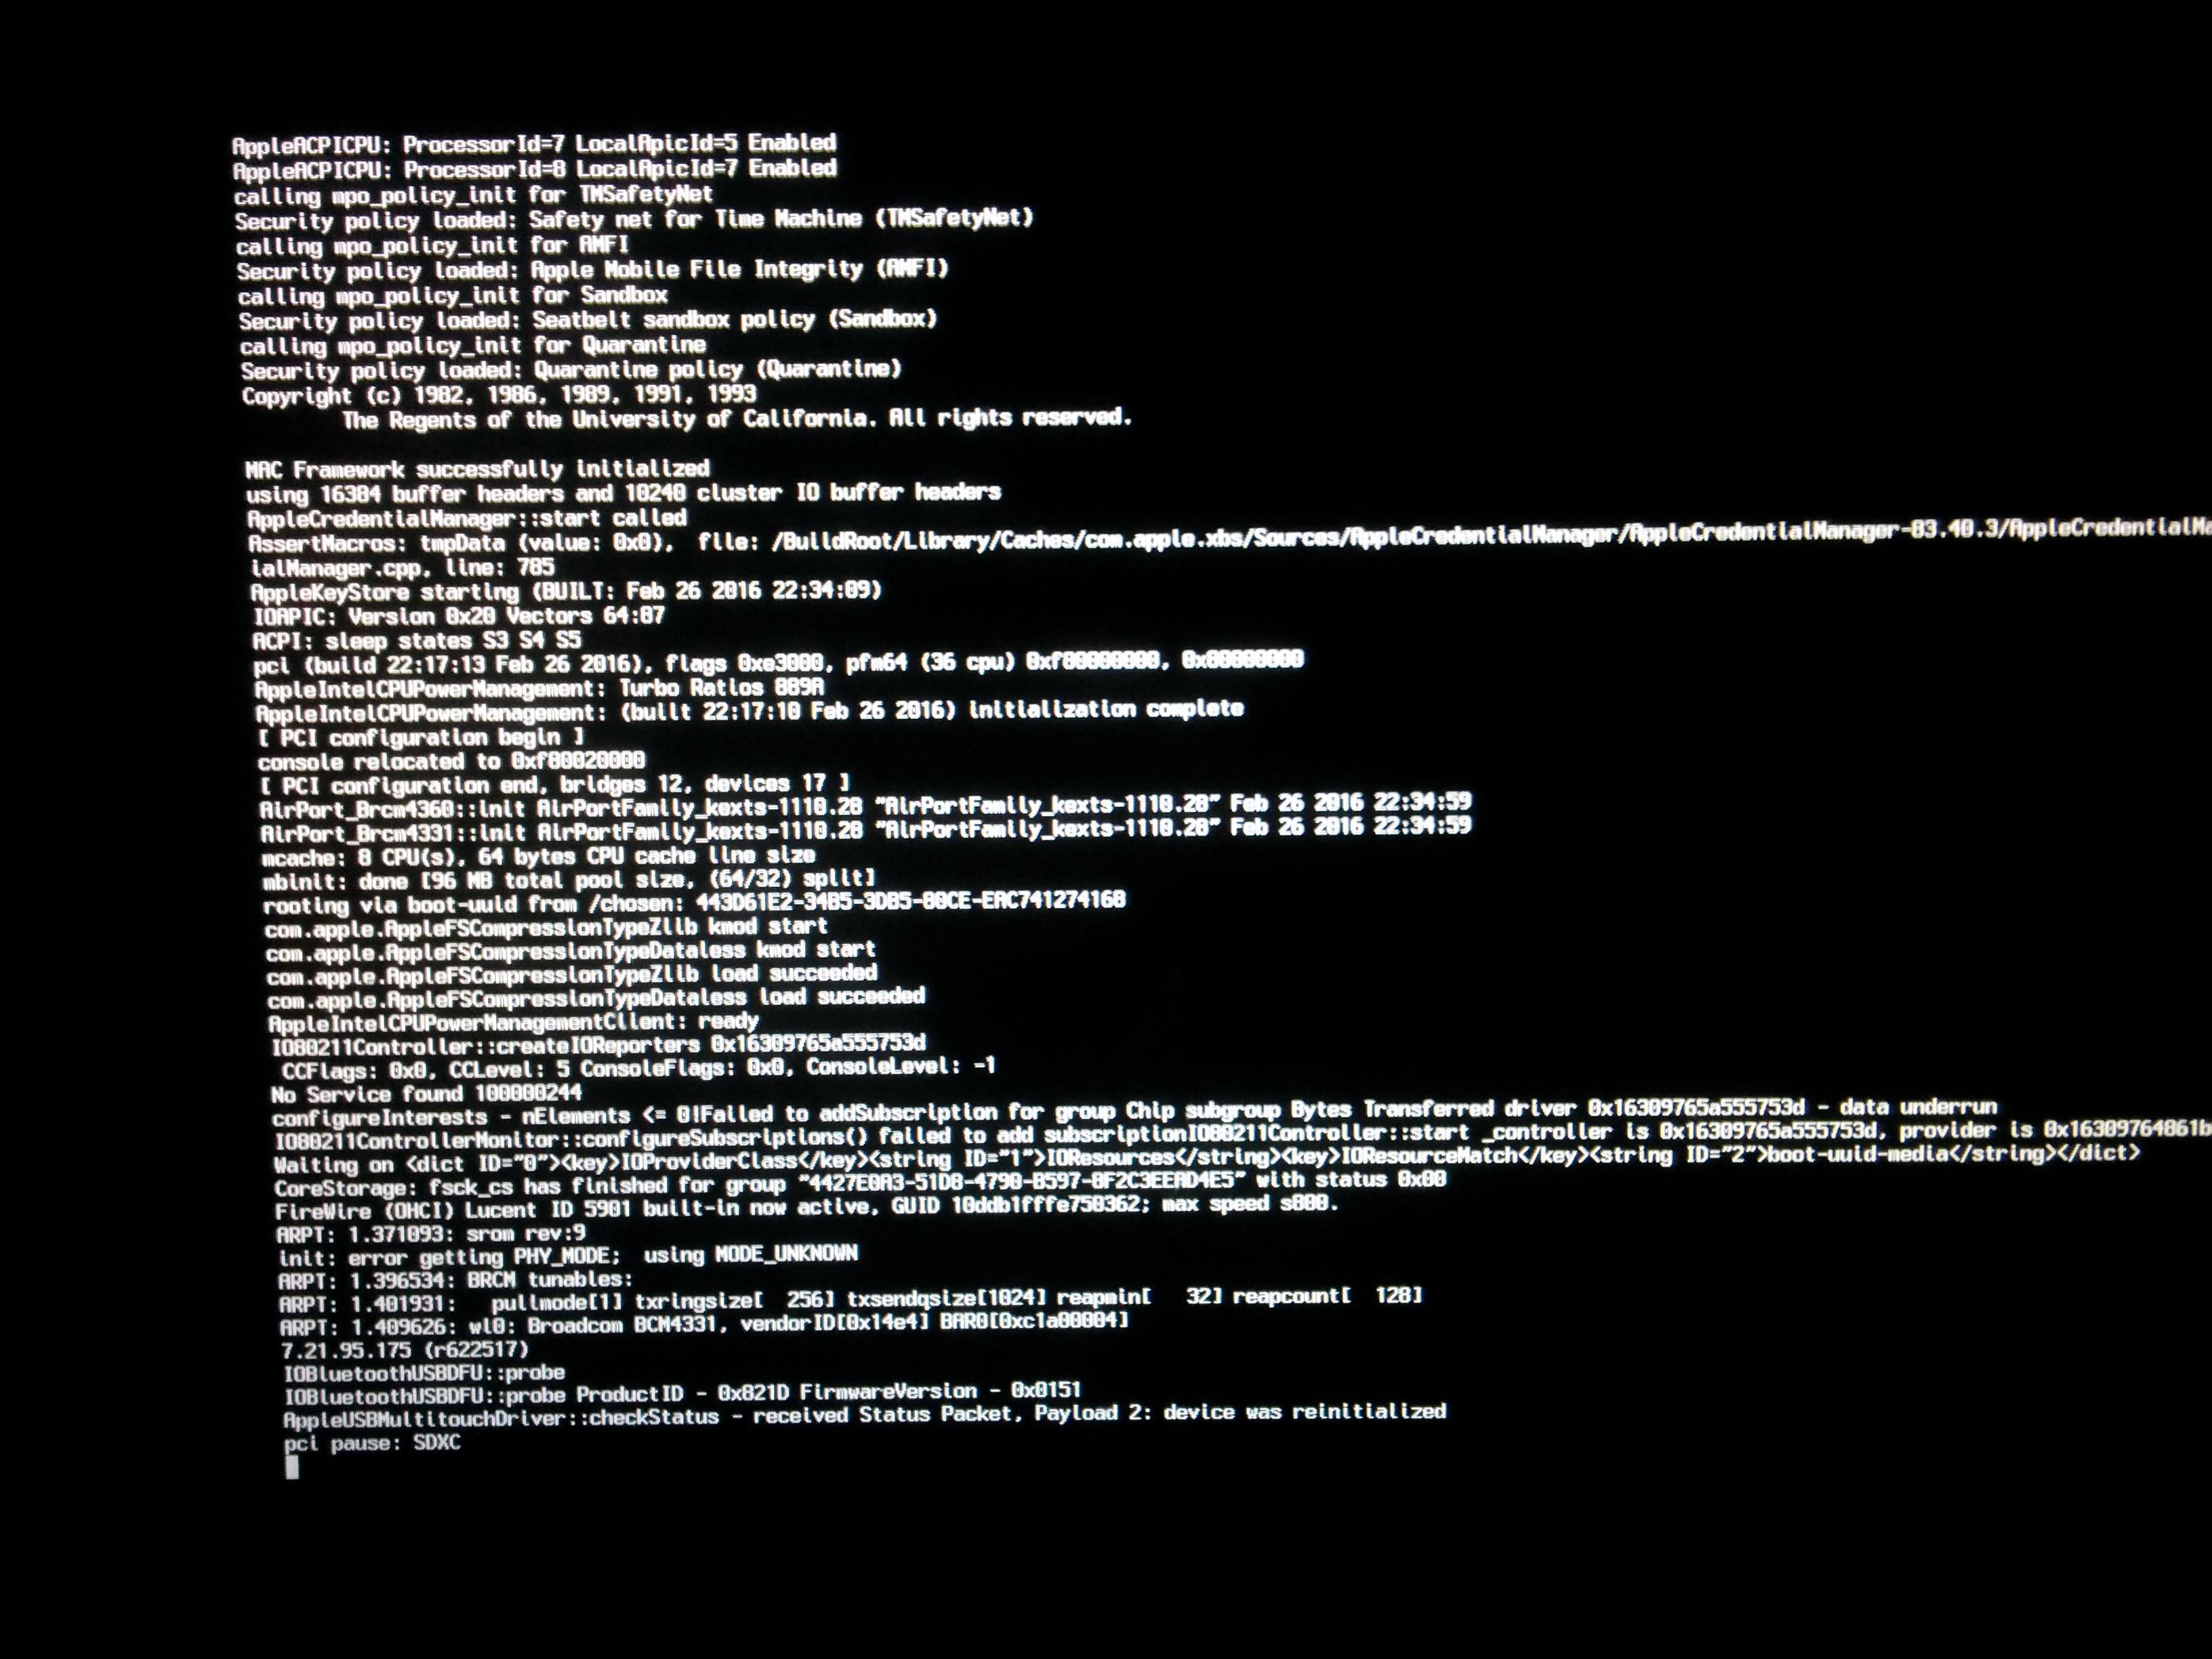
On the other hand, single-user mode provides a command-line interface similar to the Terminal app, giving advanced users and system administrators direct access to the underlying UNIX-based operating system. It allows you to execute commands and perform various troubleshooting tasks manually. Single-user mode is typically used for more advanced troubleshooting, such as repairing disk errors, resetting passwords, or modifying system files. It provides a higher level of control over the system and allows you to run specific utilities like fsck for file system repairs or launchctl for managing system services.
The differences between safe mode and single-user mode on Mac:
Safe Mode:
– Automated mode for identifying and resolving startup issues.
– Disables third-party software and extensions.
– Helps isolate the cause of crashes, performance problems, or software conflicts.
– Provides a simplified environment for troubleshooting.
Single-User Mode:
– Command-line interface similar to Terminal.
– Allows manual execution of commands and advanced troubleshooting.
– Used for repairing disk errors, resetting passwords, or modifying system files.
– Provides direct access to the underlying UNIX-based system.
– Offers more control and flexibility for experienced users and system administrators.
How Do You Get Out Of Single-user Mode On a Mac?
To exit Single User Mode on a Mac, follow these steps:
1. From the Single User Mode command prompt, type ‘exit’ and press the Return key. This command will exit Single User Mode and boot your Mac into the regular operating system.
Alternatively, you can use the ‘reboot’ command instead of ‘exit’. This will also restart your Mac and take it out of Single User Mode.
2. After entering the command, your Mac will start the normal booting process and eventually load the macOS or OS X operating system.
It’s important to note that if you manually entered Single User Mode by holding down Command (⌘) and S keys during startup, you won’t encounter it again unless you intentionally initiate it in the future. The regular startup process will resume automatically.
Remember, Single User Mode is a troubleshooting environment, and it’s recommended to use it only if you have a good understanding of the commands and know exactly what you’re doing.
How Do You Boot Into Single-user Mode M1?
To boot into single-user mode on M1 Mac, follow these steps:
1. Shut down your Mac completely.
2. Press and hold the power button until you see the Apple logo or a spinning globe.
3. Release the power button.
Your Mac will now enter the Recovery app window. To access the Terminal, follow these steps:
1. In the Recovery app window, click on the “Utilities” menu at the top.
2. From the drop-down menu, select “Terminal.”
Now you are in the Terminal, where you can execute commands and perform various tasks. Single-user mode allows you to troubleshoot and perform maintenance tasks on your Mac. Here are a few commands you can use in single-user mode:
– To mount the root file system as writable: `mount -uw /`
– To check and repair the file system: `fsck -fy`
– To start up your Mac normally after performing tasks: `reboot`
Remember to be cautious while executing commands in single-user mode, as they can have significant effects on your system.
Conclusion
Single User Mode on a Mac is a powerful troubleshooting tool that provides users with direct access to the system’s command line interface. This mode is particularly useful for performing maintenance tasks, such as running disk checks or repairing system files, especially in multi-user environments like network servers. It allows for exclusive access to shared resources and gives experienced UNIX users the ability to manually execute various troubleshooting utilities and commands.
Unlike Safe Mode, which is more automated and geared towards fixing common Mac issues, Single User Mode provides a more hands-on approach. It resembles the Mac’s Terminal app, granting users with a deeper level of control and flexibility in resolving complex problems. Whether it’s diagnosing and fixing disk errors or resolving software conflicts, Single User Mode offers a robust set of tools and capabilities for advanced users.
Disabling Single User Mode is a straightforward process. Simply type ‘exit’ or ‘reboot’ at the command prompt and hit the Return key. You can also shut down your Mac and hold the power button until you see the Apple logo or a spinning globe. Alternatively, you can access Single User Mode through the Recovery app window by choosing Utilities > Terminal. These options allow users to seamlessly transition out of Single User Mode and return to normal system functionality.
Single User Mode on a Mac is an invaluable resource for troubleshooting and maintaining the system’s health. It empowers users to address complex issues, especially in multi-user environments, and provides a level of control that is not easily achieved in other modes. With its command line interface and access to powerful utilities, Single User Mode offers a comprehensive solution for advanced users seeking to resolve intricate problems on their Mac.

