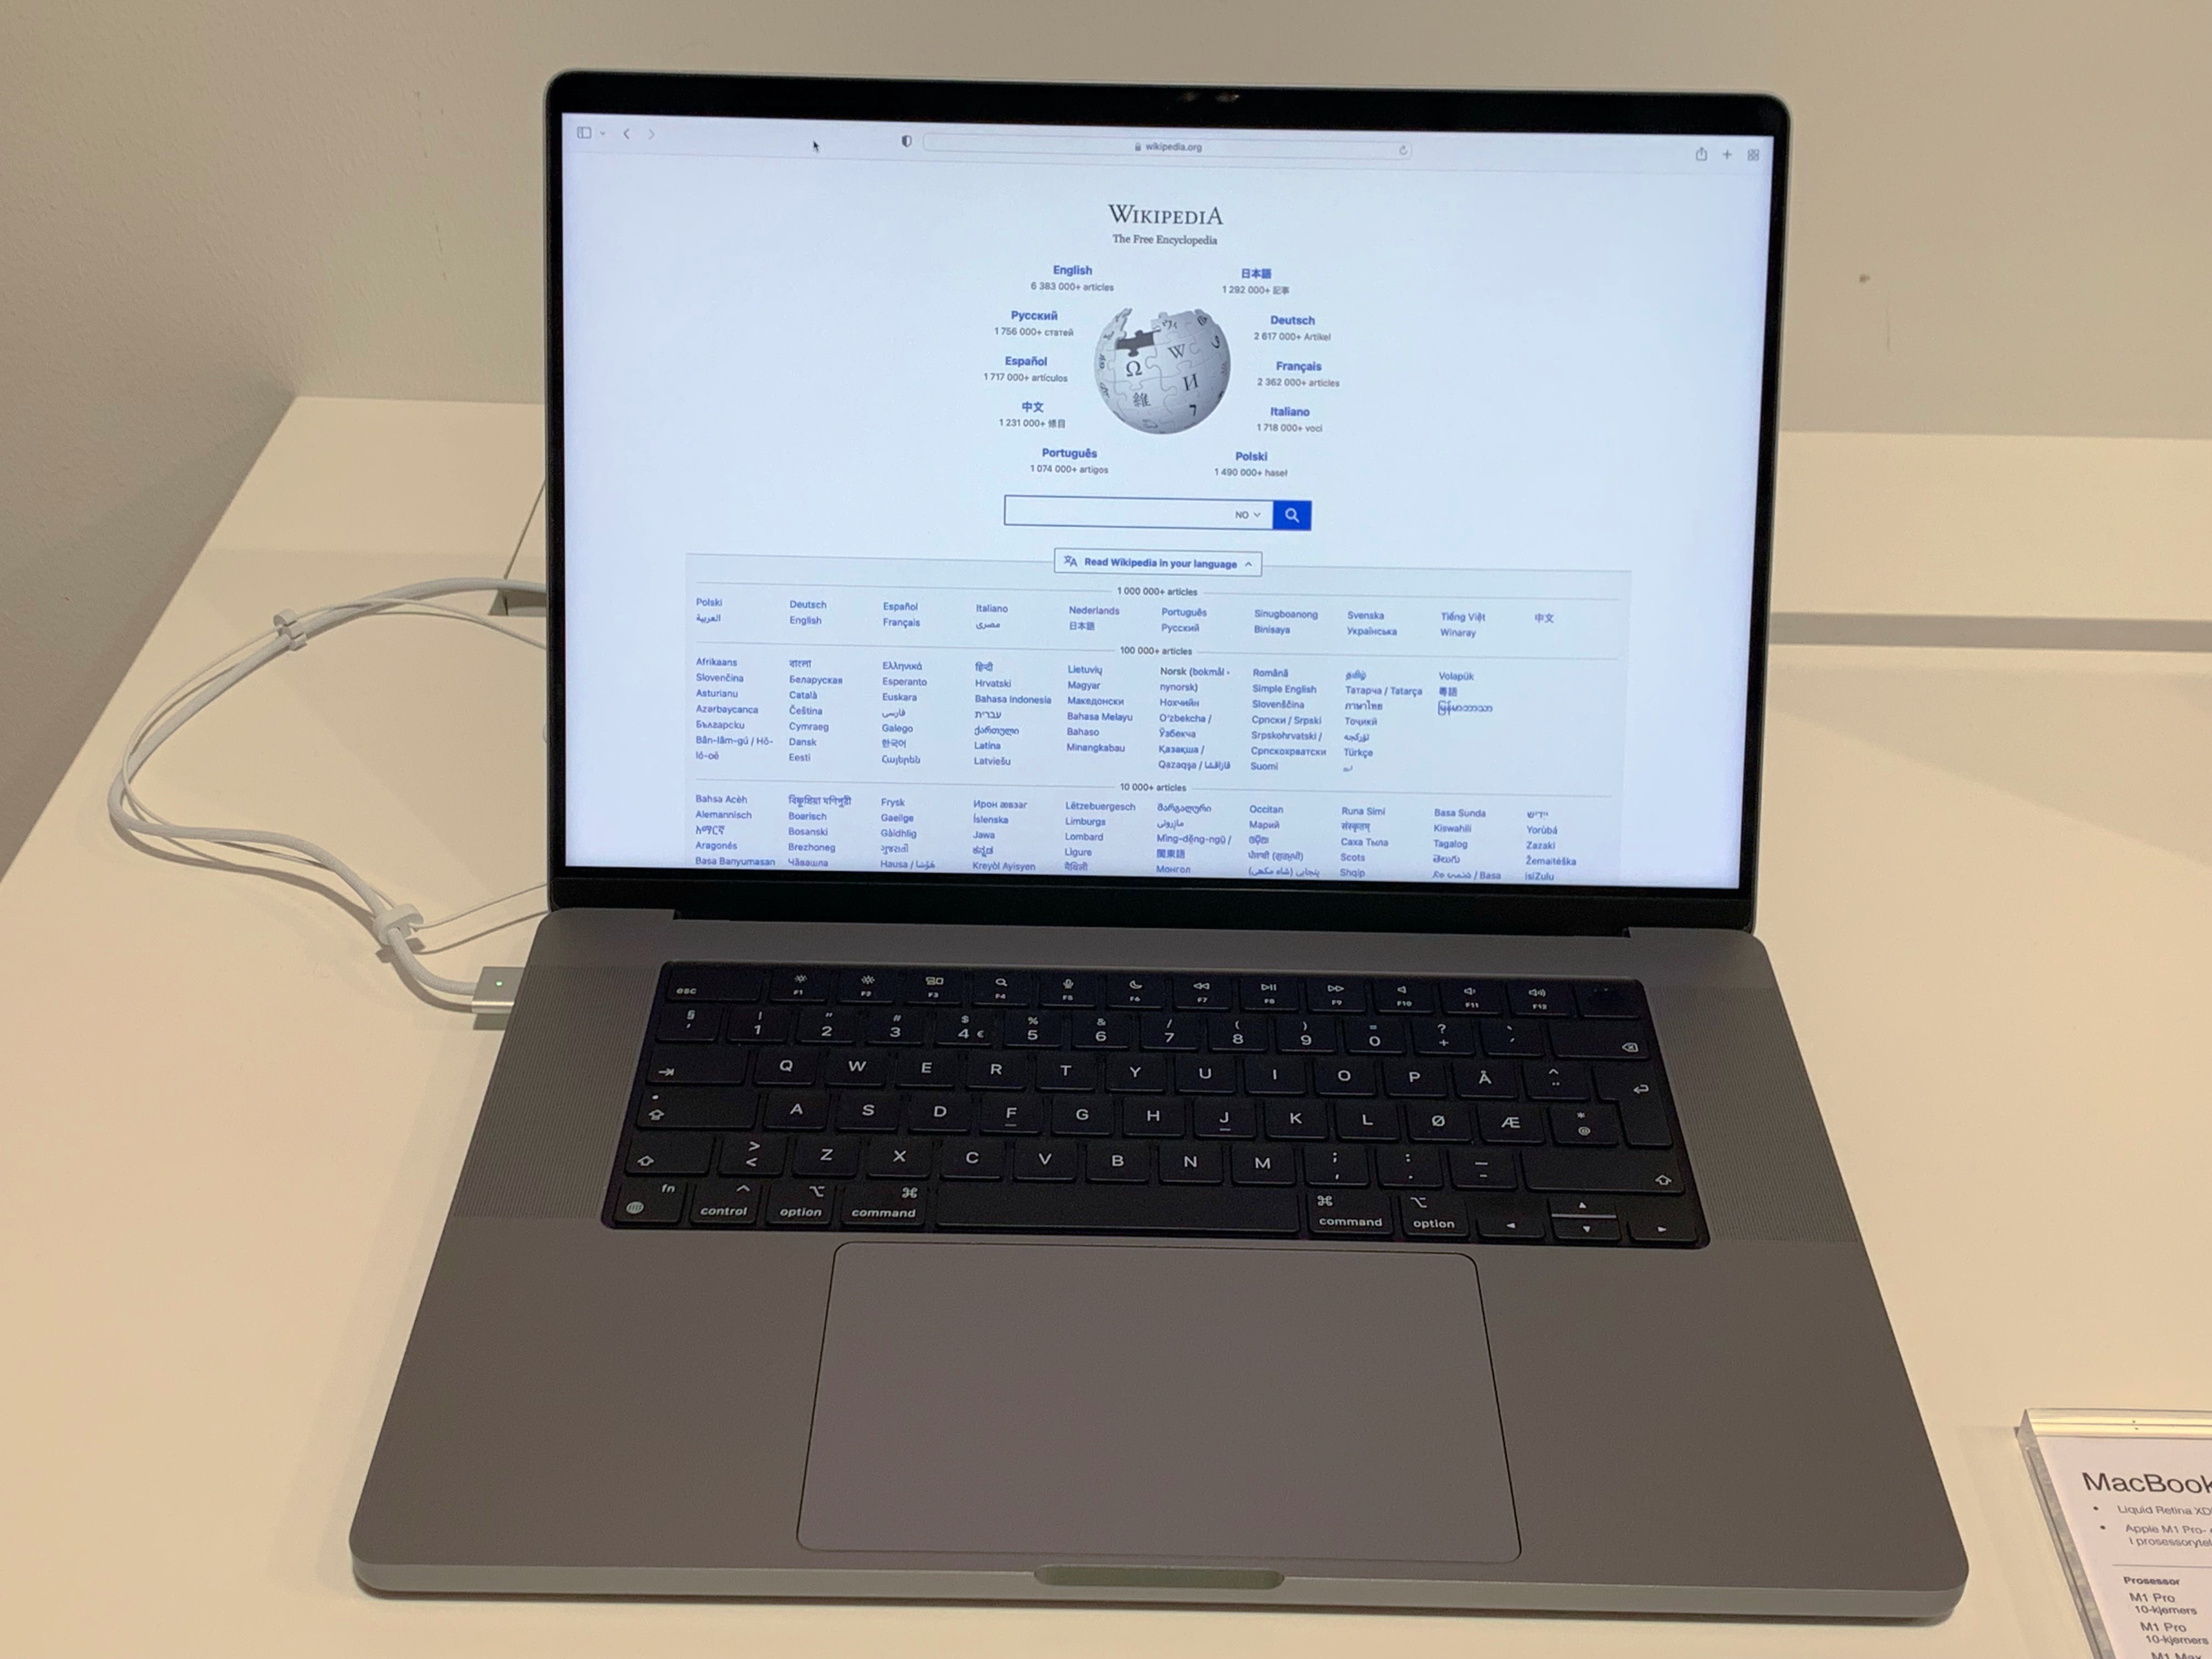
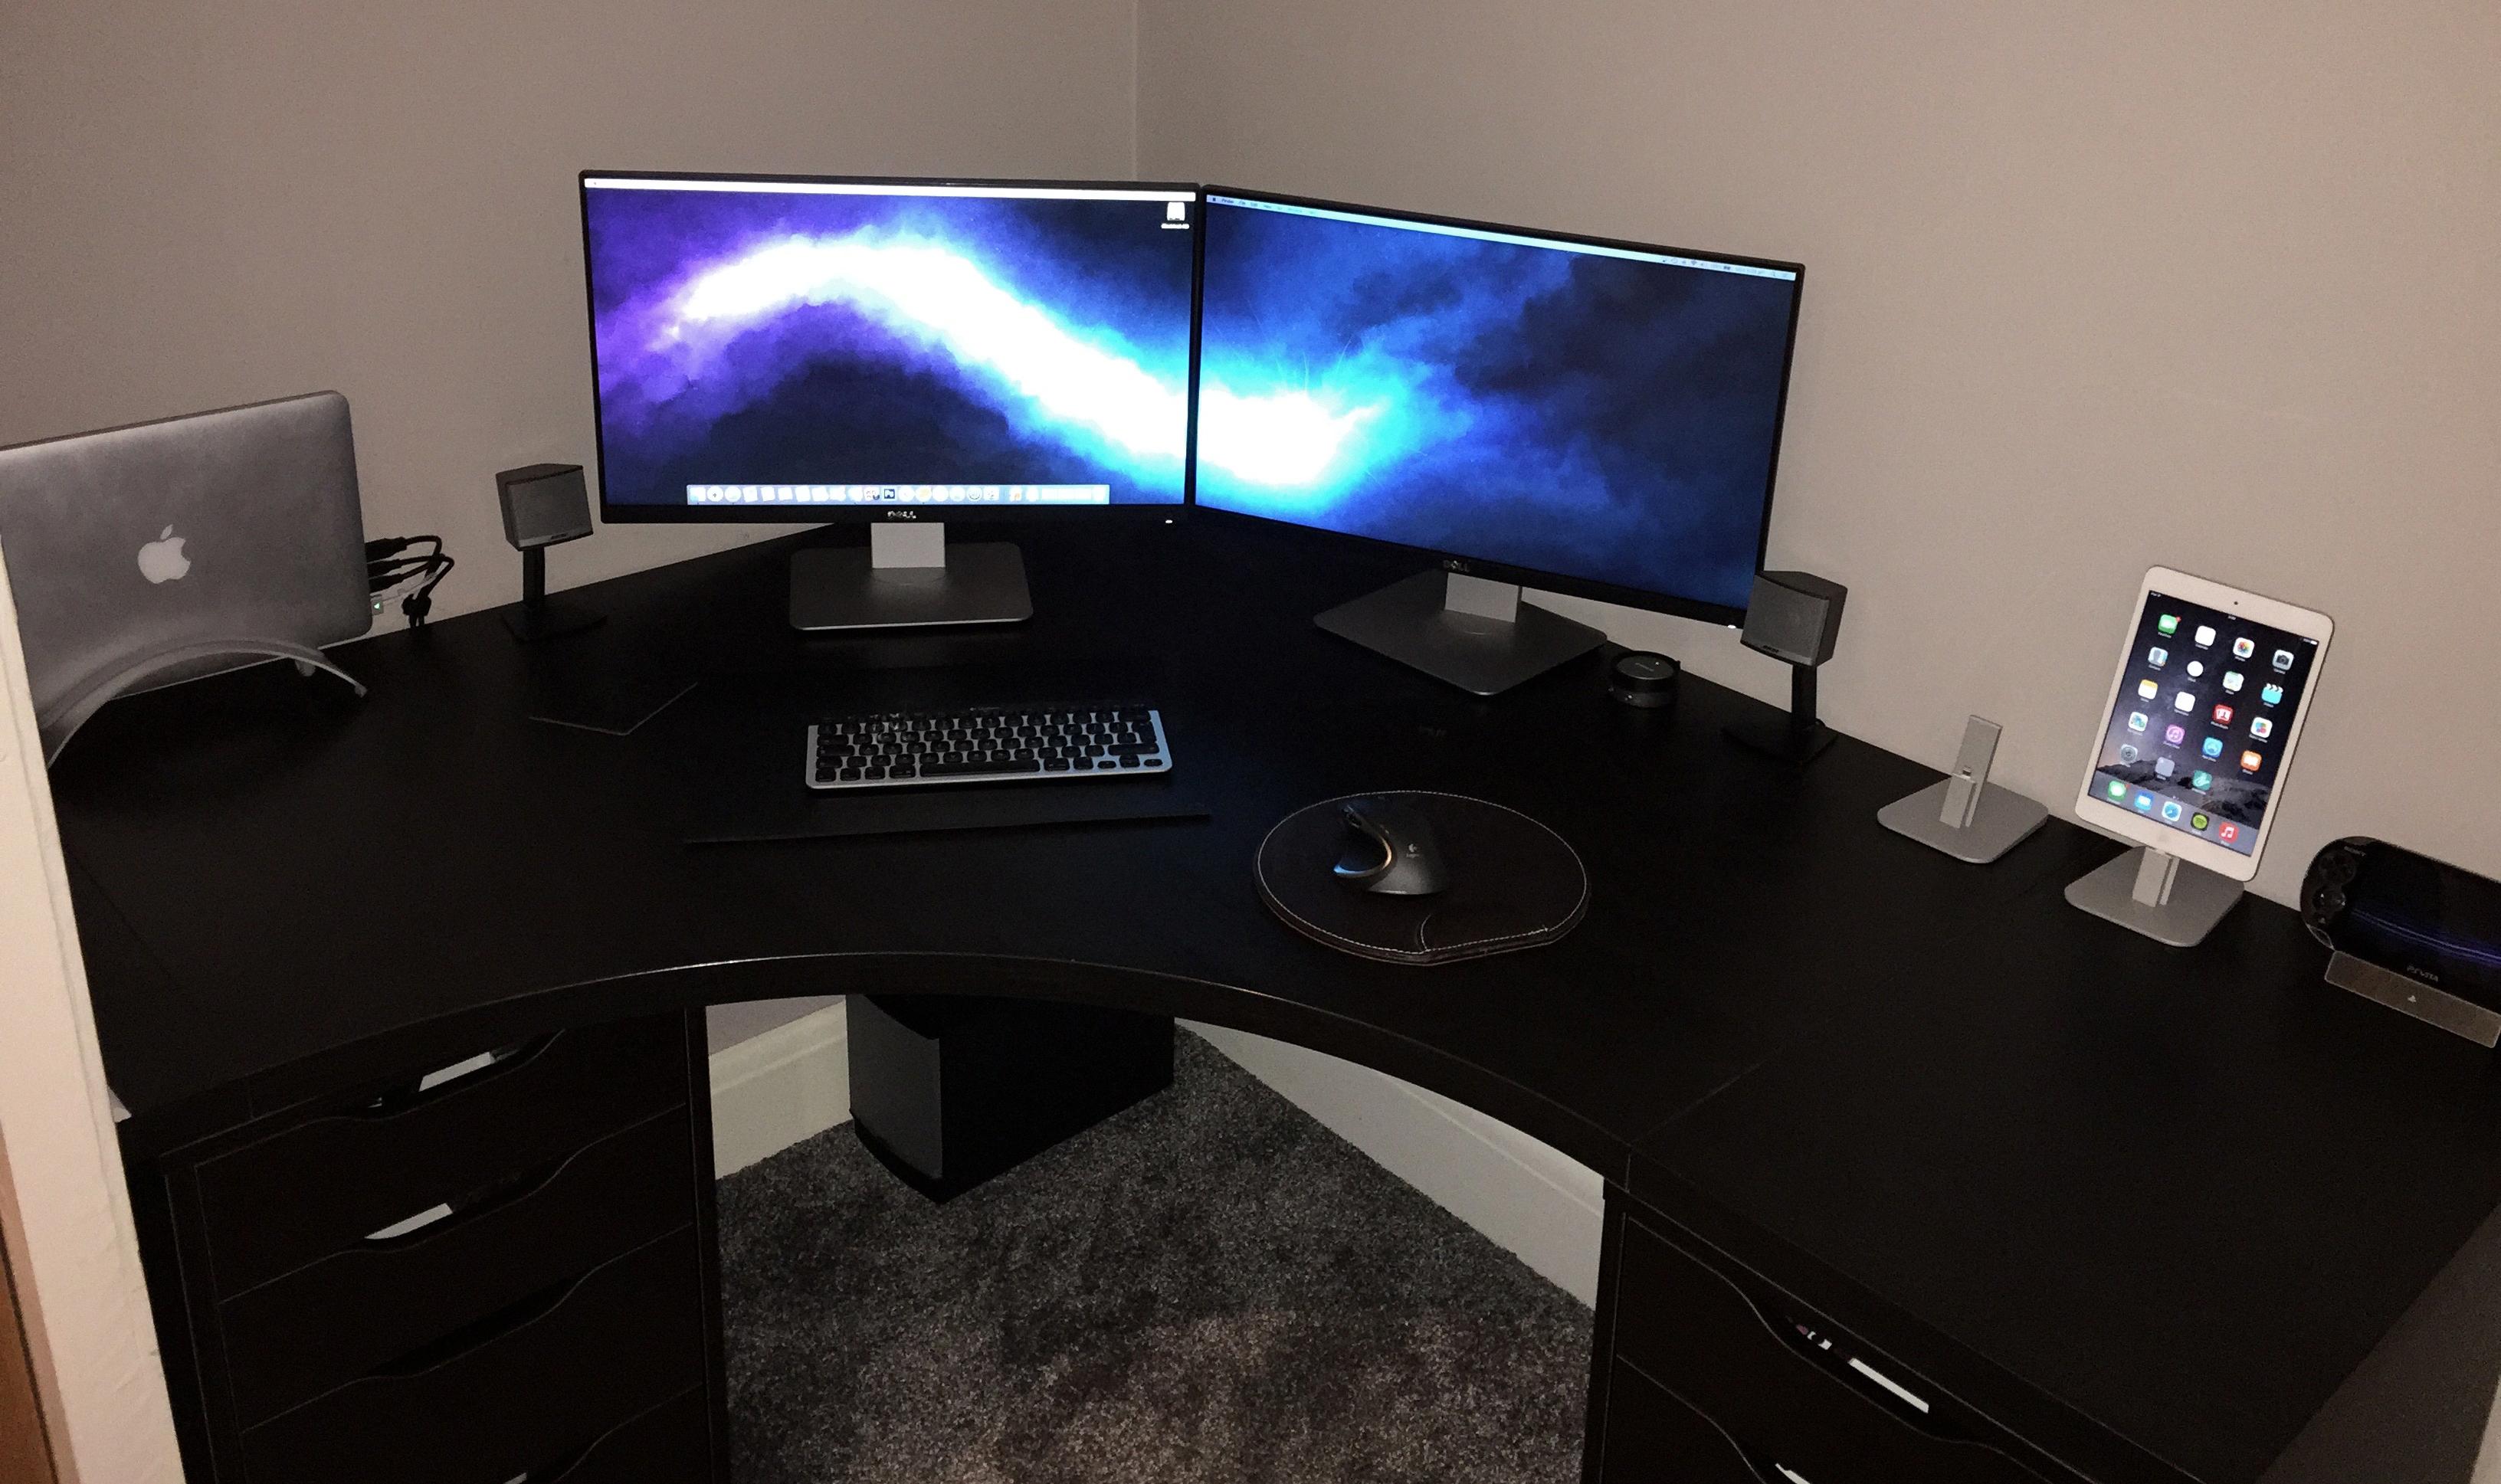
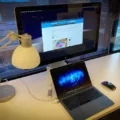
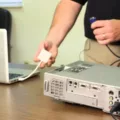
The Macbook Pro is a powerful and versatile laptop that is widely used by professionals and enthusiasts alike. One of its key features is its ability to connect to external displays, allowing users to expand their workspace and enhance their productivity. However, there are instances where the Macbook Pro may not detect an attached external display, causing frustration and inconvenience for users. In this article, we will explore the possible reasons why this issue occurs and provide some troubleshooting steps to resolve it.
Firstly, it is important to ensure that the display cable is securely connected to the correct port on your Macbook Pro. Sometimes, a loose or faulty connection can prevent the display from being recognized. Unplug the cable from both the Macbook Pro and the display, then firmly plug it back in to ensure a secure connection. Additionally, make sure that you are using the correct cable for your display. Macbook Pro models may have different port options, such as HDMI or Thunderbolt/USB 4, so it is crucial to use the appropriate cable for your specific model.
If you are using an HDMI display, you can directly connect it to the HDMI port on your Macbook Pro. Ensure that the cable is securely connected to both the display and the Macbook Pro. If you have a 13-inch Macbook Pro, you may need to use a USB-C Digital AV Multiport Adapter to connect the HDMI display to a Thunderbolt/USB 4 port. This adapter allows you to connect HDMI displays using the USB-C port on your Macbook Pro.
After ensuring the correct cable and a secure connection, you can proceed with some troubleshooting steps on your Macbook Pro. Start by going to the Apple menu, located in the top-left corner of your screen, and select System Settings (or System Preferences). In the System Settings window, click on Displays.
While in the Displays settings, press and hold the Option key on your keyboard. This will reveal the Detect Displays button. Click on the Detect Displays button to prompt your Macbook Pro to search for any connected displays. This action may help your Macbook Pro recognize the external display that was previously not detected.
If the issue persists, you can try restarting your Macbook Pro. Sometimes, a simple restart can resolve minor software glitches or conflicts that may be causing the display detection issue. If you are unable to restart your Macbook Pro through the usual method, you can press and hold the power button for about 10 seconds to force it to turn off. Afterward, press the power button again to turn it back on.
If your Macbook Pro is not detecting an external display in Big Sur, there are several troubleshooting steps you can try. Ensure a secure connection by checking the cable and port compatibility. Use the correct cable for your display and make sure it is securely plugged into both the Macbook Pro and the display. Utilize the Detect Displays button in the System Settings to prompt the Macbook Pro to search for connected displays. if the issue persists, try restarting your Macbook Pro. By following these steps, you can hopefully resolve the issue and enjoy the benefits of an extended display setup with your Macbook Pro.
Why Won’t Your MacBook Pro Recognize Your External Monitor?
There could be several reasons why your MacBook Pro is not recognizing your external monitor. Here are some troubleshooting steps you can try:
1. Check the connection: Ensure that the cable connecting your MacBook Pro to the external monitor is securely plugged into both devices. Make sure you are using the correct cable for your monitor and that it is compatible with your MacBook Pro. Consider trying a different cable or adapter to rule out any potential issues with the existing one.
2. Check the display settings: Go to the Apple menu in the top-left corner of your screen and select “System Preferences.” Then, click on “Displays” and navigate to the “Arrangement” tab. Ensure that the “Mirror Displays” option is unchecked and that the external monitor is detected under the “Detect Displays” button. You can also try adjusting the resolution settings to see if that helps.
3. Restart your MacBook Pro: Sometimes, a simple restart can resolve connectivity issues. Go to the Apple menu and select “Restart” to reboot your MacBook Pro. After it restarts, check if the external monitor is recognized.
4. Reset NVRAM/PRAM: Non-Volatile Random-Access Memory (NVRAM) or Parameter RAM (PRAM) stores certain settings, including display-related ones. Resetting NVRAM/PRAM can help resolve issues related to display recognition. To do this, shut down your MacBook Pro, then turn it on and immediately press and hold the Option + Command + P + R keys until you hear the startup sound for the second time.
5. Update macOS and drivers: Ensure that your MacBook Pro is running the latest version of macOS. Go to the Apple menu, select “System Preferences,” and click on “Software Update” to check for and install any available updates. Additionally, check the manufacturer’s website for your monitor to see if there are any driver updates or firmware updates available that could improve compatibility.
6. Test with another monitor: If possible, try connecting your MacBook Pro to a different external monitor to see if the issue persists. This will help determine if the problem is with your MacBook Pro or the specific monitor.
If none of the above steps resolve the issue, it’s recommended to contact Apple support or visit an authorized service provider for further assistance. They can help diagnose any hardware-related problems and provide appropriate solutions.
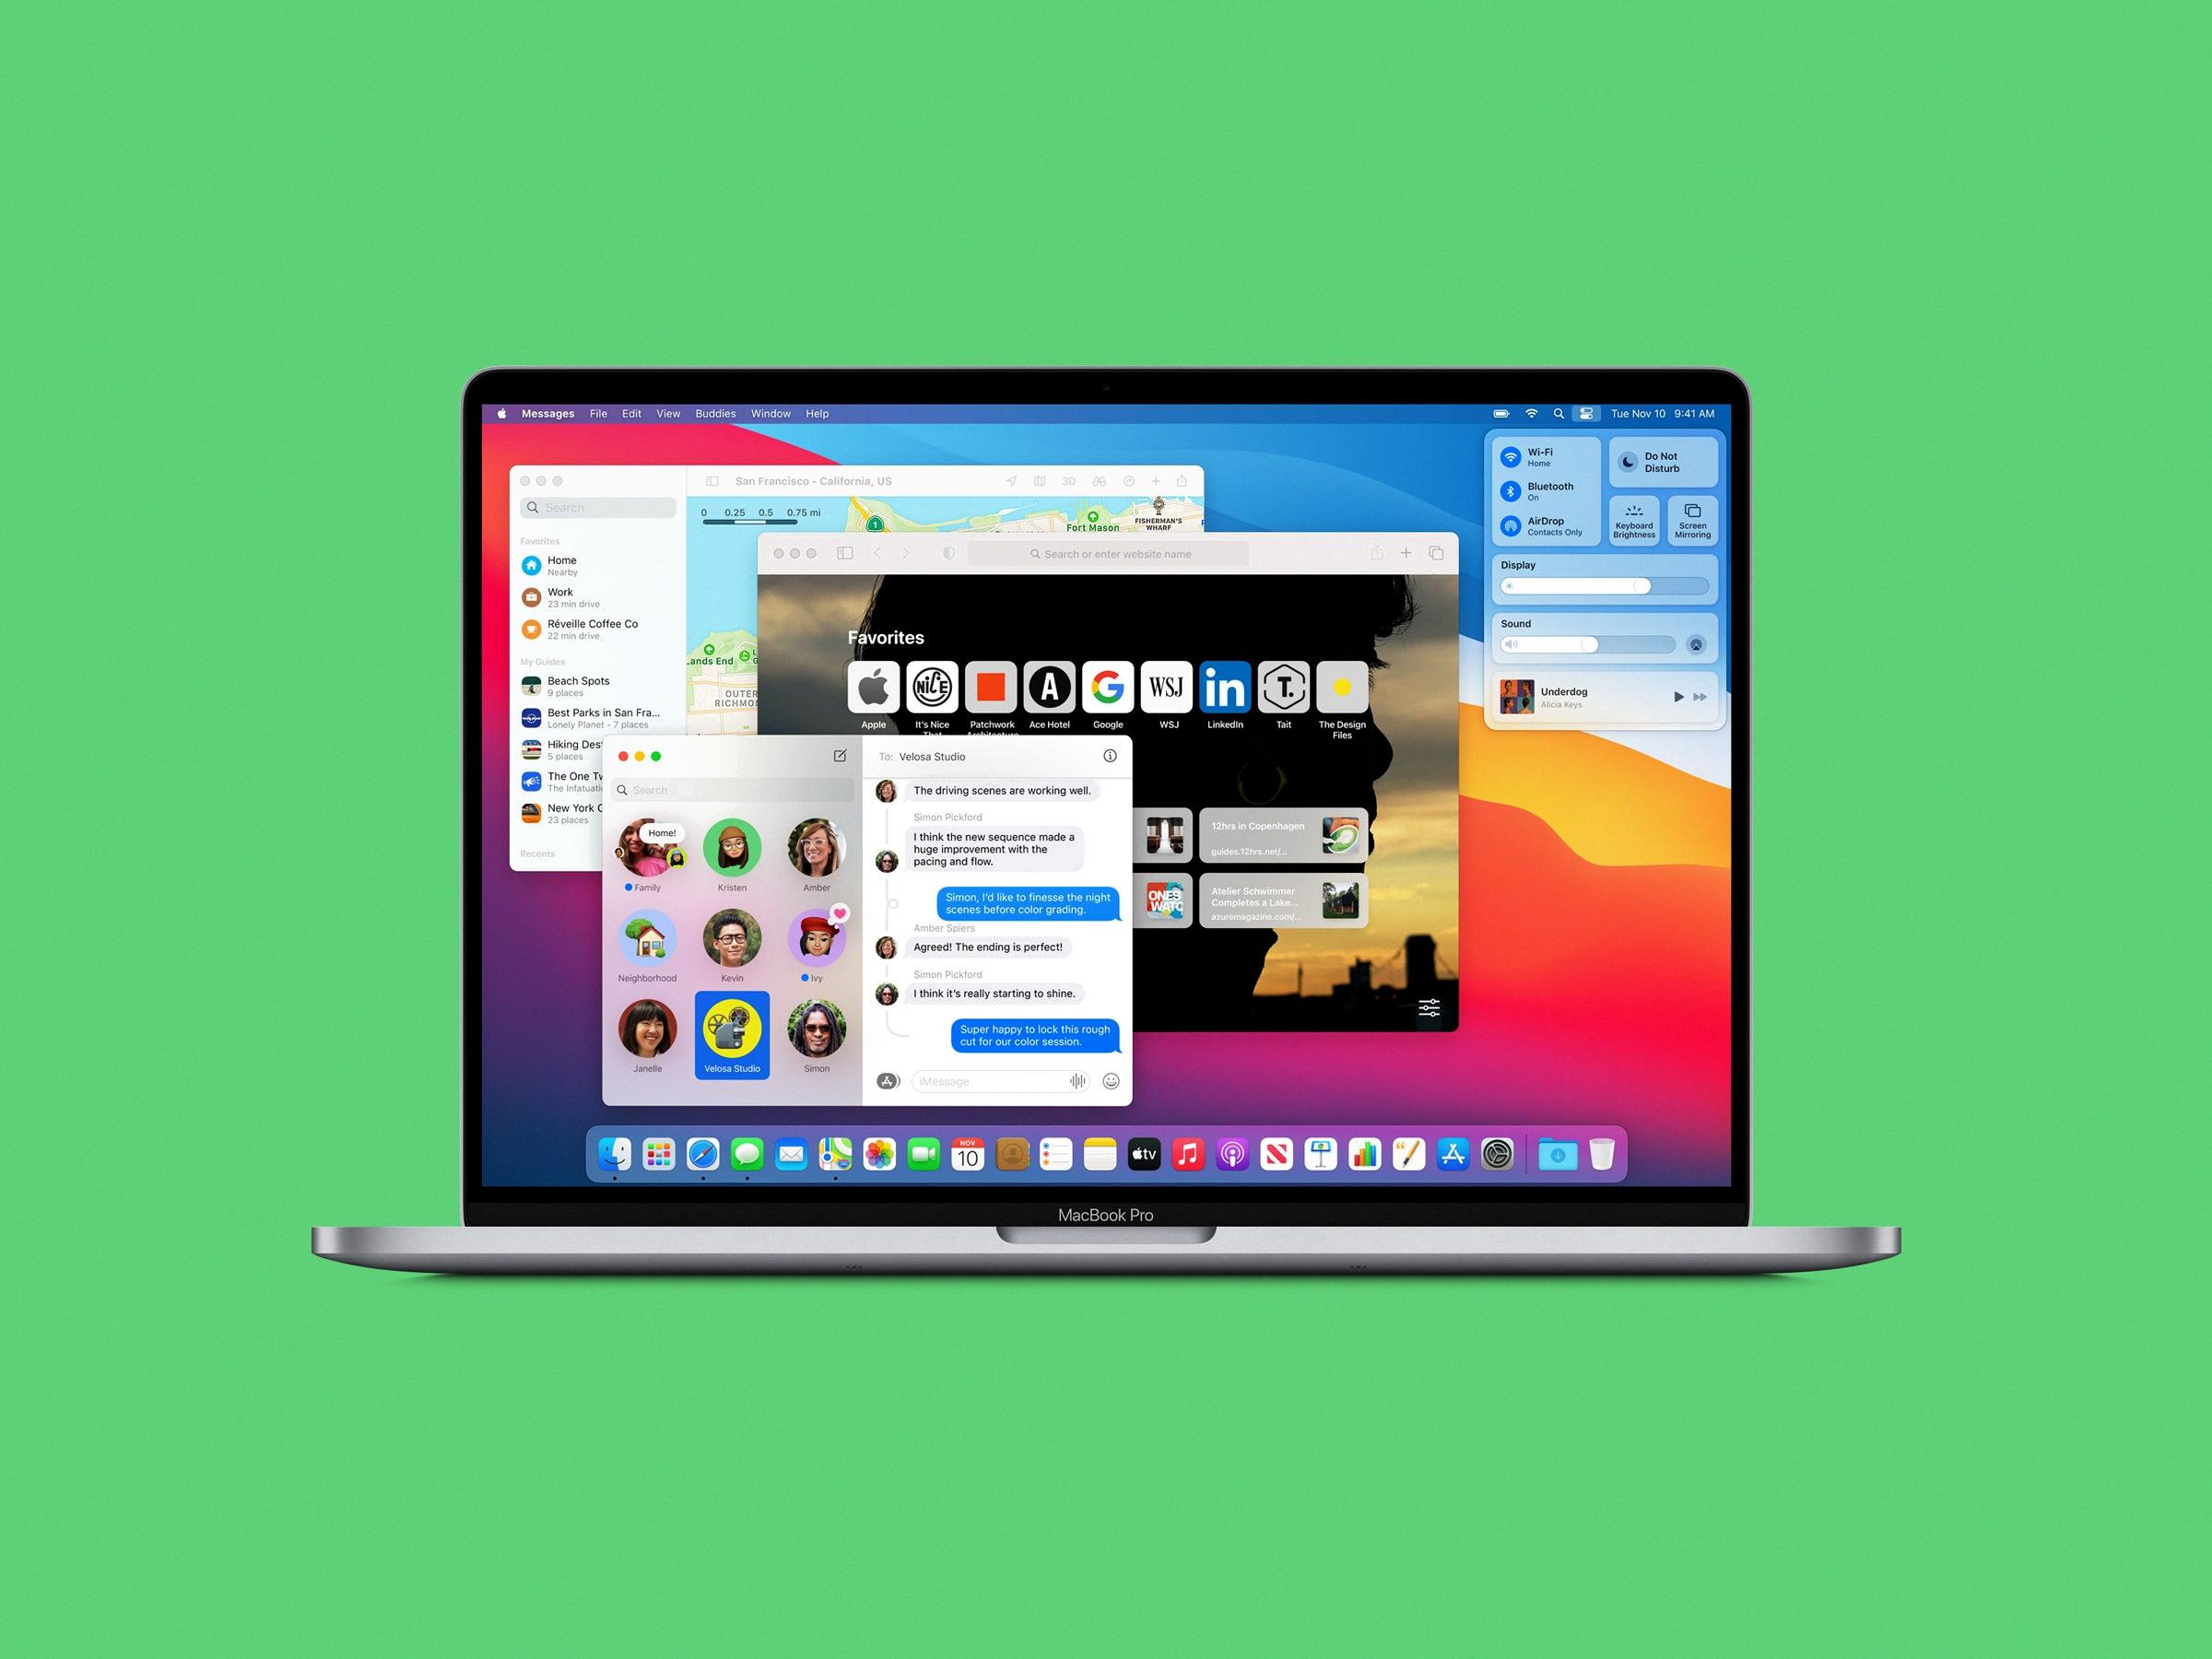
How to Connect An External Monitor to Your MacBook Pro Big Sur?
To connect an external monitor to your MacBook Pro running Big Sur, you have a couple of options depending on the model of your MacBook Pro.
For the 14-inch or 16-inch MacBook Pro:
1. Locate the HDMI port on your MacBook Pro.
2. Plug one end of an HDMI cable into the HDMI port on your MacBook Pro.
3. Connect the other end of the HDMI cable to the HDMI port on your HDMI display.
4. Ensure that your HDMI display is powered on.
5. Your MacBook Pro should automatically detect the external monitor and extend the display.
For the 13-inch MacBook Pro:
1. Get a USB-C Digital AV Multiport Adapter.
2. Find a Thunderbolt / USB 4 port on your MacBook Pro.
3. Connect the USB-C end of the adapter to the Thunderbolt / USB 4 port on your MacBook Pro.
4. Plug your HDMI cable into the HDMI port on the USB-C Digital AV Multiport Adapter.
5. Connect the other end of the HDMI cable to the HDMI port on your HDMI display.
6. Power on your HDMI display.
7. Your MacBook Pro should recognize the external monitor and extend the display.
Please note that in some cases, you may need to adjust the display settings on your MacBook Pro to optimize the resolution and arrangement of the external monitor. You can do this by going to “System Preferences” > “Displays” and making the necessary adjustments.
If you have a 14-inch or 16-inch MacBook Pro, you can directly connect your HDMI display using an HDMI cable. If you have a 13-inch MacBook Pro, you will need a USB-C Digital AV Multiport Adapter to connect your HDMI display to a Thunderbolt / USB 4 port.
How to Force a Mac to Detect a Monitor?
To force your Mac to detect a monitor, follow these steps:
1. Click on the Apple menu at the top left corner of your screen.
2. Select “System Preferences” from the drop-down menu.
3. In the System Preferences window, click on the “Displays” icon.
4. Press and hold the Option key on your keyboard. This will reveal the “Detect Displays” button.
5. Click on the “Detect Displays” button.
6. Your Mac will now search for any connected monitors and attempt to detect them.
7. If a monitor is detected, it should appear in the Displays window.
8. If a monitor is not detected, try the following additional steps:
– Ensure that the monitor is properly connected to your Mac.
– Check that the monitor is powered on and set to the correct input source.
– Try using a different cable or adapter to connect the monitor to your Mac.
– Restart your Mac to see if it detects the monitor during the startup process.
9. If all else fails, you can also try resetting the System Management Controller (SMC) on your Mac. To do this, shut down your Mac, then press and hold the power button for about 10 seconds. Release the power button, then turn on your Mac again.
10. After following these steps, your Mac should detect the monitor if it is properly connected and functioning correctly.
Conclusion
The MacBook Pro is a powerful and versatile device that offers a range of features and capabilities. Its sleek design, high-resolution display, and efficient performance make it a popular choice for professionals, creatives, and everyday users alike. With its Thunderbolt / USB 4 ports and HDMI compatibility, connecting external displays should be a seamless process. However, in the event that your Mac doesn’t recognize the attached display, there are several troubleshooting steps you can take. By ensuring that the cable is securely connected and using the correct cable for your display, you can eliminate any potential connectivity issues. Additionally, utilizing the Detect Displays feature in the System Settings (or System Preferences) menu and restarting your Mac can help resolve any software-related problems. the MacBook Pro is an exceptional device that provides a seamless and productive user experience.


