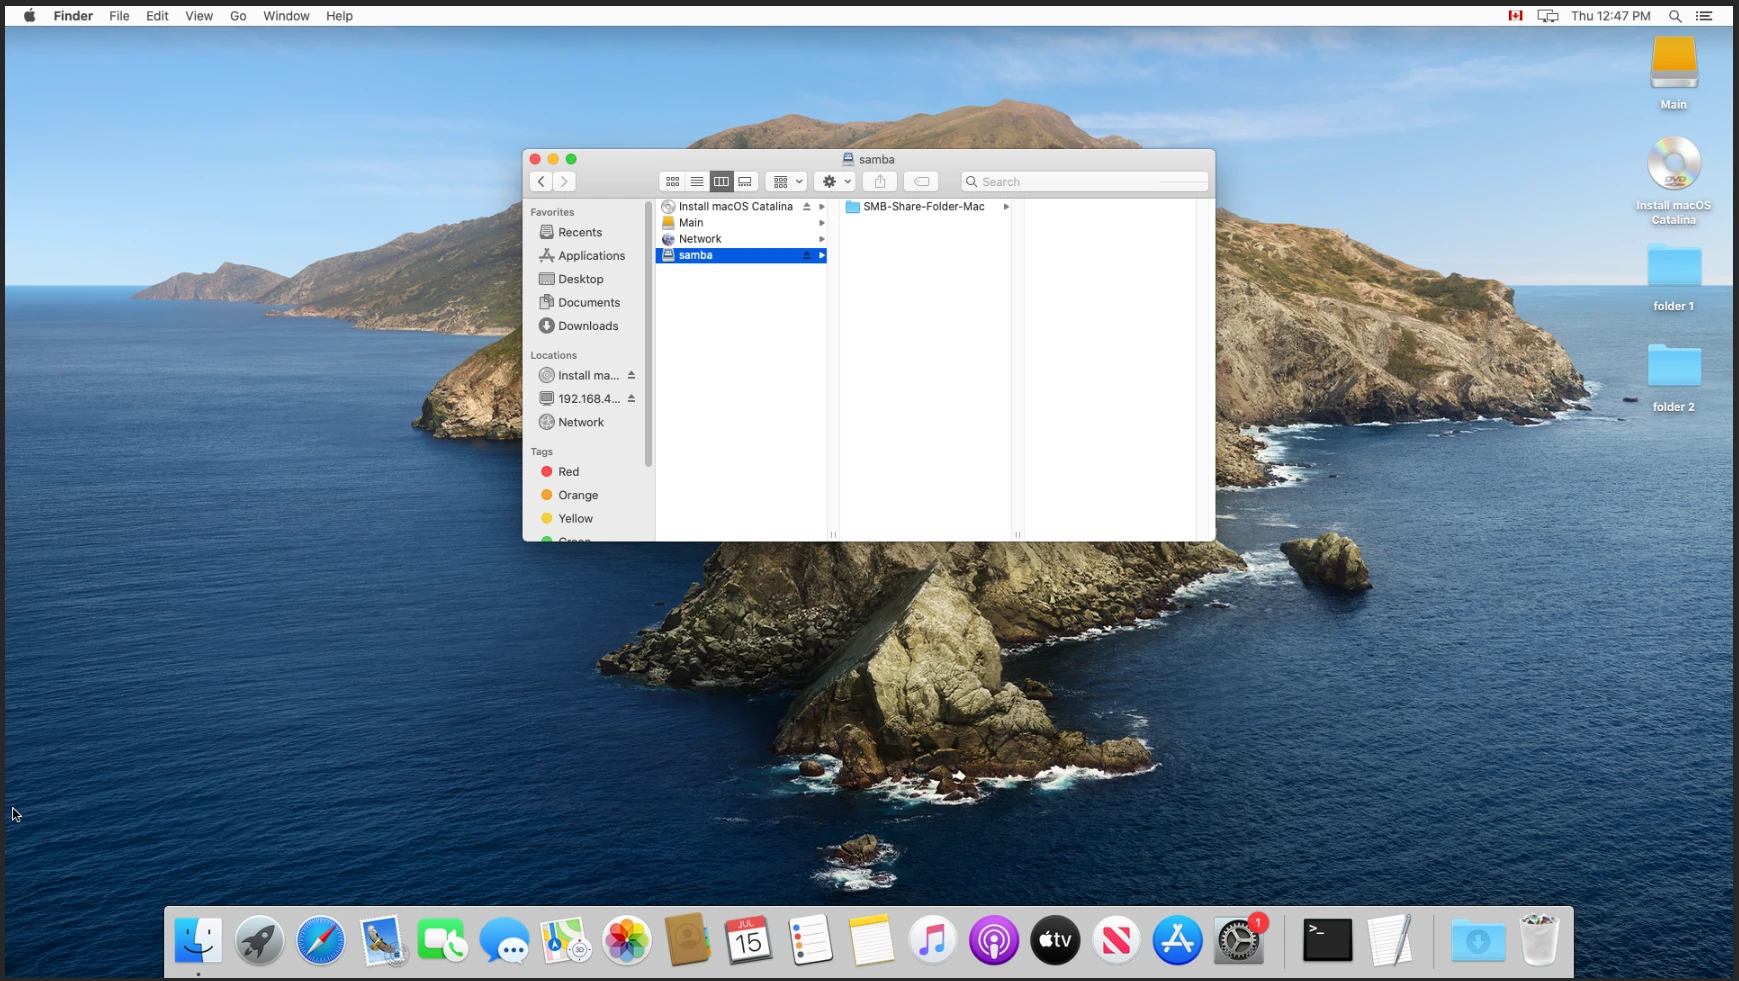
In the digital age, sharing files across networks has become an essential aspect of productivity and collaboration. Mac users can easily connect to shared computers and file servers using the Server Message Block (SMB) protocol. Whether you need to access files on a Mac or Windows computer or connect to servers using SMB, this guide will walk you through the process step by step.
What is SMB?
Before diving into the details of connecting to a Mac SMB share, let’s first understand what SMB is. The Server Message Block (SMB) protocol is a network file sharing protocol that enables seamless communication between computers and servers. It allows applications to read, write, and request services from server programs within a computer network. SMB can be used on top of TCP/IP protocol or other network protocols.
Connecting to a Mac SMB Share
To connect to a Mac SMB share, follow these simple steps:
Step 1: Open Finder
Launch Finder on your Mac. You can do this by clicking on the Finder icon in the Dock or by using the Command + Space shortcut and typing “Finder” in the search bar.
Step 2: Access the “Go” Menu
In the top menu bar, click on the “Go” option. From the dropdown menu, select “Connect to Server.”
Step 3: Enter Server Address
In the “Server Address” field, enter smb:// followed by either the IP address or hostname of the server you want to connect to. For example, smb://192.168.1.10 or smb://myserver.
Step 4: Add to Favorite Servers (Optional)
If you frequently connect to the same server, you can add it to your Favorite Servers list. Simply click on the “+” button next to the Server Address field.
Step 5: Connect to the Share
Click on the “Connect” button to establish a connection to the SMB share. You may be prompted to enter your username and password if required by the server. Enter the credentials and click “Connect.”
Accessing Shared Files
Once connected to the Mac SMB share, you can easily access shared files and folders. The shared files will appear in a new Finder window, just like any other local folder on your Mac. You can browse, open, edit, and save files as if they were stored directly on your computer.
Benefits of Mac SMB Share
Using Mac SMB share comes with several benefits, including:
1. Cross-platform compatibility: SMB enables seamless file sharing between Mac and Windows computers. This makes collaboration between users on different operating systems effortless.
2. Secure file transfer: SMB supports encryption and authentication, ensuring secure access to shared files and protecting sensitive data.
3. Centralized file management: By connecting to a server via SMB, you can access files stored on a central server. This makes it easier to manage and organize files across multiple devices.
Connecting to a Mac SMB share is a straightforward process that allows you to access shared files and collaborate with others seamlessly. By following the steps outlined in this guide, you can ensure smooth file sharing between Mac and Windows computers or connect to servers using SMB. Enjoy the benefits of cross-platform compatibility, secure file transfer, and centralized file management with Mac SMB share.

How to Access SMB Share On Mac?
To access an SMB share on your Mac, follow these steps:
1. Open Finder by clicking on the Finder icon in the dock or by selecting Finder from the Applications menu.
2. In the menu bar at the top of the screen, click on the “Go” option and then select “Connect to Server” from the dropdown menu. Alternatively, you can press Command+K on your keyboard.
3. A “Connect to Server” window will appear. In the Server Address field, enter “smb://” to specify the network protocol for SMB.
4. Now, you need to enter either the IP address or the hostname of the server you want to connect to. If you know the IP address, enter it directly. Otherwise, if you know the hostname, enter it in the format “smb://hostname”.
5. If you frequently access this server, you can add it to your Favorite Servers list by clicking the “+” button next to the Server Address field.
6. Once you have entered the server address, click on the “Connect” button to establish a connection to the SMB share.
7. If prompted, enter your username and password for the SMB share. This will depend on the server’s settings and your access privileges.
8. After successfully connecting, the SMB share will appear in a new Finder window, allowing you to browse and access its files and folders.
Can Mac Access SMB?
Mac computers can access SMB (Server Message Block) shares. SMB is a file sharing protocol that allows computers to access shared files and printers on a network. Mac computers have built-in support for SMB, which means they can connect to and access files on Windows computers or servers that have file sharing enabled.
To access an SMB share on a Mac, you can follow these steps:
1. Ensure that the Mac and the Windows computer or server are connected to the same network.
2. On your Mac, open the Finder application.
3. In the Finder menu, click on “Go” and then select “Connect to Server.”
4. In the “Server Address” field, enter the SMB URL for the computer or server you want to connect to. The SMB URL typically starts with “smb://” followed by the IP address or hostname of the computer or server.
5. Click on the “+” button to add the SMB URL to the “Favorite Servers” list for easy access later, if desired.
6. Click on the “Connect” button.
If prompted, enter your username and password for the Windows computer or server. After successful authentication, you should be able to browse and access the shared files and folders on the SMB share.
Mac computers can indeed access SMB shares by using the built-in support for SMB. By following the steps mentioned above, you can connect to Windows computers or servers that have file sharing enabled and access shared files and folders.
Conclusion
Connecting to a Mac SMB share is a simple and efficient way to access shared files and folders on your network. By using the Server Message Block (SMB) protocol, you can easily connect to Mac and Windows computers that have file sharing enabled, as well as servers that use SMB or other network protocols.
To connect to a Mac SMB share, you need to enter the server address in the appropriate field, which consists of the smb:// prefix followed by either the IP address or the hostname of the server. You can also add the server to your Favorite Servers list for quick access in the future.
Once connected, you can browse and interact with the shared files and folders, allowing you to read, write, and request services from server programs on the network. This flexibility makes SMB shares a versatile solution for collaborating and accessing files across different devices and platforms.
The Mac SMB share feature provides a seamless and convenient way to connect to shared computers and file servers on your network. Whether you are working in a mixed Mac and Windows environment or need to access files from various servers, the SMB protocol ensures smooth communication and efficient file sharing.


