Macintosh HD is the default name for the built-in startup disk on a Mac. It contains the operating system and all your files and applications. However, sometimes Macintosh HD may not appear in the Finder sidebar or on the desktop, making it difficult to access. In this article, we will discuss how to add Macintosh HD to your favorites and ensure easy access to your files and programs.
To start, let’s first address the issue of Macintosh HD not appearing in the Finder sidebar. This can be easily resolved by adjusting the Finder preferences. Here’s how:
1. Launch Finder by clicking on its icon in the dock or by selecting it from the Applications folder.
2. From the menu bar, click on “Finder” and then select “Preferences.”
3. In the Finder Preferences window, click on the “Sidebar” tab.
4. Under the “Show these items in the sidebar” section, make sure the “Hard disks” option under the devices label is checked.
By selecting this option, you will ensure that Macintosh HD is displayed in the Finder sidebar, allowing for easy access to your files and folders.
Now, let’s move on to adding Macintosh HD to your favorites. This will enable you to quickly access the startup disk from any Finder window. Here’s how to do it:
1. Open a Finder window by clicking on the Finder icon or using the keyboard shortcut Command + N.
2. In the Finder window, navigate to the left sidebar and locate the “Devices” section.
3. Find Macintosh HD in the list of devices and click and drag it to the “Favorites” section of the sidebar.
4. Release the mouse button to add Macintosh HD to your favorites. You will now see it listed under the “Favorites” section in the sidebar.
By adding Macintosh HD to your favorites, you can easily access your startup disk from any Finder window without having to navigate through multiple folders.
If you still can’t see Macintosh HD in Disk Utility or encounter any issues with your startup disk, it may be necessary to repair it in recovery mode. Here’s how:
1. Restart your Mac and hold down the Command + R keys until the Apple logo appears.
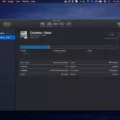
2. This will boot your Mac into recovery mode. From the Utilities window, select “Disk Utility” and click “Continue.”
3. In Disk Utility, select your startup disk (Macintosh HD) from the sidebar.
4. Click on the “First Aid” tab and then select “Run” to start the repair process.
Disk Utility will attempt to repair any errors on your startup disk. Once the process is complete, restart your Mac normally and check if Macintosh HD is now visible.
Adding Macintosh HD to your favorites in the Finder sidebar can greatly simplify accessing your files and applications. By following the steps outlined in this article, you can easily resolve the issue of Macintosh HD not appearing and ensure seamless access to your startup disk.
How Do You Add Macintosh HD to Favorites?
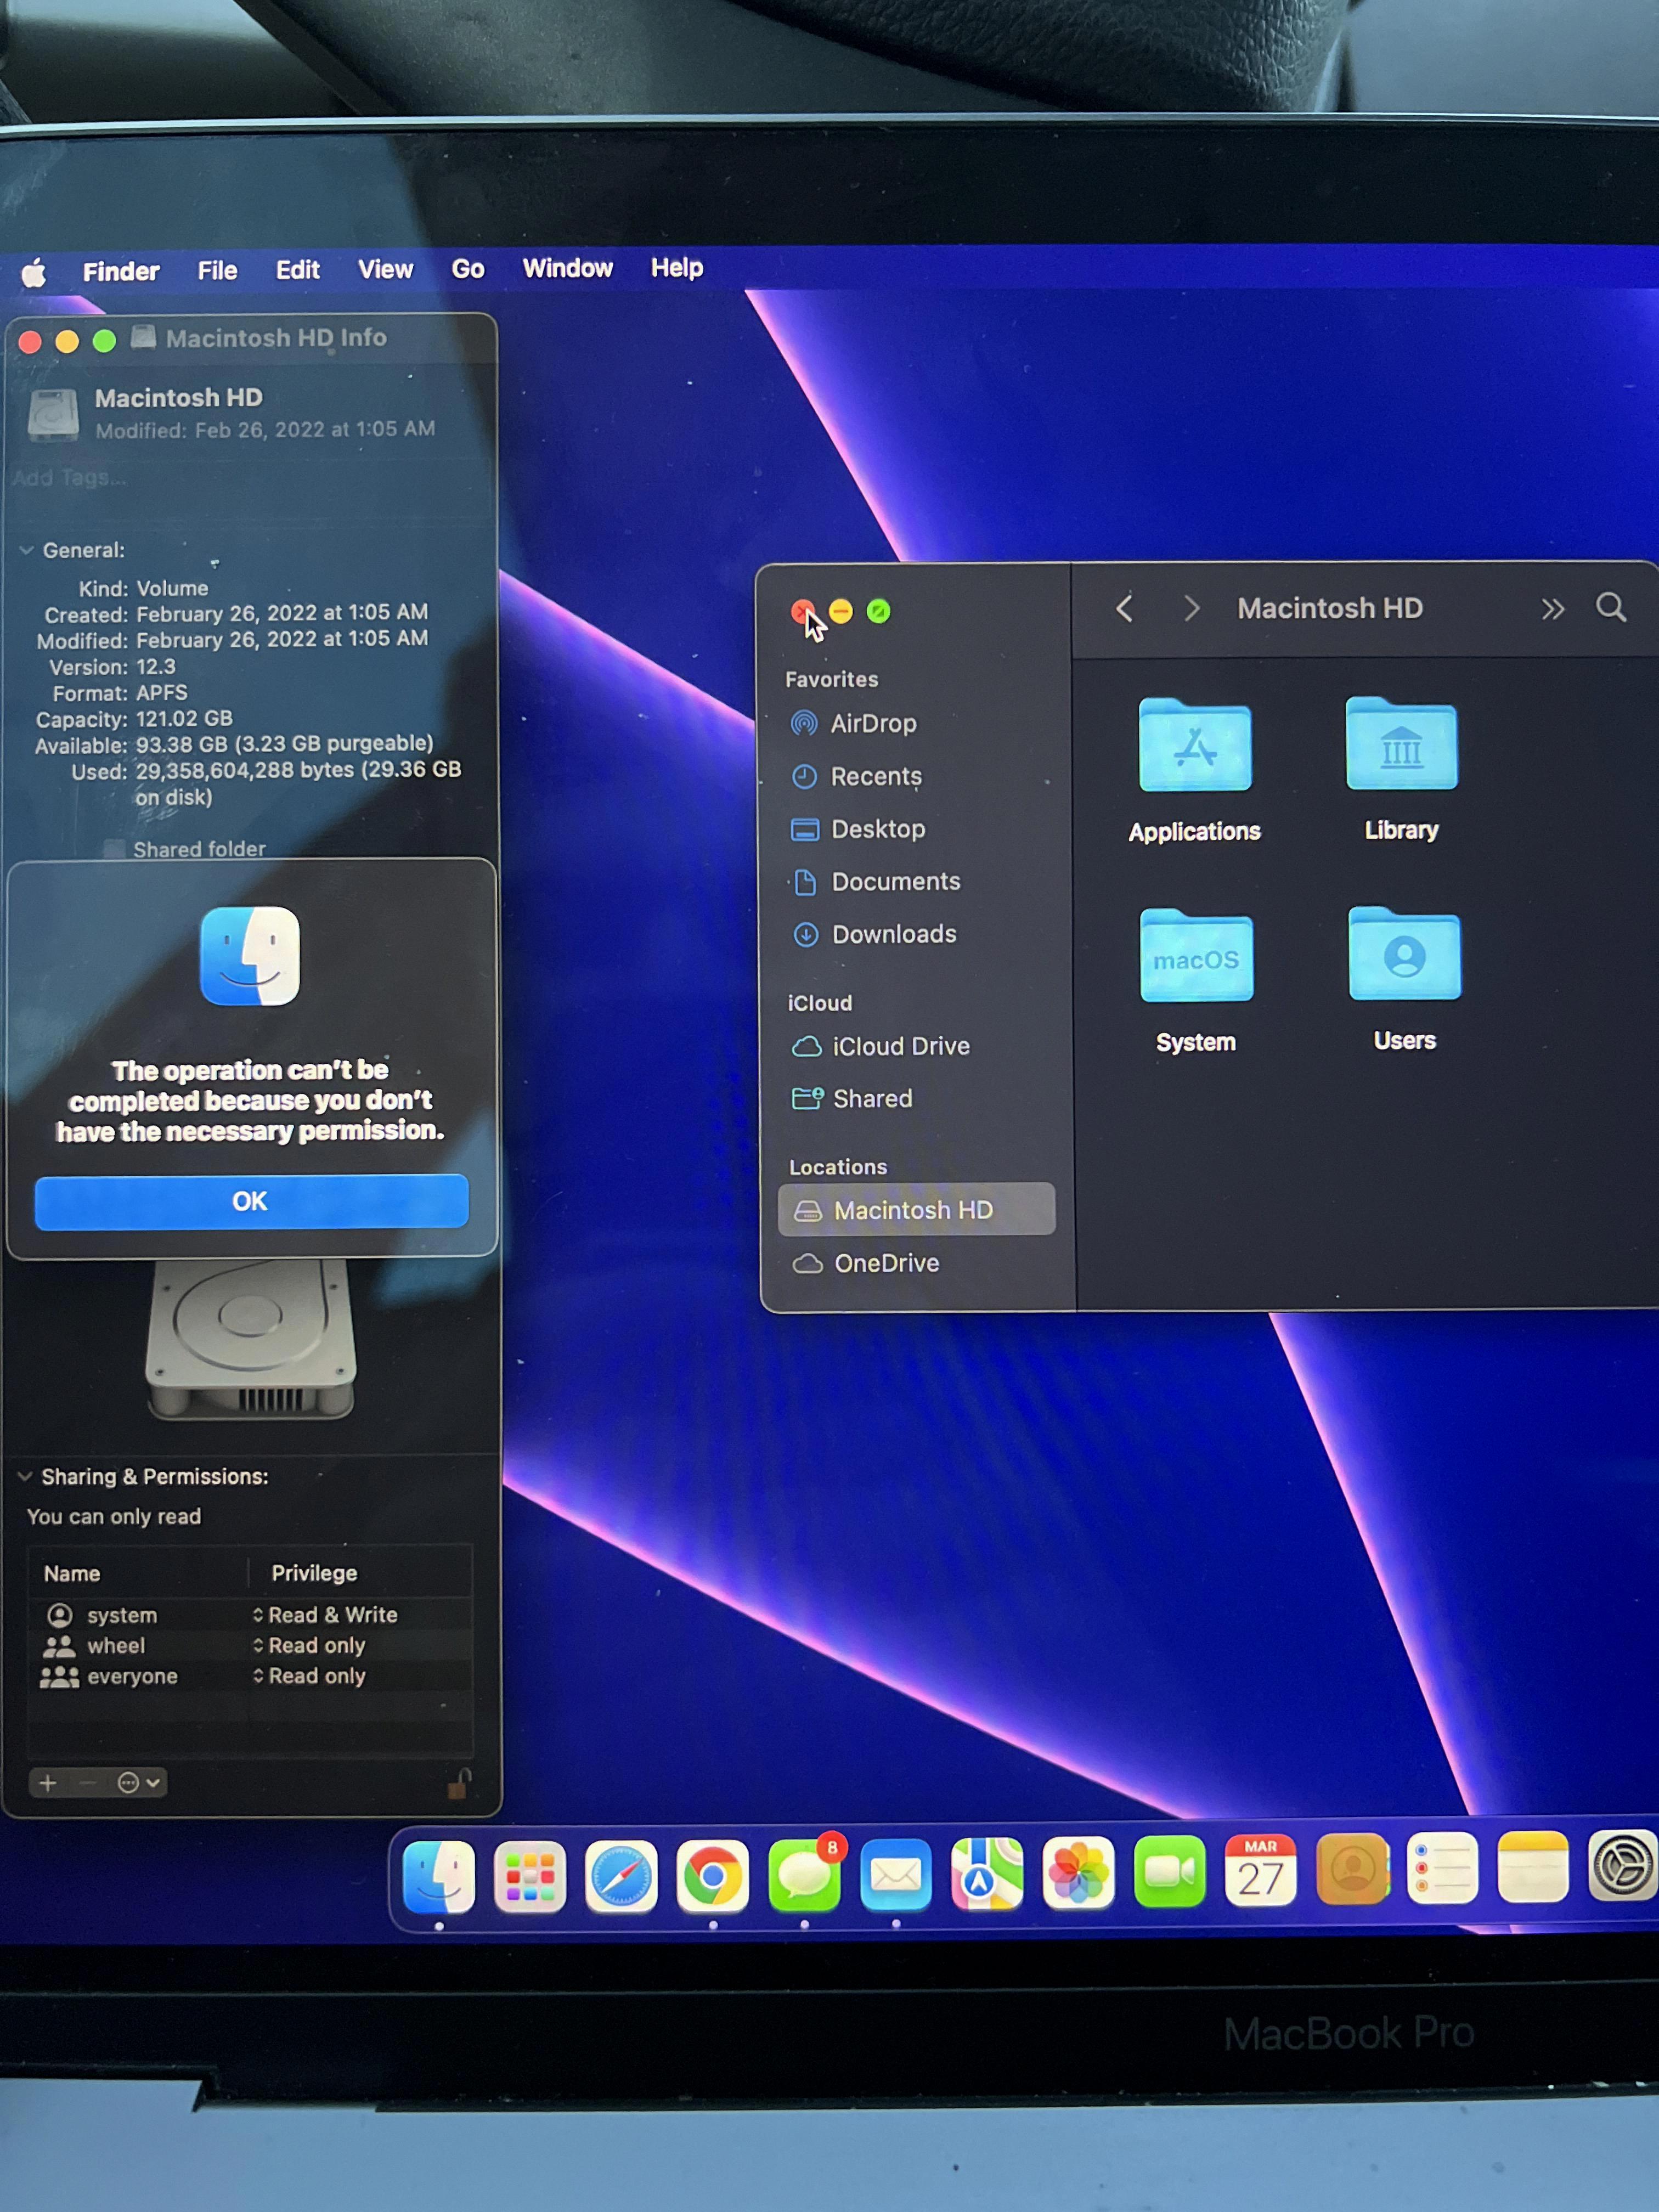
To add Macintosh HD to your favorites in Finder on your Mac, follow these steps:
1. Launch Finder by clicking on the Finder option in the menu bar.
2. From the menu bar, click on ‘Finder’ and then select ‘Preferences’.
3. In the Finder Preferences window, click on the ‘Sidebar’ tab.
4. Under the ‘Show these items in the sidebar’ section, you will see a list of options.
5. Look for the ‘Devices’ label and click on the checkbox next to ‘Hard disks’.
6. Once you have selected the ‘Hard disks’ option, you will see Macintosh HD appear in the sidebar of Finder.
7. You can now easily access Macintosh HD by clicking on it in the sidebar.
How Do You Get Your Macintosh HD to Show On Your Desktop?
To make your Macintosh HD appear on your desktop, follow these steps:
1. Start by navigating to the top menu bar on your Mac and click on “Finder”.
2. From the drop-down menu, select “Preferences”.
3. A new window will appear. Click on the “General” tab.
4. In the General tab, you’ll see a section labeled “Show these items on the desktop”.
5. Look for the checkbox next to “Hard disks” and make sure it is selected or checked.
6. Once you’ve checked the “Hard disks” option, your Macintosh HD icon will now be displayed on your desktop.
By enabling this option, your Macintosh HD icon will be easily accessible on the desktop, allowing you to quickly access and manage your files and folders.
Why Can’t You Find Your Macintosh HD?
There could be several reasons why you can’t find your Macintosh HD. Here are some possible explanations and solutions:
1. Drive not mounted: Sometimes, the Macintosh HD may not be mounted properly. To check if this is the case, you can open Disk Utility. Here’s how:
– Go to the Applications folder and then open the Utilities folder.
– Look for Disk Utility and open it.
– In Disk Utility, you should see a list of drives on the left-hand side. Check if Macintosh HD is listed. If it is, try clicking on it and then click the Mount button. If it’s already mounted, you can try unmounting and remounting it.
2. Finder preferences: If the Macintosh HD is not showing up on your desktop or in Finder, it’s possible that the option to show hard disks is disabled in Finder preferences. To enable it, follow these steps:
– Click on the Finder icon in the dock to open a Finder window.
– In the menu bar, click on Finder and then select Preferences.
– In the Preferences window, click on the General tab.
– Make sure that the box next to “Hard disks” is checked. If it’s not, check the box and close the preferences window.
3. Startup drive issues: If the above solutions don’t work, it’s possible that there might be an issue with your startup drive. To fix this, you can try repairing the startup drive in recovery mode. Here’s how:
– Restart your Mac and hold down the Command and R keys simultaneously until the Apple logo or a spinning globe appears.
– This will boot your Mac into recovery mode. Once in recovery mode, click on Disk Utility and then select your startup drive (usually named Macintosh HD).
– Click on the First Aid button and then click on Run to start the repair process.
– Once the repair is complete, restart your Mac normally and check if the Macintosh HD is now visible.
If none of these solutions work, it’s possible that there might be a more serious hardware or software issue with your Mac. In such cases, it’s recommended to contact Apple support or visit an authorized service provider for further assistance.
How to Select Macintosh HD in The Sidebar Of Disk Utility?
To select Macintosh HD in the sidebar of Disk Utility, follow these steps:
1. Open Disk Utility by going to the Apple menu () and selecting “Disk Utility.”
2. In the Disk Utility window, look for a sidebar on the left side of the screen. This sidebar displays all the connected storage devices and volumes.
3. Locate the item named “Macintosh HD” in the sidebar. It is the default name for the built-in startup disk on a Mac, unless you have renamed it.
4. If you don’t see “Macintosh HD” in the sidebar, it could be due to some external devices connected to your Mac. To troubleshoot this, first, go to the Apple menu and select “Shut Down” to turn off your Mac.
5. Once your Mac is shut down, unplug all nonessential devices such as external hard drives, USB flash drives, or any other peripherals.
6. After removing the nonessential devices, turn on your Mac and open Disk Utility again. Check if “Macintosh HD” now appears in the sidebar.
7. If “Macintosh HD” still doesn’t show up, there might be an issue with your startup disk. In such cases, it is recommended to restart your Mac in Recovery Mode by holding down Command (⌘) + R during startup.
8. In Recovery Mode, open Disk Utility again and see if “Macintosh HD” is listed in the sidebar. If it is not, you may need to seek further assistance from Apple Support or a qualified technician.
Remember, it is important to exercise caution when working with Disk Utility as it deals with the management of storage devices and volumes. Make sure to have a backup of your important data before making any changes.
Conclusion
Macintosh HD is the default name for the built-in startup disk on a Mac. If you are unable to see Macintosh HD in Disk Utility, there are a few steps you can take to resolve the issue.
First, try to mount the drive in Disk Utility. This can be done by selecting the drive and clicking on the “Mount” button. If the drive is successfully mounted, it should appear in the Disk Utility sidebar.
If the drive still does not appear, check your Finder preferences. Make sure that the “Hard disks” option is selected under the devices label in the Sidebar tab of Finder Preferences. This will ensure that the Macintosh HD is visible on your desktop.
If the Hard disks option is already selected in Finder preferences and you still do not see Macintosh HD, you may need to repair the startup drive in recovery mode. To do this, restart your Mac and hold down the Command and R keys until the Apple logo appears. This will boot your Mac into recovery mode. From there, open Disk Utility and select the startup drive. Click on the “First Aid” button to repair any issues with the drive.
If none of these steps resolve the issue and you still cannot see Macintosh HD in Disk Utility, it is recommended to seek further assistance from Apple support or a professional technician. They will be able to diagnose and address any underlying hardware or software issues that may be causing the problem.


