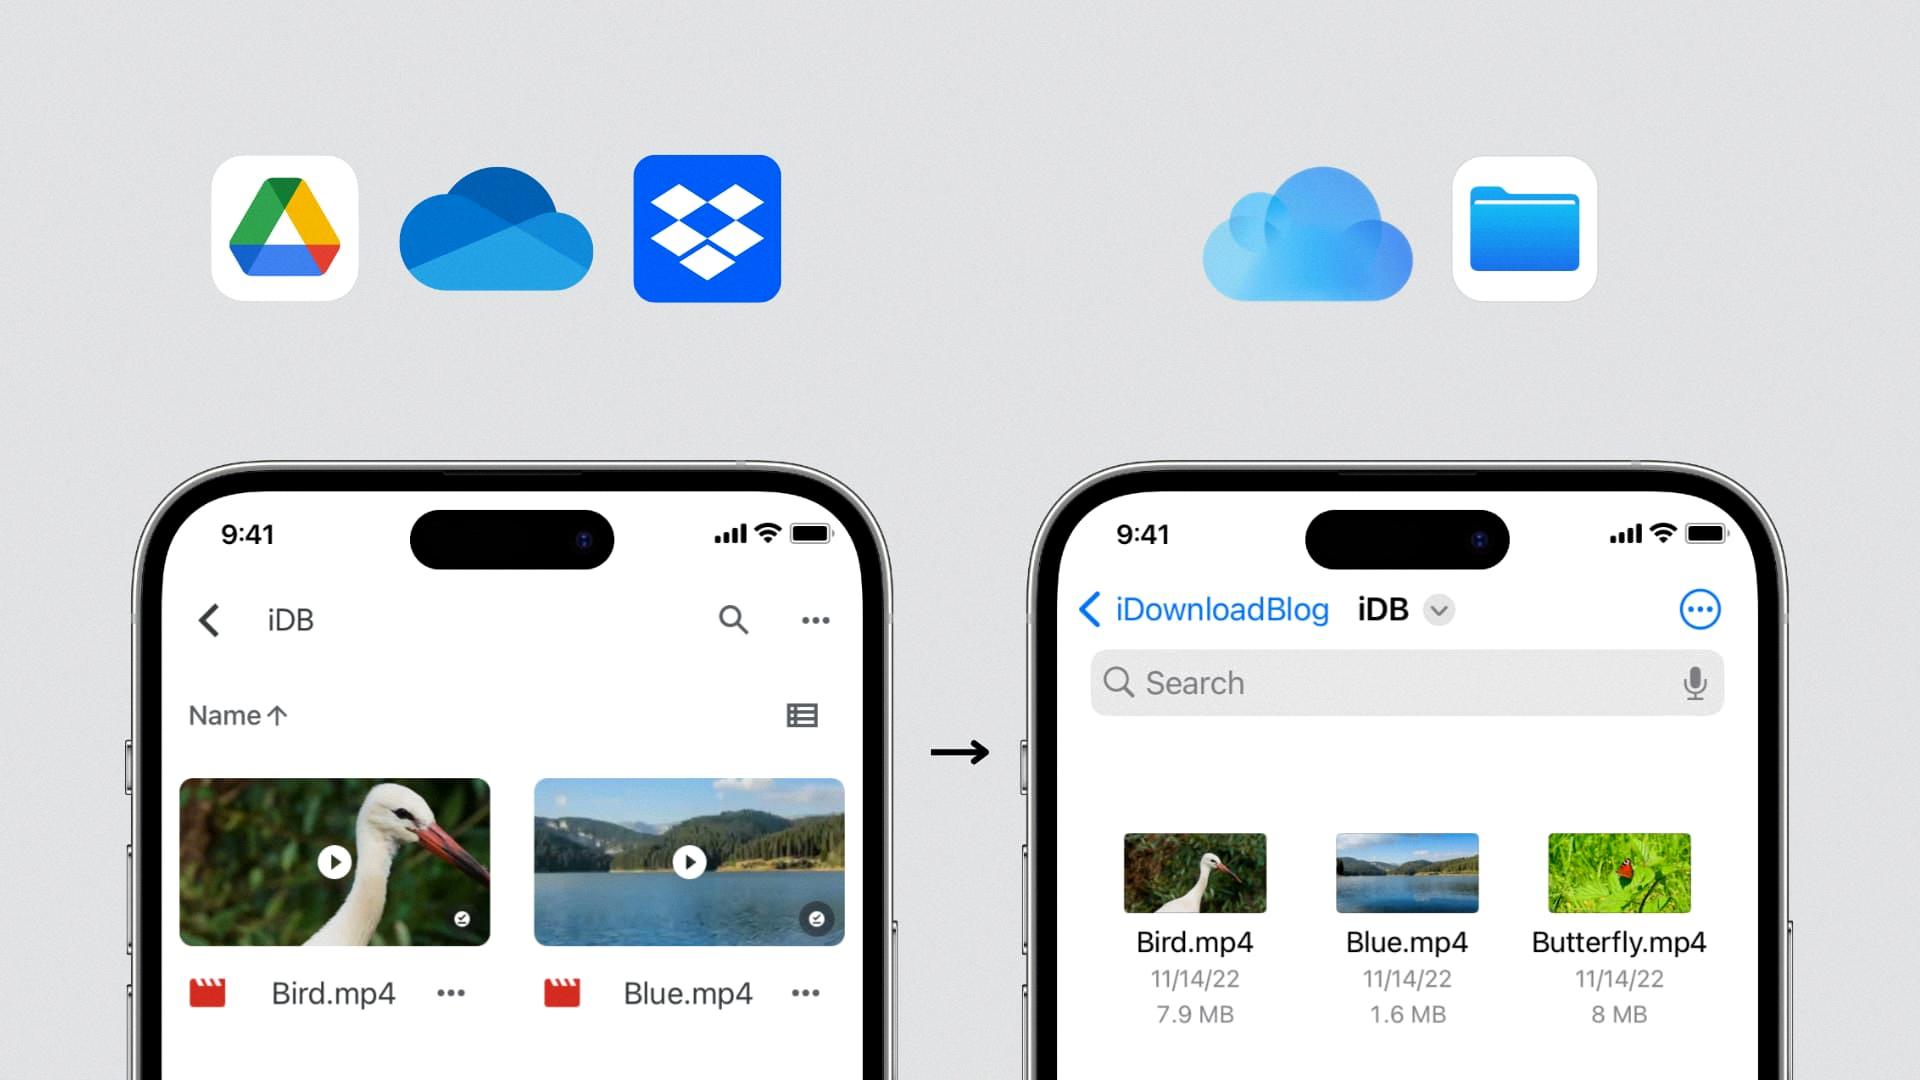
ICloud and Dropbox are two popular cloud storage services that allow users to store and access their files from anywhere, on any device. While both services offer similar functionalities, there are some differences when it comes to copying files from iCloud to Dropbox. In this article, we will explore how to copy files from iCloud to Dropbox and vice versa.
To begin, let’s first understand how to access and manage files in iCloud and Dropbox.
ICloud is Apple’s cloud storage service that seamlessly integrates with all Apple devices, including iPhones, iPads, and Mac computers. It allows users to store various types of files, including photos, videos, documents, and more. To access iCloud files, you can sign in to your iCloud account on iCloud.com or use the iCloud Drive app on your Apple device.
Dropbox, on the other hand, is a popular cloud storage service available for iOS, Android, Windows, and Mac devices. It offers a simple and user-friendly interface for managing files. Dropbox allows you to back up photos and videos from your devices, as well as store and share other types of files.
Now that we have a basic understanding of both services, let’s explore how to copy files from iCloud to Dropbox.
1. Open the iCloud Photos folder and Dropbox folder simultaneously. You can do this by opening the iCloud Drive app on your Apple device and the Dropbox app.
2. To copy a file from iCloud to Dropbox, locate the file you want to copy in the iCloud Photos folder. You can browse through the folders or use the search function to find the specific file.
3. Once you have located the file, simply drag and drop it from the iCloud Photos folder to the Dropbox folder. This action will initiate the file transfer process.
4. Dropbox will automatically sync the file to the cloud, making it accessible from any device with the Dropbox app installed. The file will also be available on the Dropbox website.
Copying files from Dropbox to iCloud follows a similar process. Open both the Dropbox and iCloud Drive apps on your device, locate the file in the Dropbox folder, and drag and drop it into the iCloud Drive folder. This will initiate the file transfer and sync the file to your iCloud account.
It’s important to note that the speed of the file transfer may vary depending on your internet connection and the size of the file. Additionally, make sure you have enough storage space available on both iCloud and Dropbox to accommodate the files you want to copy.
Copying files from iCloud to Dropbox and vice versa is a straightforward process that can be done using the respective apps on your device. By utilizing the drag and drop feature, you can easily transfer files between the two cloud storage services and ensure that your files are accessible from anywhere.
Remember to regularly check your storage space on both iCloud and Dropbox to ensure you have enough capacity for your files. With these simple steps, you can seamlessly manage and transfer your files between iCloud and Dropbox, allowing for convenient access and backup of your important data.
How Do You Transfer All Your Photos From iCloud To Dropbox?
To transfer all your photos from iCloud to Dropbox, you can follow these steps:
1. Open the iCloud Photos folder: Launch the iCloud application on your device or go to iCloud.com and sign in with your Apple ID and password. Navigate to the Photos section to access your iCloud Photos.
2. Open the Dropbox folder: Open the Dropbox application on your device or visit Dropbox.com and sign in with your Dropbox account credentials. Locate the folder where you want to transfer your photos or create a new folder specifically for this purpose.
3. Select the photos: In the iCloud Photos folder, select all the photos you want to transfer by clicking on them one by one or by using the Select All option.
4. Drag and drop the photos: Once the photos are selected, drag them from the iCloud Photos folder and drop them into the Dropbox folder. You can do this by clicking and holding the selected photos, moving the cursor to the Dropbox folder, and then releasing the mouse button to drop them.
5. Monitor the upload progress: After dropping the photos into the Dropbox folder, the uploading process will start automatically. You can monitor the progress of the upload in the Dropbox application or on the Dropbox website. Depending on the size and number of photos, this may take some time.
6. Verify the transfer: Once the upload is complete, verify that all the photos have been successfully transferred from iCloud to Dropbox. You can do this by checking the Dropbox folder and comparing the number of photos with the original iCloud Photos folder.
By following these steps, you can transfer all your photos from iCloud to Dropbox. This will ensure that your photos are backed up and accessible in both iCloud and Dropbox cloud storage services.

How Do You Transfer Files From iCloud?
To transfer files from iCloud, follow these steps:
1. Sign in to iCloud.com using your Apple ID and password.
2. Once signed in, open iCloud Drive. This is where all your files stored in iCloud are located.
3. Locate and select the file that you want to transfer. You can navigate through the folders or use the search bar to find the specific file.
4. Once you have selected the file, you have two options to download it:
– Click on the “Download” button located at the top of the page. This will start the download process, and the file will be saved to your default downloads location on your computer.
– Alternatively, you can double-click on the file. This will also initiate the download process, and the file will be saved to your default downloads location.
5. Depending on the file size and your internet connection speed, the transfer may take some time. Once the download is complete, you can access the file on your computer.
It’s important to note that transferring files from iCloud using the steps above only downloads a copy of the file to your computer. The original file will still remain in your iCloud Drive, allowing you to access it from any device connected to your iCloud account.
I hope this information helps you transfer your files from iCloud successfully.
How Do You Use iCloud As Dropbox?
To use iCloud as a Dropbox-style shared folder on your iPad or iPhone, follow these steps:
1. Open the Files app on your iPad or iPhone. This app allows you to access and manage your files stored on your device and in the cloud.
2. In the Files app, tap on “Locations” at the top left corner of the screen. From the options presented, select “iCloud Drive.” This will open your iCloud Drive, which is the cloud storage service provided by Apple.
3. Once you’ve opened iCloud Drive, you can either find an existing folder that you want to share or create a new one. To find a folder, navigate through the folders displayed on the screen. If you want to create a new folder, tap on the “+” (plus) button at the top right corner and give your folder a name.
4. After locating or creating the folder you want to share, tap on the “Select” button at the top right corner of the screen. This will allow you to select the folder for further actions.
5. Tap on the folder you want to share. This will highlight the folder and display additional options at the bottom of the screen.
6. Next, tap on the “Share” button located toward the bottom left corner of the screen. This will open a menu with sharing options.
7. In the sharing menu, you can choose how you want to share the folder. You can send a link to others via various communication apps, such as Messages or Mail, or you can invite specific people to collaborate on the folder. Select the desired sharing method.
8. If you choose to send a link, a shareable link will be generated that you can copy and send to others. If you choose to invite people, you can enter their email addresses or select them from your contacts.
9. Once you’ve completed the sharing process, others will be able to access and collaborate on the shared folder through their iCloud accounts.
Using iCloud as a Dropbox-style shared folder allows you to easily share files and collaborate with others, similar to how you would in Dropbox. Remember to manage and revoke access to shared folders as needed to maintain privacy and security.
Can You Move Your Photos Library To Dropbox?
You can move your photos library to Dropbox. Dropbox allows you to back up photos and videos to the cloud from various devices including iOS, Android, Windows, Mac, and even your camera.
To move your photos library to Dropbox, you can follow these steps:
1. Install the Dropbox app on your device from the respective app store or visit the Dropbox website on your computer.
2. Sign in to your Dropbox account or create a new one if you don’t have an account already.
3. Once you’re logged in, locate the folder where you want to store your photos library. You can create a new folder specifically for your photos if desired.
4. On your iOS or Android device, open the Photos app and select the photos and videos you want to move to Dropbox.
5. Tap the share icon (typically represented by a square with an arrow pointing upward) and choose the option to export or share the selected items.
6. From the sharing options, select Dropbox. If you don’t see Dropbox as an option, make sure you have the Dropbox app installed on your device.
7. Choose the destination folder in Dropbox where you want to move your photos library.
8. Confirm the transfer and wait for the files to upload to Dropbox. The time it takes will depend on the number and size of the files being transferred as well as your internet connection speed.
Alternatively, on your computer, you can simply drag and drop your photos library into the Dropbox folder. This will initiate the upload process to your Dropbox account.
Once your photos library is successfully uploaded to Dropbox, you can access and manage your photos from any device with internet access. Dropbox also provides options for sharing and organizing your photos, including creating albums and sharing links.
By moving your photos library to Dropbox, you can ensure that your precious memories are securely stored in the cloud and easily accessible whenever and wherever you need them.
Conclusion
ICloud is a versatile and powerful cloud storage service that offers a range of features and functionalities to cater to the needs of its users. It seamlessly integrates with Apple devices and allows for easy access to files and data across different devices and platforms.
One of the key advantages of iCloud is its ability to automatically sync files and folders across devices, ensuring that your data is always up to date. This makes it convenient for users who work on multiple devices or need to access their files on the go.
ICloud also offers a user-friendly interface, making it easy to navigate and manage your files. With features like drag and drop, copying files, and creating shared folders, it provides a seamless experience for organizing and sharing your data.
Furthermore, iCloud provides a secure platform for storing your files. It uses encryption to protect your data, both in transit and at rest, ensuring that your files are safe from unauthorized access.
Additionally, iCloud offers integration with other Apple services and apps, such as Photos, Pages, Numbers, and Keynote, allowing for seamless synchronization and collaboration across different applications.
ICloud is a reliable and efficient cloud storage solution that offers seamless integration, secure storage, and convenient file management. Whether you are an individual user or a business professional, iCloud provides the necessary tools to store, access, and share your files effortlessly.


