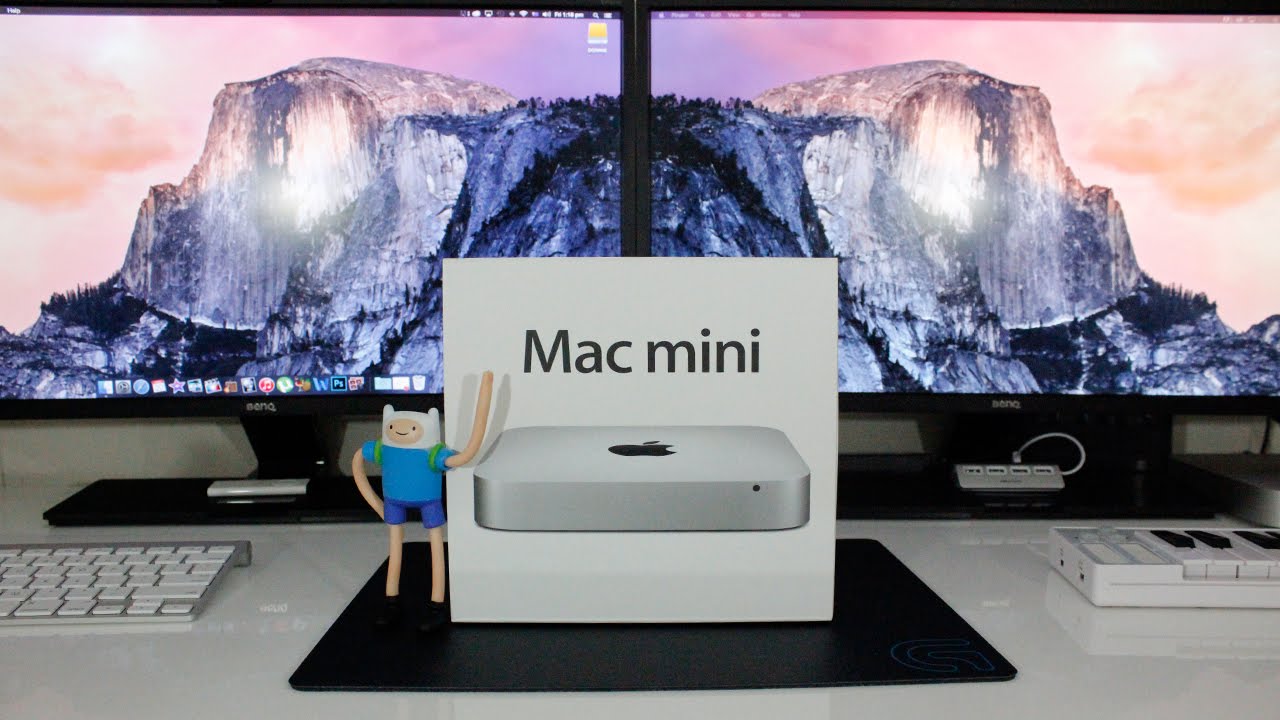
The Mac Mini is a compact and versatile computer that offers powerful performance in a small package. One of the key features of the Mac Mini is its ability to connect to the internet using an Ethernet cable. In this article, we will guide you through the process of connecting your Mac Mini to the internet using an Ethernet cable.
To get started, you will need an Ethernet cable. This is a standard cable that is used to connect devices to a network. It has a connector on each end that looks similar to a telephone cable, but slightly larger. Make sure the Ethernet cable is not damaged and securely connected to both the Ethernet port on your Mac Mini and the device you are connecting to, such as a router or modem.
Once you have confirmed that the Ethernet cable is properly connected, you can proceed to configure your network settings on your Mac Mini. To do this, click on the Apple menu in the top left corner of your screen, then select System Preferences. In the System Preferences window, click on the Network icon.
In the Network settings, you will see a list of available network connections on the left-hand side. Select the Ethernet connection, which should be labeled as Ethernet or Ethernet 1. If the Ethernet connection is not listed, click on the “+” button at the bottom left corner to add a new connection, then select Ethernet from the Interface drop-down menu.
Once you have selected the Ethernet connection, you will see a series of options on the right-hand side. Make sure that the Configure IPv4 option is set to Using DHCP, which allows your Mac Mini to automatically obtain an IP address from your network. If you need to manually enter an IP address, you can select the Manually option and enter the necessary information provided by your network administrator.
After configuring the network settings, click on the Apply button to save the changes. Your Mac Mini should now be connected to the internet using the Ethernet cable. You can test the connection by opening a web browser and navigating to a website.
Connecting your Mac Mini to the internet using an Ethernet cable is a straightforward process. By following the steps outlined in this article, you can ensure a stable and reliable internet connection for your Mac Mini. Whether you are using your Mac Mini for work or leisure, a wired Ethernet connection can provide faster speeds and more reliable performance compared to a wireless connection.

How Do I Connect My Mac To Ethernet Instead Of WiFi?
To connect your Mac to Ethernet instead of WiFi, follow these steps:
1. Connect one end of an Ethernet cable to your Mac’s Ethernet port. The Ethernet port is usually located on the side or back of your Mac, labeled with a symbol that looks like three arrows pointing up and down.
2. Connect the other end of the Ethernet cable to the Ethernet port on your modem, router, or wall socket. Make sure the Ethernet connection is secure.
3. On your Mac, click on the Apple menu in the top-left corner of the screen and select “System Preferences.”
4. In the System Preferences window, click on “Network.”
5. In the Network preferences, you will see a list of network connections on the left side of the window. Select “Ethernet” from the list.
6. If the Ethernet connection is not already active, click on the “Turn Wi-Fi Off” button to disable the WiFi connection.
7. Click on the “Advanced” button at the bottom right corner of the Network preferences window.
8. In the Advanced settings, click on the “Hardware” tab.
9. On the Hardware tab, you can configure the Ethernet settings, such as the speed and duplex mode. In most cases, the default settings should work fine. However, if you are experiencing any issues, you may need to consult your network administrator or Internet service provider for the correct settings.
10. After configuring the Ethernet settings, click on the “OK” button to save the changes.
11. Close the Network preferences window.
Your Mac should now be connected to the internet using the Ethernet connection instead of WiFi. You can verify the connection by opening a web browser and visiting a website.
Why Won’t My Mac Connect Via Ethernet Cable?
There could be several reasons why your Mac is not connecting via an Ethernet cable. Here are some troubleshooting steps you can follow to resolve the issue:
1. Check the Ethernet cable: Inspect the cable for any visible damage, such as frayed or bent connectors. If you notice any issues, try using a different Ethernet cable to see if that resolves the problem.
2. Ensure proper connection: Make sure the Ethernet cable is securely plugged into the Ethernet port on your Mac and the device you are trying to connect to (e.g., router, modem). Sometimes the cable may not be fully inserted or may have become loose, so disconnect and reconnect it to ensure a proper connection.
3. Verify network settings: Go to the Apple menu and select “System Preferences.” Then, click on “Network” and select “Ethernet” from the left sidebar. Make sure the settings are configured correctly. Check that the “Configure IPv4” dropdown is set to “Using DHCP” or “Using DHCP with manual address” if you have a specific IP address assigned. You can also try renewing the DHCP lease by clicking on the “Renew DHCP Lease” button.
4. Restart your Mac and network equipment: Sometimes a simple restart can fix connectivity issues. Turn off your Mac, as well as your router and modem. Wait for a few minutes before turning them back on. Allow the devices to fully restart before attempting to connect via Ethernet again.
5. Reset the network settings: If the above steps don’t work, you can try resetting the network settings on your Mac. Go to the Apple menu, choose “System Preferences,” and click on “Network.” From the left sidebar, select “Ethernet” and click on the minus (-) button to remove the Ethernet connection. Then, click on the plus (+) button and add the Ethernet connection again. This will reset the network settings to default.
6. Check for software updates: Make sure your Mac is running the latest version of macOS. Go to the Apple menu, select “System Preferences,” and click on “Software Update.” If there are any available updates, install them and restart your Mac.
If none of these steps resolve the issue, it could indicate a more complex problem with your Mac’s hardware or network equipment. In such cases, it may be best to consult with a professional or contact Apple support for further assistance.
How Do I Connect My Mac To My Computer Via Ethernet?
To connect your Mac to your computer via Ethernet, follow these steps:
1. Connect the Mac and the Windows computer using a standard Ethernet cable. This cable has RJ-45 connectors on both ends.
2. On the Windows computer, enable file sharing. This allows the Mac to access files and folders on the Windows computer. To do this, go to the Control Panel, find the “Network and Sharing Center,” and enable file sharing from there.
3. Ensure that the Internet Connection Firewall is turned off on the Windows computer. If it’s on, make sure TCP port 445 is open to allow sharing connections. This step ensures that the Mac can communicate with the Windows computer over the network.
4. On your Mac, go to the “System Preferences” by clicking on the Apple menu in the top-left corner of the screen. Then, select “Network.”
5. In the Network settings, you should see a list of available network connections on the left-hand side. Select “Ethernet” or “Ethernet 1” if multiple options are available.
6. Click on the “Advanced” button at the bottom-right of the Network settings window.
7. In the Advanced settings, go to the “TCP/IP” tab. Make sure the “Configure IPv4” option is set to “Using DHCP” or “Using DHCP with manual address” if you have a specific IP address to enter.
8. Return to the Network settings window and click on the “Sharing” tab.
9. Check the box next to “File Sharing” to enable it. You can also configure specific shared folders or additional sharing options from here.
10. Close the Network settings window.
Your Mac should now be connected to the Windows computer via Ethernet. You can access shared files and folders by opening the Finder on your Mac and looking for the Windows computer under the “Shared” section in the sidebar.
How Do I Connect To Ethernet Instead Of WiFi?
To connect to Ethernet instead of WiFi, follow these steps:
1. Locate the Ethernet port on your computer or laptop. It is usually found on the back or side of the device. The Ethernet port looks like a slightly larger phone jack.
2. Take one end of the network cable and insert it into the Ethernet port on your computer or laptop. Apply light pressure until you hear a click, indicating that the cable is securely connected.
3. Take the other end of the network cable and insert it into one of the “LAN” or “Network” ports on your network router or hub. These ports are typically located on the back of the router. Again, apply light pressure until you hear a click to ensure a proper connection.
4. Once the cable is connected to both your computer and the router, your computer should automatically recognize the Ethernet connection. It may take a few moments for the connection to establish.
5. You can now enjoy a wired Ethernet connection, which tends to be faster and more stable than a WiFi connection. This is particularly useful for activities that require a strong and reliable internet connection, such as online gaming or video streaming.
Note: If your computer does not have an Ethernet port, you can use a USB-to-Ethernet adapter to connect the network cable to a USB port on your computer.
By following these steps, you will be able to connect to Ethernet and enjoy the benefits of a wired internet connection.
Conclusion
The Mac Mini is a versatile and powerful device that offers a compact solution for your computing needs. With its sleek design and powerful hardware, it provides a seamless experience for both personal and professional use.
The Mac Mini’s Ethernet connectivity allows for stable and reliable network connections, ensuring fast and efficient data transfer. By using Ethernet network settings, you can easily set up and manage your Ethernet connection, making it convenient to connect to the internet or other devices.
When setting up your Ethernet connection, it is important to check the Ethernet cable for any damage and ensure that it is securely connected to both your Mac Mini and the device you are connecting to. Additionally, verifying your network settings is crucial to ensure a smooth and uninterrupted connection.
Moreover, the Mac Mini’s compatibility with Windows computers allows for easy file sharing and collaboration. By connecting your Mac Mini to a Windows computer using a standard Ethernet cable, you can easily transfer files and share resources between the two devices. It is important to ensure that file sharing is enabled on the Windows computer and that the necessary firewall settings are adjusted to allow for sharing connections.
Lastly, the Ethernet port on the Mac Mini provides a convenient way to connect to a network router or hub. Simply insert one end of the network cable into the Ethernet port on your Mac Mini and the other end into a LAN or Network port on the router or hub. This allows for seamless connectivity and access to the internet or other network devices.
The Mac Mini’s Ethernet capabilities make it a reliable and efficient device for all your networking needs. Whether you are connecting to the internet, sharing files, or collaborating with others, the Mac Mini ensures a seamless and hassle-free experience.


