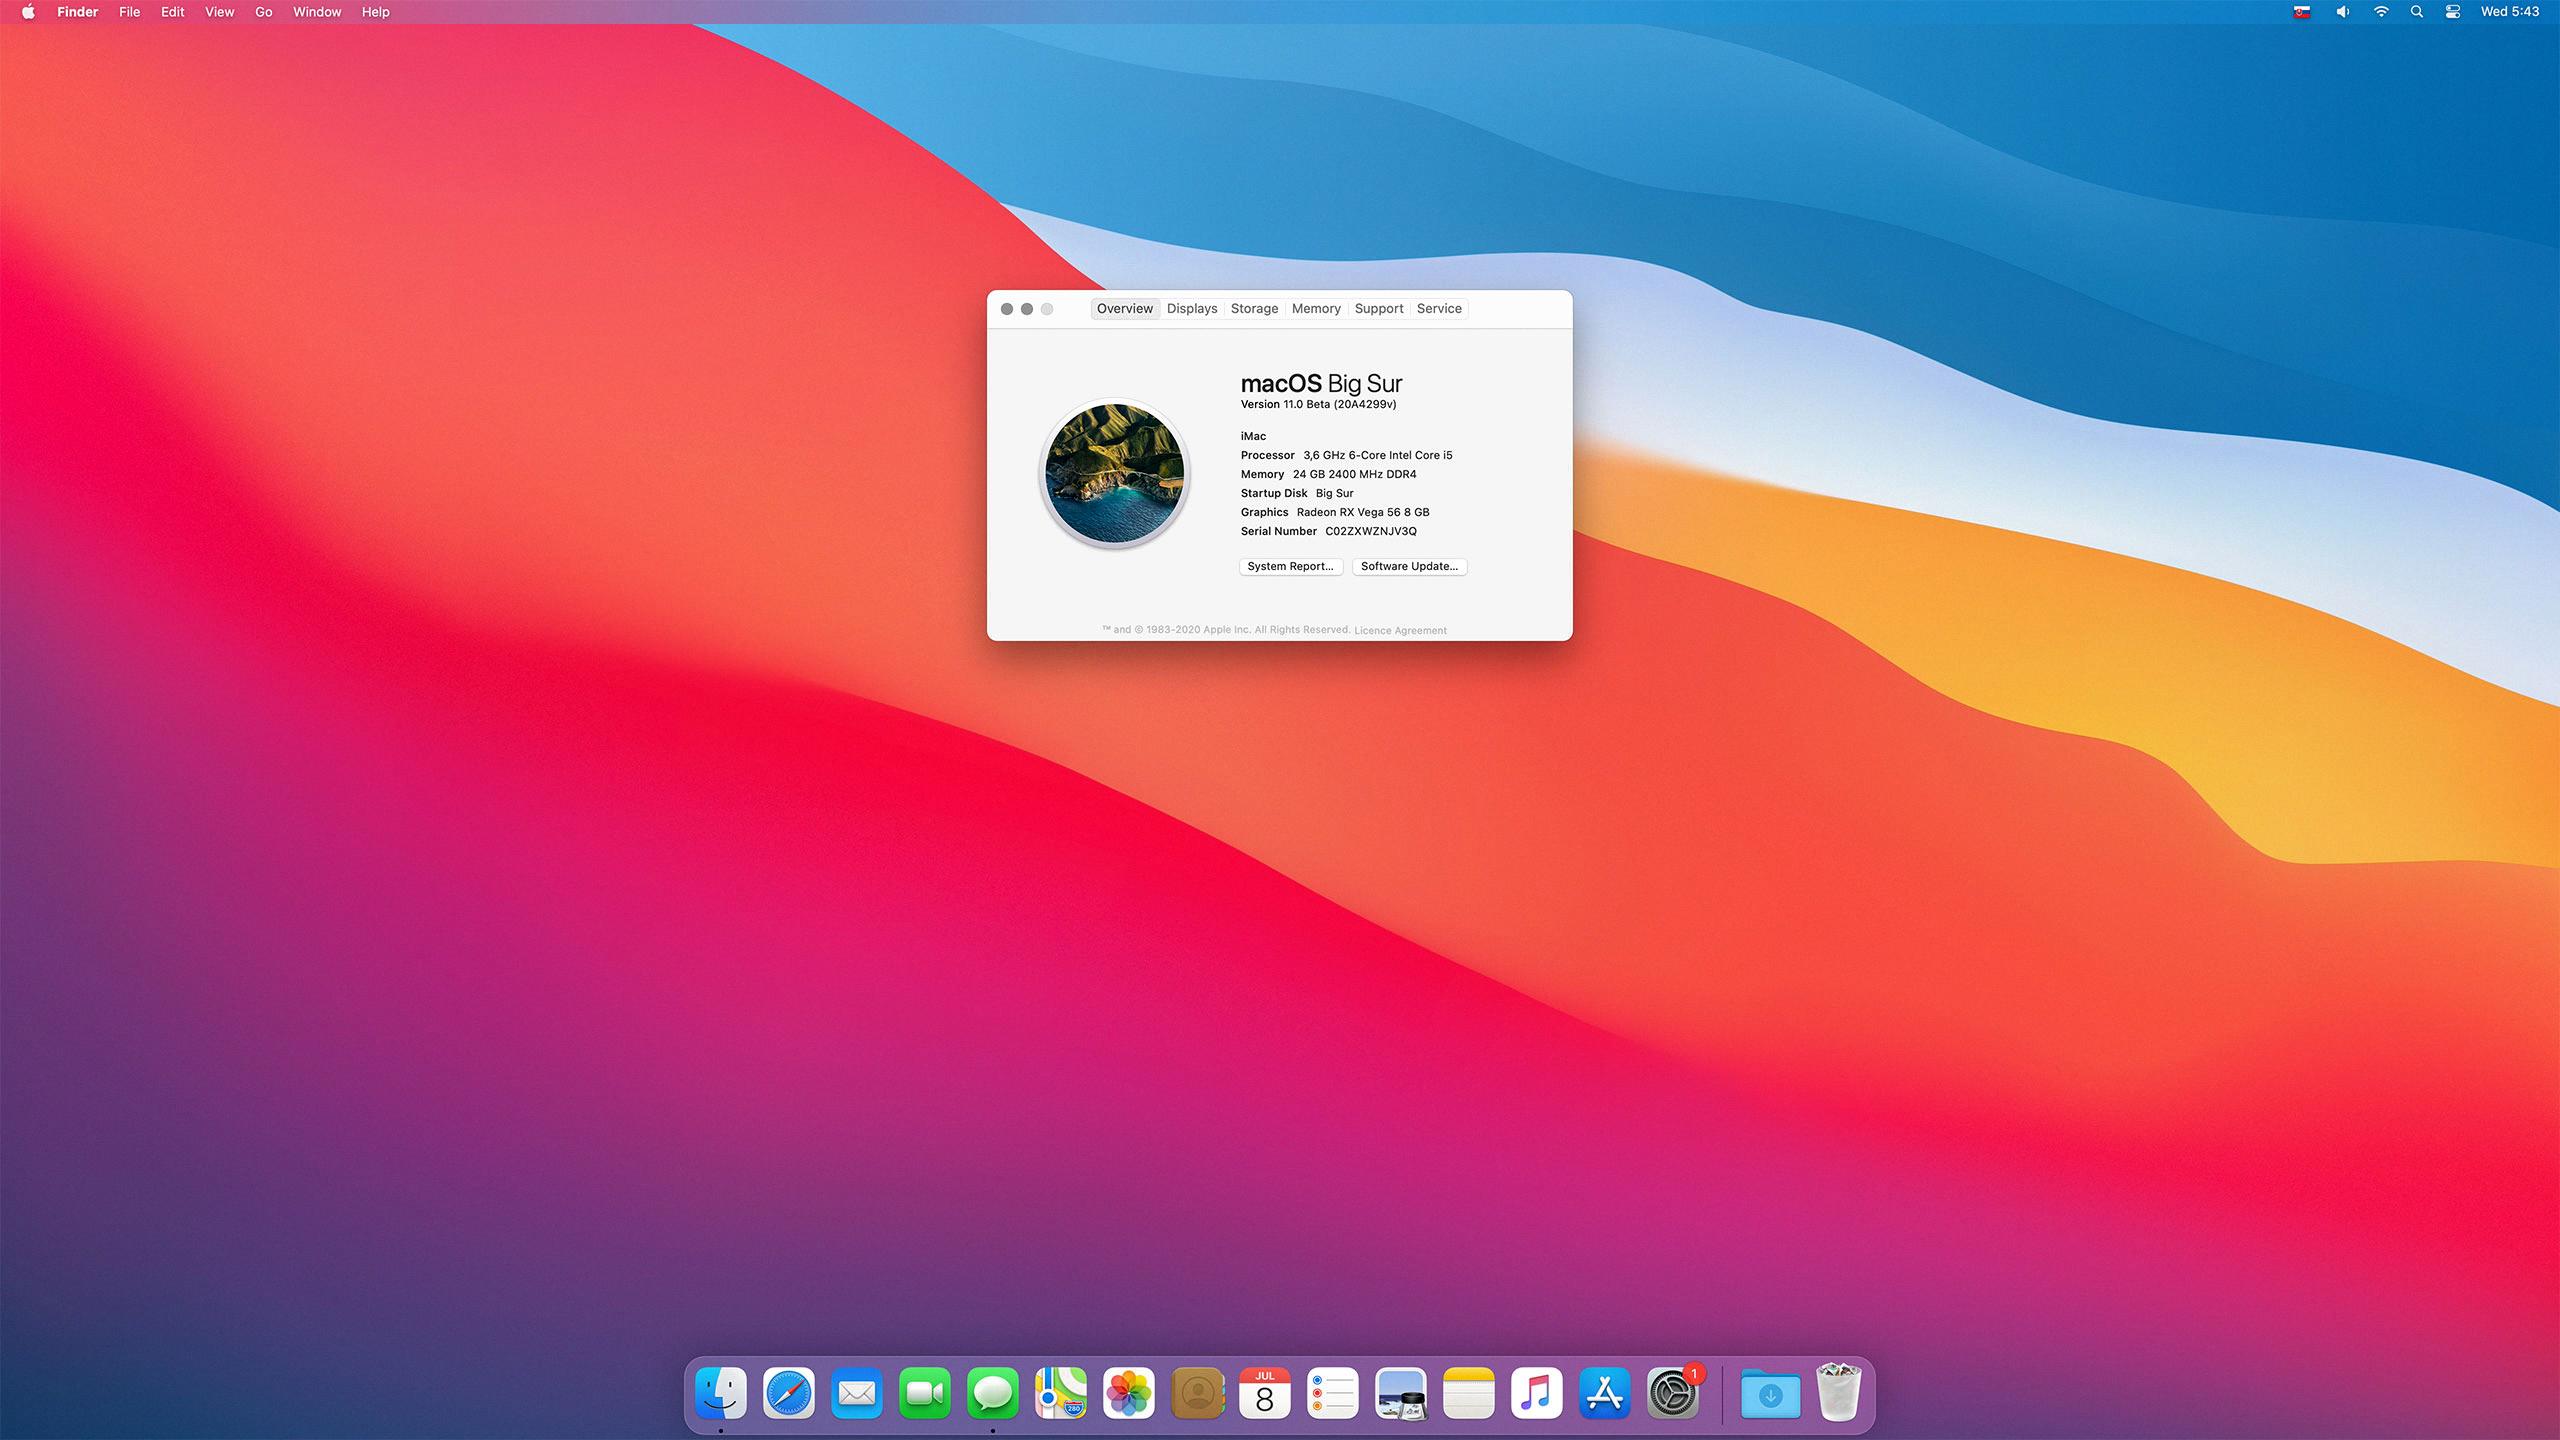
MacOS Big Sur is the latest operating system released by Apple for Mac computers. If you’re looking to start fresh and perform a clean install of Big Sur on your Mac, this article will guide you through the process step by step.
Before we proceed, it’s important to note that performing a clean install will erase all data on your Mac’s hard drive. Therefore, it is crucial to back up all your important files and documents before proceeding with the clean install process.
Steps to Perform a Clean Install of macOS Big Sur:
Step 1: Power off your Mac
Start by powering off your Mac. Click the power button to turn it back on, and while it’s starting up, hold down the Option, Command, P, and R keys simultaneously. This will switch your Mac to Recovery Mode.
Step 2: Access Recovery Mode
Once you’re in Recovery Mode, you’ll see a window with various options. Select “Disk Utility” from the options and click “Continue.” This will open the Disk Utility application.
Step 3: Erase the Macintosh HD
In Disk Utility, select your Macintosh HD from the list of available drives. Click on the “Erase” button at the top of the Disk Utility window. A new window will appear where you can choose the format for your hard drive. Leave it as the default format and click “Erase.”
Step 4: Reinstall macOS Big Sur
After erasing the Macintosh HD, close Disk Utility, and you’ll be back in the Recovery Mode window. Now, select “Reinstall macOS” and click “Continue.” Follow the on-screen instructions to reinstall macOS Big Sur on your Mac.
Step 5: Set up macOS Big Sur
Once the reinstallation process is complete, your Mac will restart with a fresh installation of macOS Big Sur. Follow the setup process to configure your Mac, including creating a user account and setting up preferences.
It’s worth noting that a clean install of macOS can have a significant impact on your Mac, as it will remove all previous settings, applications, and files. Therefore, it’s essential to ensure you have backed up all necessary data before proceeding.
A clean install of macOS Big Sur allows you to start fresh with a clean slate on your Mac. However, it’s crucial to back up your data and understand that performing a clean install will erase all existing files and settings.
Remember to make the necessary preparations and follow the steps outlined in this guide to successfully perform a clean install of macOS Big Sur on your Mac.
How Do I Wipe My Mac Clean And Start Over Big Sur?
To wipe your Mac clean and start over with macOS Big Sur, you will need to follow these steps:
1. Power off your Mac: Begin by shutting down your Mac completely.
2. Enter Recovery Mode: Turn on your Mac and immediately press and hold the Option, Command, P, and R keys together. Keep holding them until you hear the startup sound for the second time.
3. Access the Recovery Mode: Once in Recovery Mode, you will see the macOS Utilities window. Here, select “Disk Utility” and click on the Continue button.
4. Choose the startup disk: In the Disk Utility window, locate and select your main startup disk, usually named “Macintosh HD” or similar. Make sure you select the correct disk as erasing it will remove all data permanently.
5. Erase the disk: With your startup disk selected, click on the Erase button at the top of the Disk Utility window.
6. Configure erase settings: A new window will appear, allowing you to configure the erase settings. Leave the format as it is (Mac OS Extended) and give the disk a name if desired. click on Erase to proceed.
7. Confirm the erase: You will be prompted to confirm the erase action. Double-check that you have selected the correct disk and click on Erase again. This process will erase all data on the disk, so ensure you have a backup if needed.
8. Wait for the erase to complete: The erasing process may take some time, depending on the size of your disk. Once it’s finished, you will see a message confirming the successful erase.
9. Reinstall macOS Big Sur: Close the Disk Utility window and select “Reinstall macOS” from the macOS Utilities window. Follow the on-screen instructions to reinstall macOS Big Sur on your freshly erased disk.
10. Set up your Mac: After the reinstallation is complete, your Mac will restart, and you will be guided through the initial setup process. Follow the prompts to configure your preferences, create a user account, and personalize your Mac.
By following these steps, you can wipe your Mac clean, erase all data, and start over with a fresh installation of macOS Big Sur. Remember to back up any important data before proceeding, as it will be permanently deleted during the erase process.

How Do I Erase All Content And Settings On My Mac Big Sur?
To erase all content and settings on your Mac running Big Sur, you can follow these steps:
1. Start by clicking on the Apple menu () located in the corner of your screen.
2. From the drop-down menu, select “System Preferences.”
3. In the System Preferences window, click on the “General” option, typically represented by a gear icon.
4. On the General settings page, you’ll find various options. Look for the “Transfer or Reset” section and click on it.
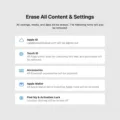
5. In the Transfer or Reset section, you should see a button labeled “Erase All Content and Settings.” Click on it to proceed.
6. A confirmation prompt will appear, informing you that erasing all content and settings will remove everything from your Mac. Make sure you have backed up any important data before proceeding.
7. If you are certain you want to proceed, click on the “Erase All” button to initiate the process.
8. The erasing process may take some time depending on the amount of data on your Mac. Once completed, your Mac will restart, and you will be presented with the initial setup screen as if you were using it for the first time.
It’s important to note that erasing all content and settings will permanently delete everything from your Mac, including files, applications, and settings. Therefore, it is crucial to have a backup of any important data before performing this action.
Please ensure that you have taken the necessary precautions and double-checked your backups before proceeding with the erase process.
Should I Clean Install Big Sur?
When considering whether to clean install Big Sur, it is important to weigh the potential impact on your Mac and the possibility of important data or settings being lost during the process. Here are some factors to consider:
1. Data preservation: A clean install involves erasing your system drive and starting fresh, which means all your data, applications, and settings will be removed. If you have important files or configurations that are not backed up or difficult to recreate, a clean install may not be the best option.
2. Time and effort: Performing a clean install requires reinstalling all your applications and reconfiguring settings from scratch. This can be a time-consuming process, especially if you have numerous applications or complex configurations.
3. System stability: While a clean install can potentially improve system performance and stability, it is not guaranteed. In some cases, a clean install may introduce new issues or conflicts with certain hardware or software. It’s important to research compatibility with your specific Mac model and any critical applications you rely on.
4. Upgrade vs. clean install: Upgrading your existing macOS version to Big Sur through the normal update process is generally a safer option. This allows your Mac to retain all your data, applications, and settings, while also benefiting from the new features and improvements in Big Sur.
If you are unsure about the impact of a clean install and the potential loss of important data, it may be more prudent to opt for an upgrade instead. This way, you can enjoy the benefits of Big Sur while minimizing the risk of losing any crucial files or configurations.
How Do I Clean Install MacOS Big Sur From Bootable USB?
To perform a clean installation of macOS Big Sur from a bootable USB drive, follow these steps:
1. Connect your bootable USB drive to your Mac.
2. Start up or restart your Mac and hold down the Option key (also known as Alt) immediately after hearing the startup sound. This will bring up the Startup Manager, which displays all available startup disks.
3. Release the Option key and you will see a list of available startup disks. Select the bootable USB drive from the list and press Enter or click on the arrow button.
4. Your Mac will now start up from the bootable USB drive. It may take a few moments to load.
5. Once the macOS Utilities window appears, select “Disk Utility” and click Continue.
6. In Disk Utility, select your Mac’s internal hard drive or SSD from the list of available drives on the left side.
7. Click on the “Erase” tab in the top middle of the Disk Utility window.
8. Choose a name for your internal drive (e.g., “Macintosh HD”) and select the format as “APFS” or “Mac OS Extended (Journaled)”.
9. Click on the “Erase” button to format the drive. This will erase all data on the drive, so make sure you have backed up any important files.
10. Once the drive is erased, close Disk Utility to return to the macOS Utilities window.
11. Select “Install macOS” and click Continue.
12. Follow the on-screen instructions to complete the installation process. You will need to agree to the terms and conditions and select the destination drive (the newly formatted internal drive).
13. The installation process may take some time, so be patient and do not interrupt it.
14. Once the installation is complete, your Mac will restart and boot into macOS Big Sur.
15. Follow the initial setup prompts to configure your Mac and set up your user account.
Congratulations! You have successfully performed a clean installation of macOS Big Sur from a bootable USB drive. Remember to reinstall any necessary applications and restore your files from backups if needed.
Conclusion
Performing a clean install of macOS Big Sur can be a beneficial option for users who want to start fresh and ensure optimal performance on their Mac. By erasing all content and settings, you can eliminate any potential software conflicts, clutter, or outdated files that may be causing issues.
A clean install allows you to create a clean slate, providing a stable foundation for your Mac’s operating system. It also ensures that you have the latest version of macOS, which comes with improved features, security updates, and bug fixes.
However, it’s important to note that a clean install will erase all data on your Mac, so it’s crucial to back up your important files before proceeding. Additionally, reinstalling all your applications and restoring your data can be time-consuming.
If you’re unsure about the impact a clean install may have on your Mac or if you have important data that you want to preserve, it may be wiser to consider upgrading to macOS Big Sur through the normal update process. This way, you can retain your files, applications, and settings while still benefiting from the new features and improvements of the latest macOS version.
Ultimately, the decision to perform a clean install of macOS Big Sur should be based on your specific needs and preferences. If you value a fresh start and optimal performance, a clean install can be a great option. However, if preserving your data and minimizing disruption is a priority, upgrading through the regular update process may be a more suitable choice.


