Are you experiencing the frustrating issue of your AirPods being linked to the wrong Apple ID? Don’t worry, you’re not alone. Many users have encountered this problem, and fortunately, there are steps you can take to resolve it.
First, let’s understand why your AirPods might be linked to the wrong Apple ID. This can happen if you purchased your AirPods from someone else or if you’ve used them with a different Apple device before. In such cases, the AirPods might still be associated with the previous owner’s Apple ID.
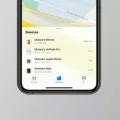
To remove the AirPods or any other Find My network device from your Apple ID on your Mac, follow these simple steps:
1. Open the Find My app on your Mac.
2. Select the “Devices” tab.
3. Look for the device that you want to remove (in this case, your AirPods).
4. On the map, locate and click the “More Info” button.
5. click on “Remove This Device” to unlink the AirPods from your Apple ID.
By following these steps, you should be able to remove the AirPods from your Apple ID and resolve any issues related to them being linked to the wrong account.
If, on the other hand, you want to reset your AirPods completely, here’s what you need to do:
1. Place your AirPods in their charging case and close the lid.
2. Wait for about 30 seconds.
3. Open the lid of the charging case and put your AirPods back in your ears.
4. On your iPhone, go to Settings and tap on “Bluetooth.”
5. Look for your AirPods in the list of available devices and tap on the “i” icon next to them.
6. tap on “Forget This Device” to completely reset your AirPods.
Following these steps will not only unlink your AirPods from the wrong Apple ID but also reset them to their factory settings, ready for you to use with your own Apple ID.
It’s worth mentioning that sometimes, the issue of AirPods being linked to the wrong Apple ID can occur if they were previously owned by someone else. In such cases, changing the name of the AirPods can help differentiate them from any other devices still associated with the previous owner’s Apple ID. To change the name of your AirPods:
1. Connect your AirPods to your device.
2. Go to Settings and tap on “Bluetooth.”
3. Locate your AirPods in the list of connected devices and tap on the circled “i” icon next to them.
4. Tap on “Name” and enter a new name for your AirPods.
5. Tap “Done” to save the changes.
By giving your AirPods a unique name, you can ensure that they are easily identifiable and not confused with any other devices linked to the wrong Apple ID.
Remember, if you have multiple devices connected to your AirPods, they will automatically connect to the device whose playback was started later. So, be mindful of this when using your AirPods with different devices simultaneously.
If you find your AirPods linked to the wrong Apple ID, follow the steps mentioned above to remove them from your Apple ID or reset them entirely. By taking these actions, you can ensure that your AirPods are correctly associated with your own Apple ID and enjoy a seamless user experience.
How Do I Remove My AirPods From Someone Else’s Apple ID?
To remove your AirPods from someone else’s Apple ID, you need to follow these steps:
1. Open the Find My app on your Mac.
2. Click on the Devices tab to see a list of connected devices.
3. Locate the device that you want to remove, which in this case is your AirPods.
4. On the map, you will find a button labeled “More Info” associated with your AirPods. Click on it.
5. A new window will appear with detailed information about your AirPods.
6. In this window, look for the option that says “Remove This Device” and click on it.
7. A confirmation prompt will appear asking if you want to remove the device. Confirm your decision by clicking on “Remove” or “Yes” to proceed.
8. The AirPods will now be disconnected from the Apple ID they were previously linked to.
Note: Removing your AirPods from someone else’s Apple ID will also remove them from that person’s Find My network. Once removed, you can pair the AirPods with your own Apple ID and connect them to your devices.
How Do I Reset My AirPods To A New Apple ID?
To reset your AirPods to a new Apple ID, you can follow these steps:
1. Place your AirPods in their charging case and keep the lid open.
2. On your iPhone or iPad, go to the Settings app.
3. Scroll down and tap on Bluetooth.
4. Find your AirPods in the list of devices under MY DEVICES.
5. Tap the “i” icon next to your AirPods.
6. On the next screen, tap Forget This Device.
7. A confirmation pop-up will appear, tap Forget Device to confirm.
8. Close the Settings app.
9. Now, close the lid of your AirPods charging case.
10. Wait for about 30 seconds.
11. Open the lid of the charging case.
12. Press and hold the setup button on the back of the case until the status light starts flashing white.
13. Your AirPods are now in pairing mode.
14. On your iPhone or iPad, go back to the Bluetooth settings.
15. Tap on your AirPods in the list of available devices.
16. Follow the prompts to connect your AirPods to your new Apple ID.
By following these steps, you will be able to reset your AirPods and connect them to a new Apple ID.
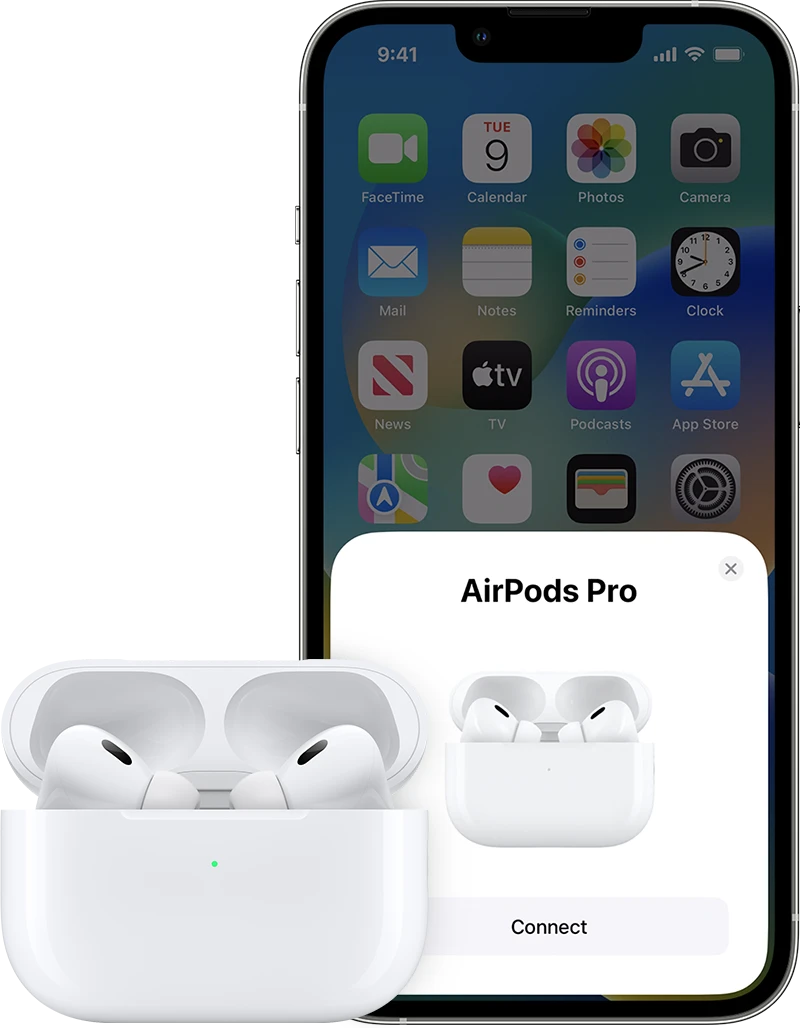
Why Do My AirPods Say Someone Else Owns Them?
When the AirPods display a message indicating that someone else owns them, it typically means that the AirPods were previously connected to another device and are still registered under that owner’s account. This could happen if the AirPods were sold or given to you by someone else.
The AirPods use a feature called “Find My” that allows the original owner to track and manage their AirPods using their Apple ID. When you connect the AirPods to your device, it detects that they are still associated with another Apple ID, causing the message to appear.
To resolve this issue, you need to disconnect the AirPods from the previous owner’s account and connect them to your own. Here’s how you can do it:
1. Make sure your AirPods are connected to your device.
2. Go to the “Settings” app on your iPhone or iPad.
3. Scroll down and tap on “Bluetooth.”
4. Find your AirPods in the list of connected devices and tap on the circled “i” icon next to them.
5. On the next screen, tap on “Forget This Device” and confirm your choice.
6. Now, you need to reset your AirPods. Keep them in the case and close the lid.
7. Wait for about 30 seconds and then open the lid.
8. On your device, go to the Bluetooth settings again and reconnect your AirPods.
9. Follow the on-screen prompts to complete the setup process.
By following these steps, you will disconnect the AirPods from the previous owner’s account and establish a new connection to your own account. This should resolve the issue and eliminate the message indicating that someone else owns your AirPods.
If you continue to experience any problems or if you’re unable to connect the AirPods to your own account, it’s recommended to contact Apple Support for further assistance.
Why Do My AirPods Connect To Someone Else’s Phone?
There could be a few reasons why your AirPods may connect to someone else’s phone:
1. Bluetooth pairing: AirPods use Bluetooth technology to connect to devices. If someone else’s phone has been paired with your AirPods in the past, it is possible that the Bluetooth connection is still active and the AirPods automatically connect to that device when in range.
2. Automatic connection: AirPods are designed to automatically connect to the last device they were connected to when they are in range. If someone else’s phone was the last device your AirPods were connected to, they will automatically connect to that phone when in range, even if it is not your intended device.
3. Multiple device connection: AirPods can be connected to multiple devices that are signed in to the same iCloud account. If someone else’s phone is signed in to the same iCloud account as your device, there is a possibility that the AirPods will connect to their phone if it is in range.
To avoid your AirPods connecting to someone else’s phone, you can try the following:
1. Unpair from other devices: Make sure to unpair your AirPods from any devices that you do not want them to connect to. This can be done by going to the Bluetooth settings on those devices and selecting “Forget this device” or a similar option.
2. Disable automatic connection: On your device, you can go to the Bluetooth settings and disable the automatic connection feature for your AirPods. This will prevent them from automatically connecting to the last device they were connected to.
3. Keep your AirPods in their case: When you are not using your AirPods, it is a good idea to keep them in their case. This can help prevent accidental connections to other devices.
Remember that the behavior of your AirPods may also depend on the specific model and software version you are using.
Conclusion
Managing your Apple ID and devices, such as AirPods, is made easy with the Find My app on your Mac. By following the simple steps outlined above, you can remove AirPods or any other Find My network device from your Apple ID, giving you full control over your connected devices.
Additionally, if you need to reset your AirPods or AirPods Pro, the process is straightforward. By placing your AirPods in their charging case, waiting for a few seconds, and then reconnecting them via your device’s Bluetooth settings, you can ensure that your AirPods are ready for use.
It’s worth noting that if you encounter any issues with your AirPods, such as connectivity or naming problems, you can address them by adjusting the settings on your device. Changing the name of your AirPods while they are connected can help personalize and distinguish them from other devices.
Lastly, it’s important to be aware that if you have multiple devices connected to your AirPods, they will automatically switch to the device that started playback most recently. This seamless transition allows for a hassle-free audio experience, whether you’re using your AirPods with your iPhone, iPad, or Mac.
Managing your Apple ID and AirPods is a straightforward process that can be easily done through the Find My app and device settings. By following the steps outlined and taking advantage of the features available, you can ensure a seamless and personalized experience with your Apple devices.

