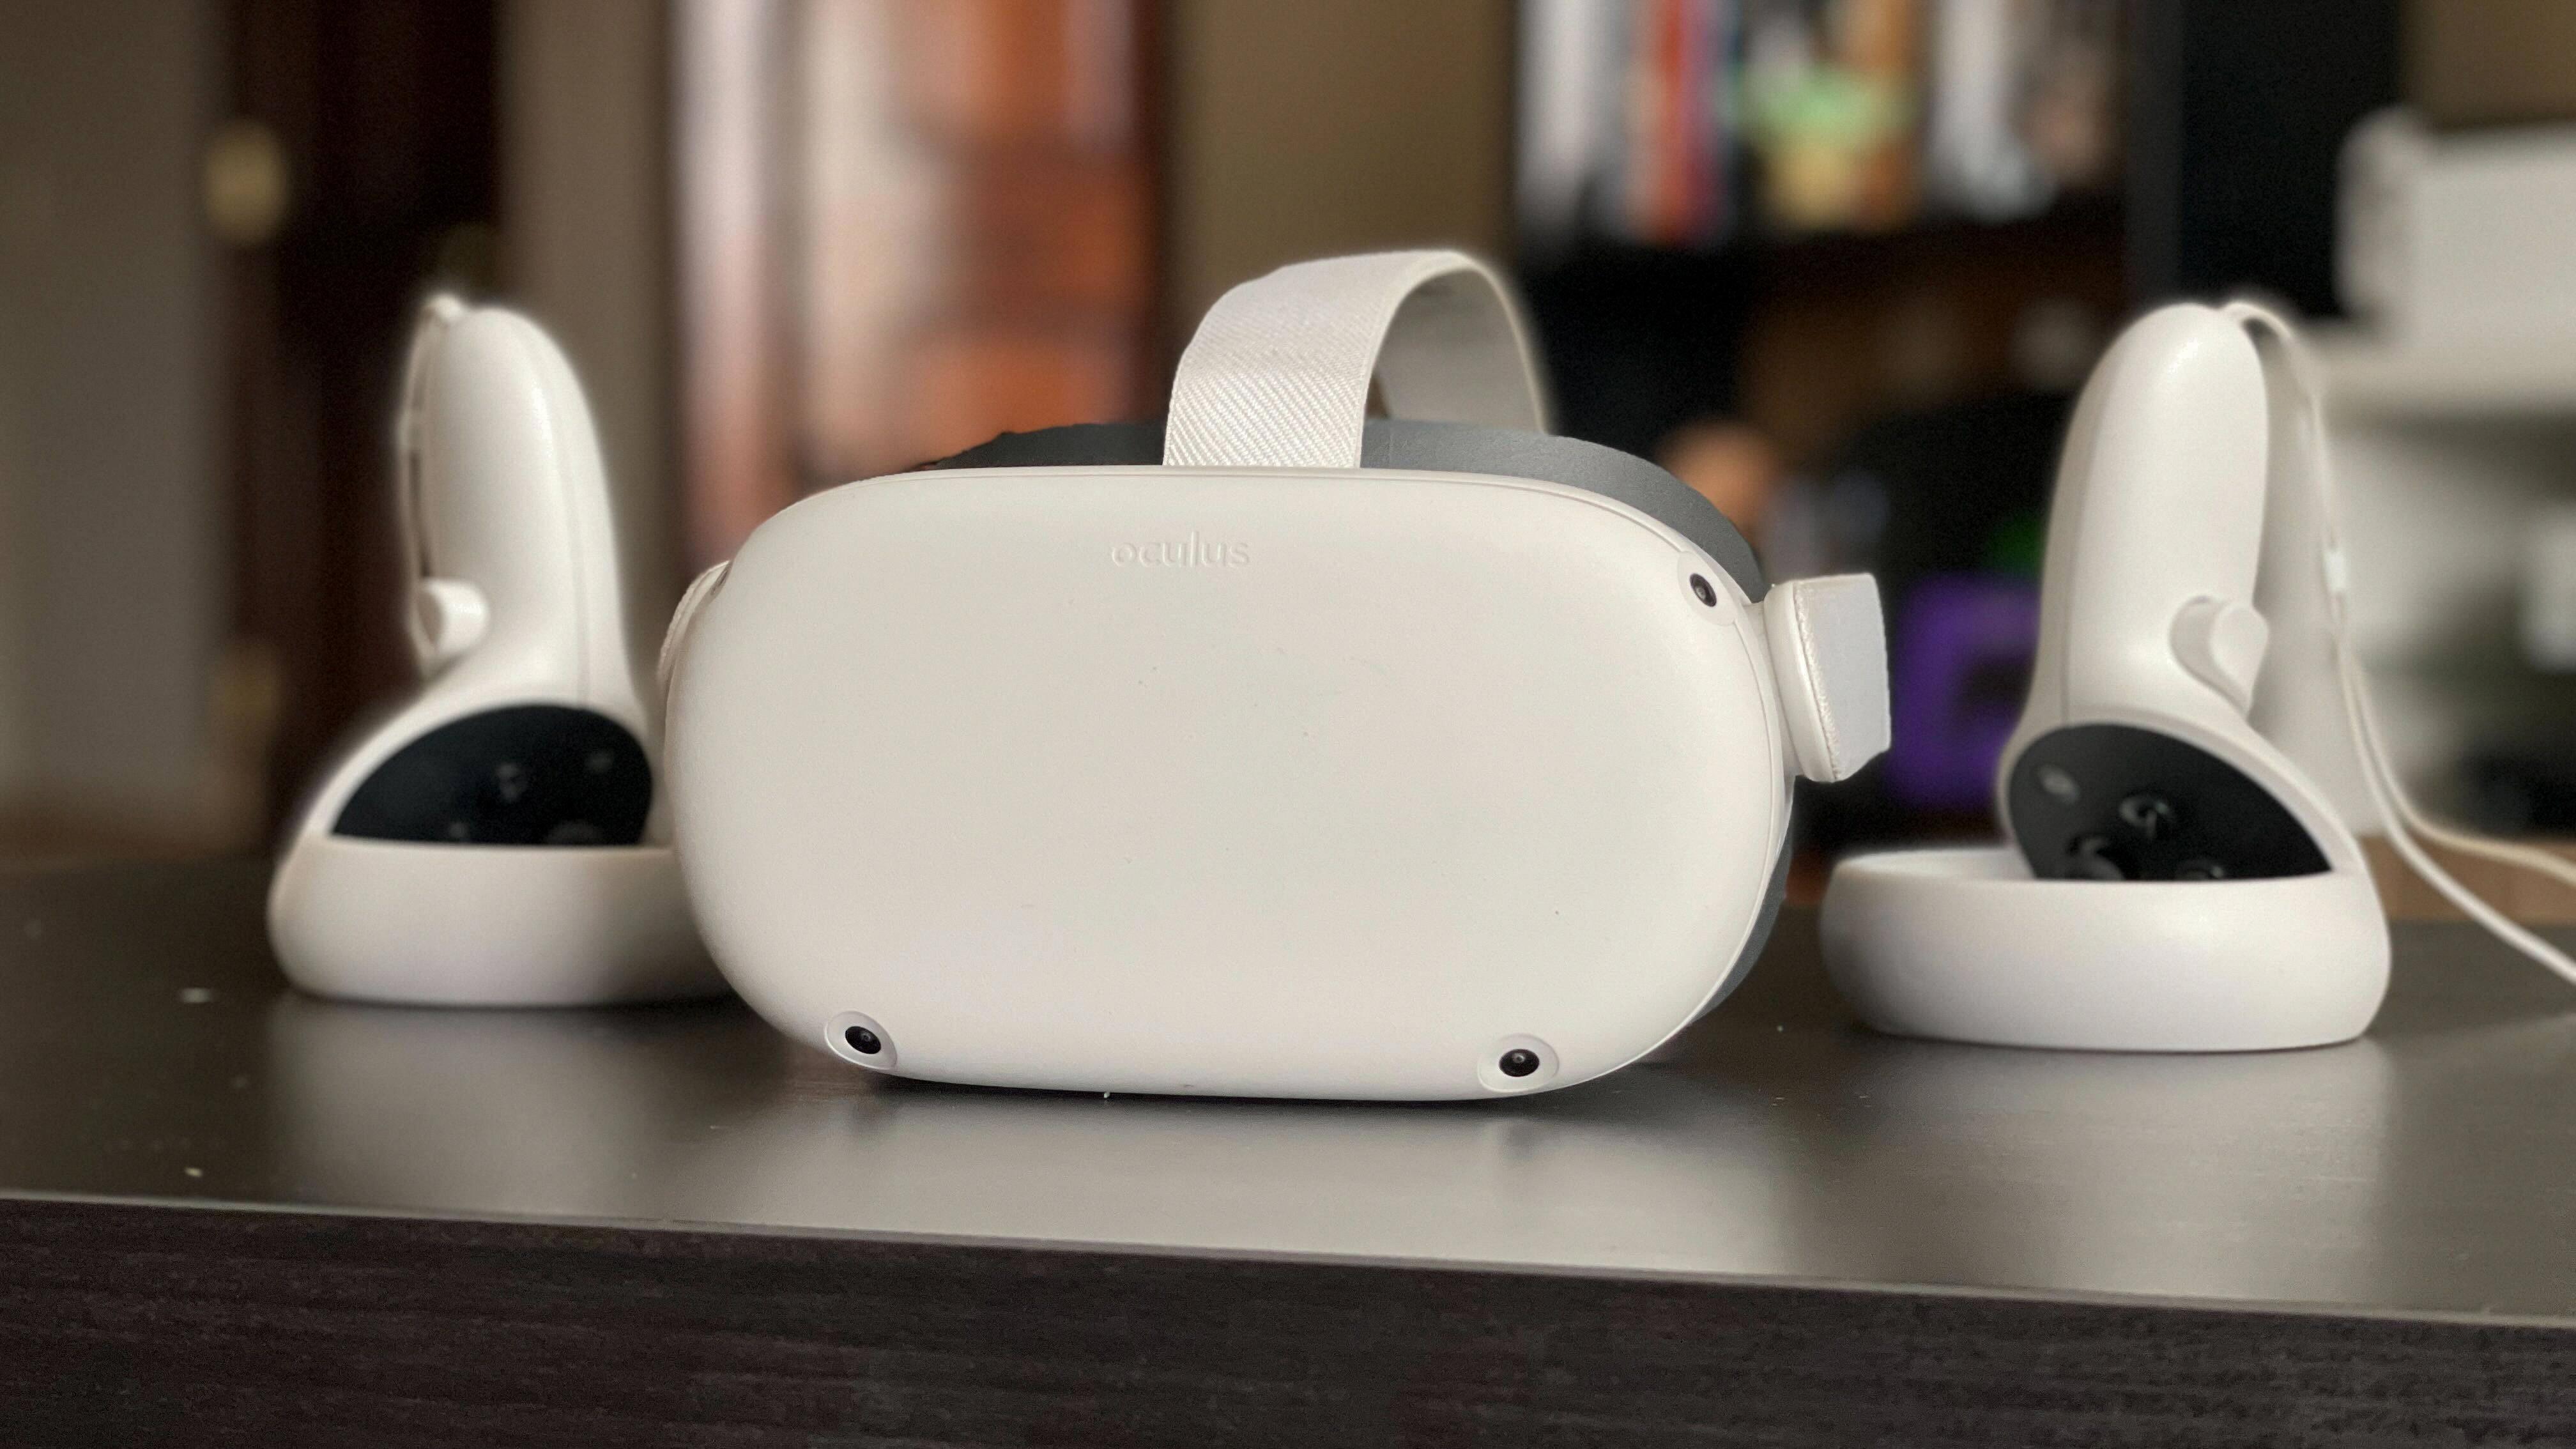
The Oculus for Business headset is a powerful tool for virtual reality experiences, but sometimes users may run into issues with their controllers not connecting. This can be frustrating, but there are several steps you can take to troubleshoot the problem and get your controllers working again.
First, make sure that your controllers are properly paired with your headset. To do this, tap Devices in the bottom right corner of the Oculus for Business app, then tap Controllers. Choose the left or right controller you want to pair and then press and hold the buttons on your right controller or on your left controller until the controller LED blinks and then lights up to finalize the pairing.
If your controllers are still not connecting, it may be due to a dead battery. Each controller uses one AA battery, so you’ll need two in total to replace the batteries in both. Simply replace the batteries and try pairing the controllers again.
If neither of these solutions works, you may need to perform a factory reset on your headset. Turn off your Oculus for Business headset and hold the power and volume (-) buttons on your headset down simultaneously until the boot screen loads. Use the volume buttons on your headset to highlight Factory Reset and press the power button. Note that this will erase all data on your headset, so be sure to back up any important files before proceeding.
In some cases, the issue may be with the headset itself. If you have tried all of the above steps and your controllers still won’t connect, contact Oculus support for further assistance.
If you are experiencing issues with your Oculus for Business controllers not connecting, there are several steps you can take to troubleshoot the problem. Start by ensuring that your controllers are properly paired and that the batteries are not dead. If these solutions do not work, try performing a factory reset on your headset or contacting Oculus support for further assistance.
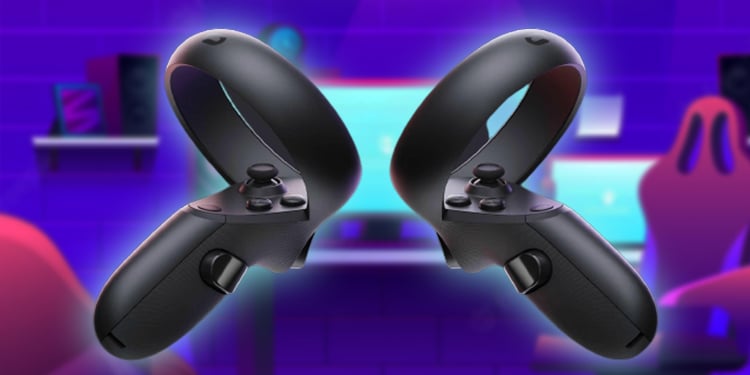
Reconnecting an Oculus Controller
To reconnect your Oculus controller, you need to follow a few simple steps. Firstly, open the Oculus app on your device and tap on the Devices option located in the bottom right corner of the app. After that, select Controllers and choose the controller that you want to pair from the options left or right.
Next, press and hold the buttons on your right controller or on your left controller until the controller LED starts to blink. This indicates that the controller is in pairing mode. Keep holding the buttons until the LED light on the controller stops blinking and stays lit, which indicates that the pairing process is complete.
If you are having trouble pairing your controller, make sure to check that your controller is fully charged and that your device is within range. Additionally, you can try resetting your controller by removing the batteries, waiting for a few seconds, and then putting them back in.
The process of reconnecting your Oculus controller is straightforward and should only take a few minutes to complete. By following these steps, you can easily pair your controller and get back to enjoying your VR experience.
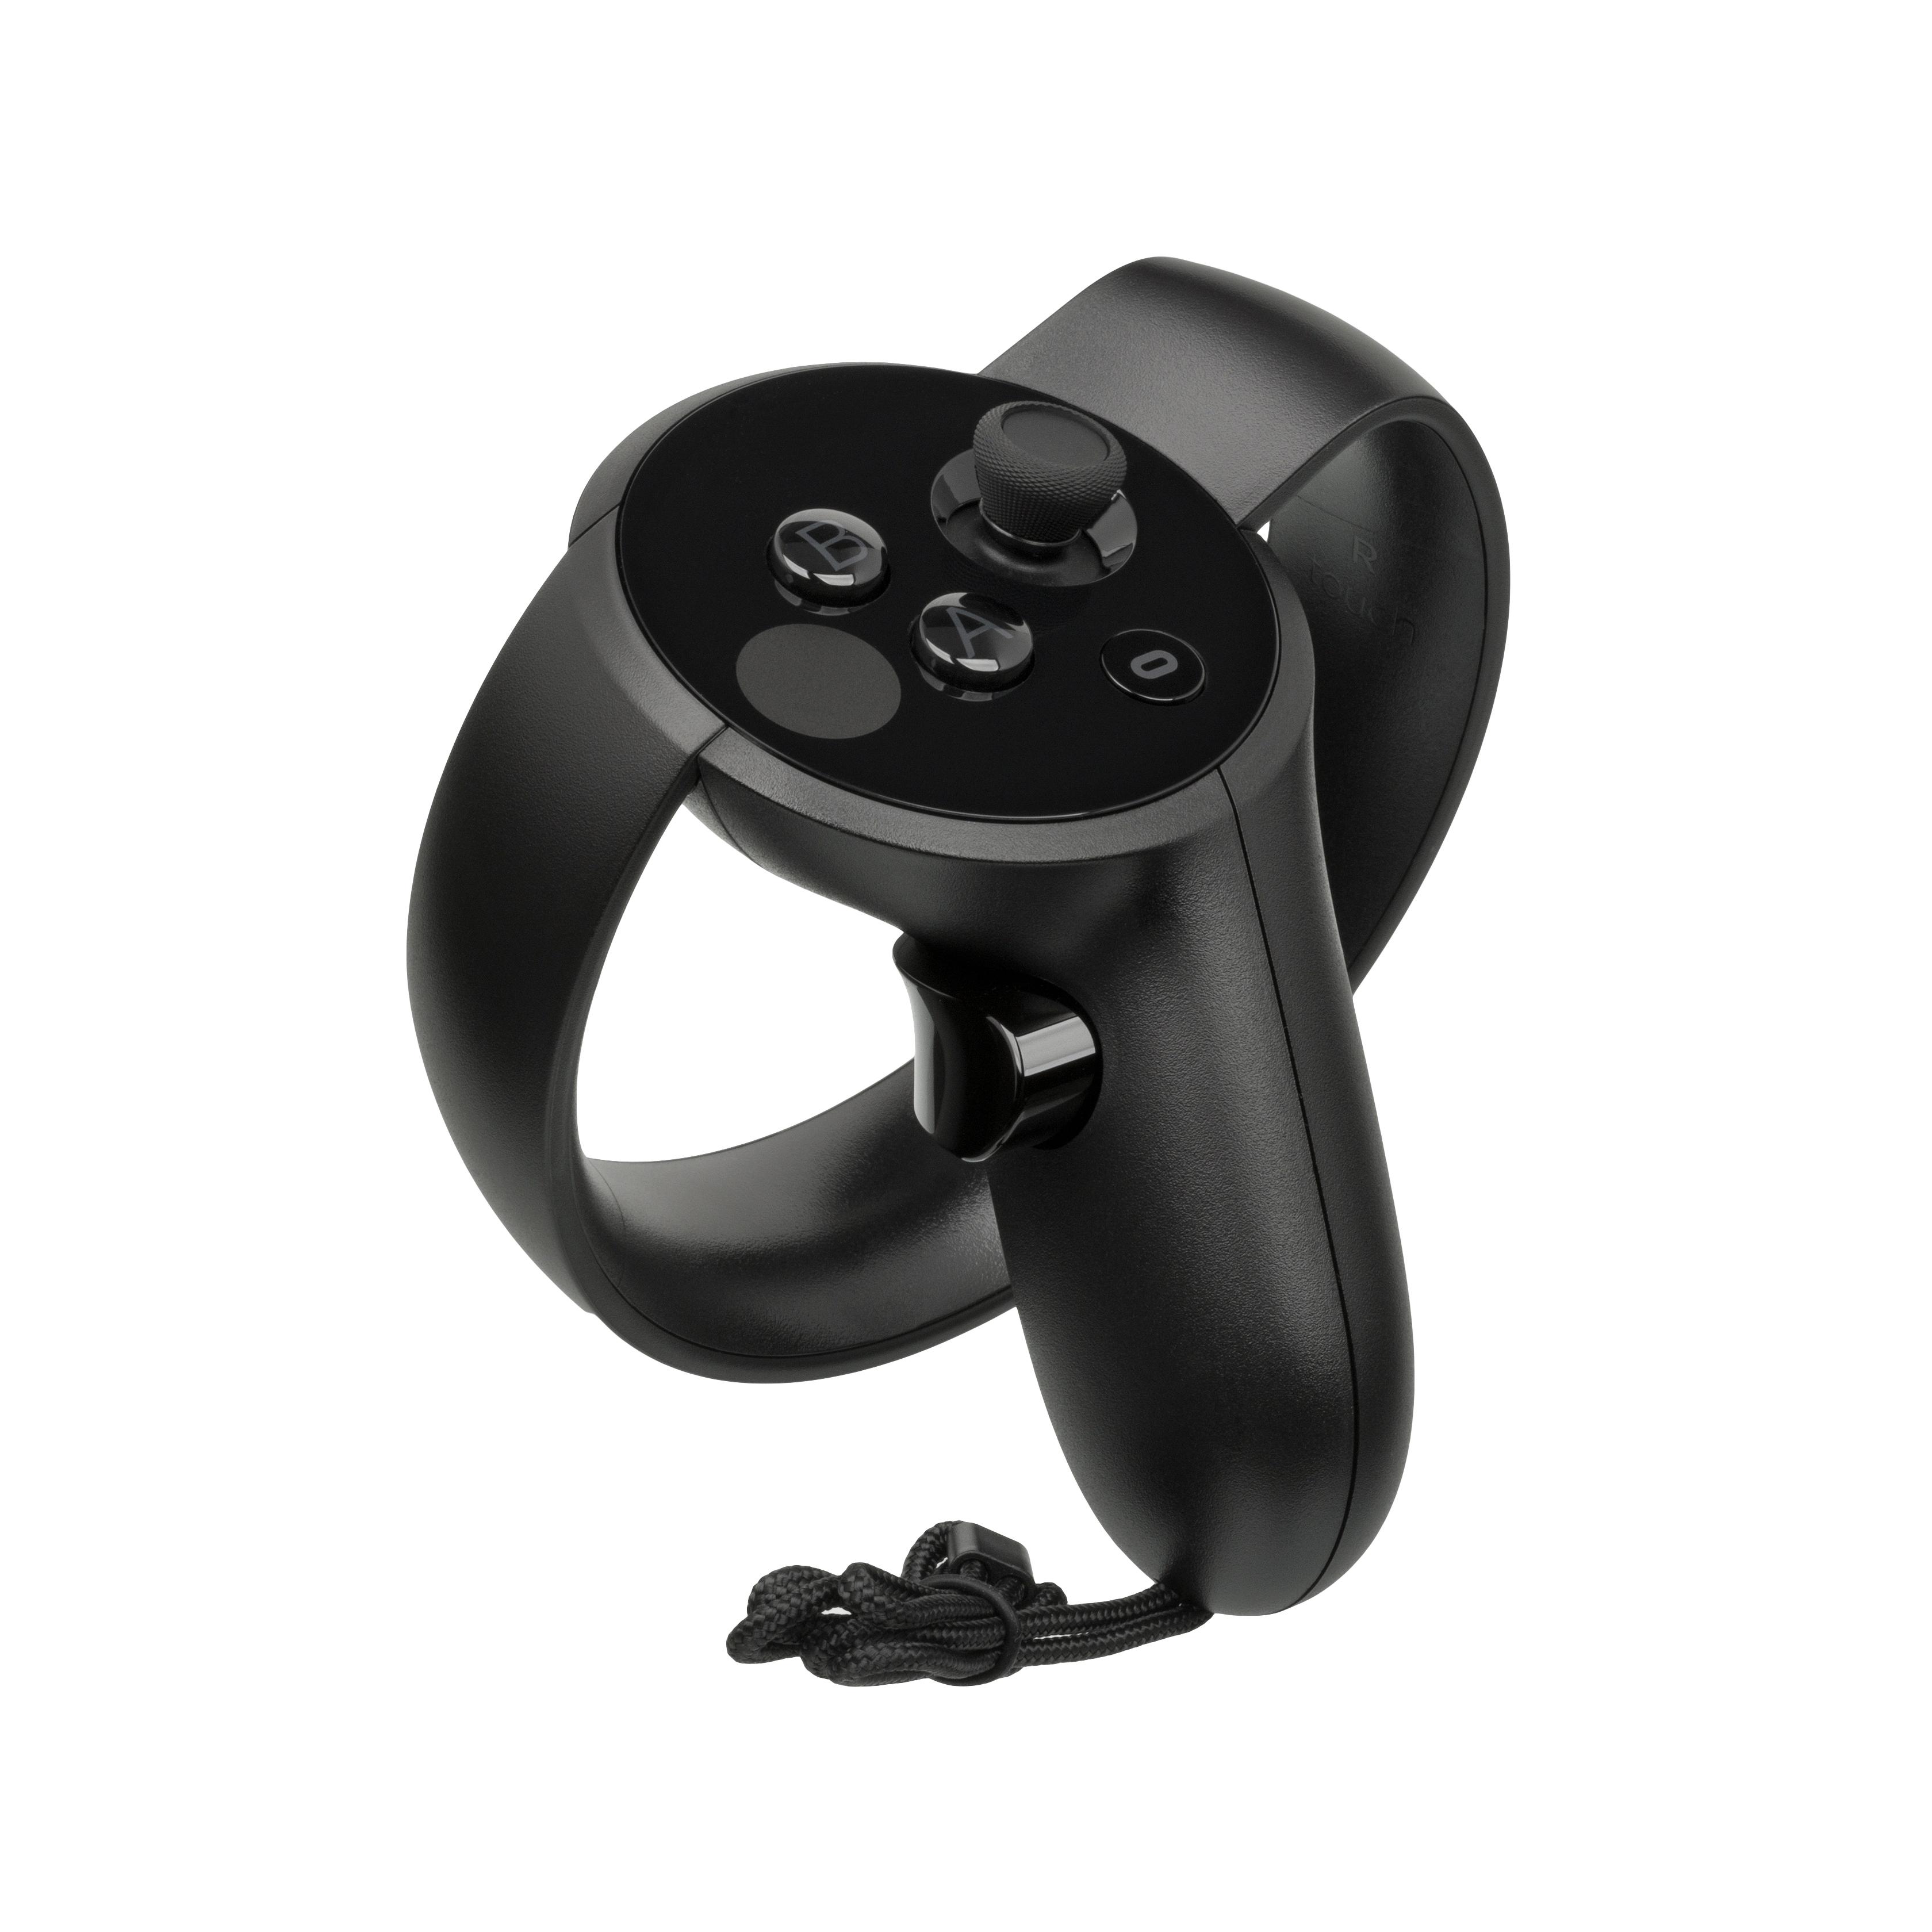
Troubleshooting a Non-Functioning Oculus Controller
There could be several reasons why one of your Oculus controllers stopped working. Some common causes may include:
1. Dead or low battery: If your controller is not turning on or is behaving erratically, it might be due to a dead or low battery. In such cases, replacing the battery might fix the issue.
2. Connectivity issues: The Oculus controllers use Bluetooth to communicate with the VR headset. If there are any issues with the Bluetooth connectivity, it may cause the controller to stop working. You can try resetting the controller or re-pairing it with the headset to fix this issue.
3. Firmware issues: If the firmware of the Oculus controller is outdated or corrupted, it may cause the controller to malfunction. You can try updating the firmware of the controller to fix this issue.
4. Physical damage: If the controller has suffered any physical damage, such as a fall or water damage, it may stop working. In such cases, you may need to get it repaired or replaced.
5. Software compatibility issues: Sometimes, software updates or compatibility issues may cause the Oculus controller to stop working. You can try checking for any updates or contacting the Oculus support team for assistance.
It is important to identify the root cause of the issue to effectively troubleshoot and fix the problem with your Oculus controller.
Factory Resetting an Oculus Controller
To factory reset your Oculus controller, you can follow the below steps:
1. Ensure your Oculus controller is turned off.
2. Press and hold the Oculus button and the back button simultaneously until the controller LED blinks.
3. Release the buttons and wait for a few seconds until the controller LED turns off.
4. Press and hold the Oculus button and the back button again until the controller LED blinks.
5. Release the buttons and wait for a few seconds until the controller LED turns white.
6. Your Oculus controller has now been factory reset.
It is important to note that factory resetting your Oculus controller will erase all the data and settings on it, so make sure to back up any important data before proceeding with the reset. Additionally, you will need to pair your controller with your Oculus device again after the reset.
Conclusion
When your Oculus controller fails to connect to your headset, there are several steps you can take to troubleshoot the problem. Firstly, ensure that your headset is turned on and that it is within range of the controller. Secondly, try resetting the controller by holding down the buttons until the LED blinks and then lights up. If the issue persists, replacing the batteries in your controller may help. if none of these steps work, a factory reset of your headset may be necessary. By following these steps, you should be able to resolve any issues with your Oculus controller and get back to enjoying your VR experience.

