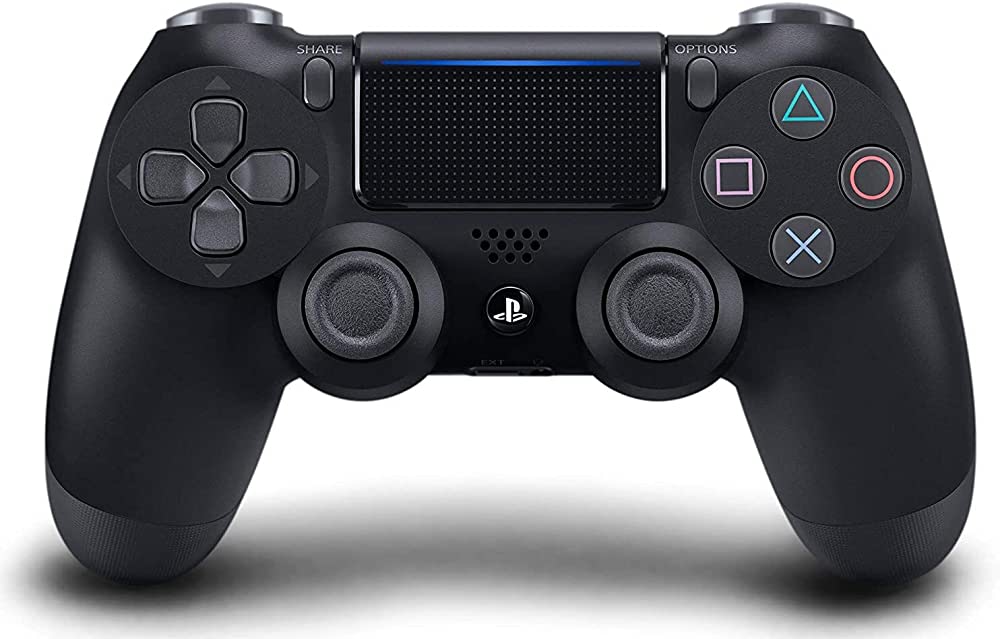
The PS4 Controller is an essential tool for any gamer who owns a PlayStation 4 console. It is a wireless gamepad that allows you to control your gaming experience with ease. However, there are times when you may need to connect a new PS4 controller to your console. In this article, we will guide you through the steps to connect a new PS4 controller to your console.
Firstly, it is important to note that you will need a USB 2.0 to Micro-B cable to connect the new controller to your console. This cable can be purchased from any electronics store or online marketplace. Once you have the cable, follow these steps:
1. Turn on your PS4 console and plug the USB cable into the controller.
2. Press and hold the PS button and SHARE button on the wireless controller at the same time.
3. The light bar on the back of the wireless controller will start flashing once pairing mode is active.
4. Wait for the controller to pair with the console. Once the light bar on the controller stops flashing and remains a solid color, the controller is connected.
5. You can now disconnect the USB cable from the controller and start using it wirelessly.
It is important to note that you can connect up to four controllers to your PS4 console at the same time. If you already have four controllers connected and want to add a new one, you will need to disconnect one of the existing controllers before you can connect the new one.
Connecting a new PS4 controller to your console is a simple process that can be done with a USB cable. By following the steps outlined in this article, you can easily connect a new controller to your PS4 and start gaming wirelessly.
Connecting a New PS4 Controller Without an Old One
To connect a new PS4 controller without the old one, you will need to use a cable to sync the controller with your console via Bluetooth. Here’s how to do it:
1. Plug the USB end of the cable into one of the USB ports on your PS4.
2. Plug the Micro-B end of the cable into the controller.
3. Press and hold the PlayStation button and the Share button on the controller until the light bar starts flashing.
4. On your PS4, go to Settings > Devices > Bluetooth Devices.
5. Select “Wireless Controller” from the list of available devices and follow the on-screen instructions to complete the pairing process.
If you encounter any issues, make sure the controller is fully charged and try resetting both the controller and the console. Additionally, try using a different cable or USB port on your PS4.
Connecting a Wireless Controller to a PS4
To connect a wireless controller to your PS4, you need to follow these simple steps:
1. Turn on your PS4 console and make sure it’s in range of your wireless controller.
2. Locate the PS button and SHARE button on your wireless controller.
3. Press and hold both buttons simultaneously until the light bar on the back of the controller starts flashing.
4. Once the light bar is flashing, your controller is now in pairing mode.
5. On your PS4 console, go to Settings > Devices > Bluetooth Devices.
6. Select “Wireless Controller” from the list of available devices.
7. Once your PS4 has connected to the controller, the light bar on the controller will turn a solid color.
8. Your wireless controller is now connected to your PS4 and ready to use.
If you have multiple wireless controllers, you can repeat these steps to connect them to your PS4 as well. It’s important to note that your PS4 console can only connect to a maximum of four wireless controllers at a time.
Conclusion
The PS4 controller, also known as the DualShock 4, is a versatile and user-friendly device that adds to the overall gaming experience on the PS4 console. Its wireless functionality and responsive buttons make it a joy to use, while its touchpad and motion control features add an extra layer of interactivity to gameplay. Pairing the controller with the PS4 is a simple process, requiring only a USB cable and the press of a few buttons. Whether you’re a casual gamer or a hardcore enthusiast, the PS4 controller is an essential component of the PS4 gaming experience.


