In today’s fast-paced world, headphones have become a necessity for most people. Whether you use them for work or entertainment, having a reliable pair of headphones is essential. However, with so many options available, it can be overwhelming to decide which headphones to choose. One important factor to consider is how to charge your headphones.
There are different types of headphones available that require different charging methods. Some headphones come with a charging case, while others have a charging port on the headphones themselves. It is important to know which type of headphones you have before attempting to charge them.
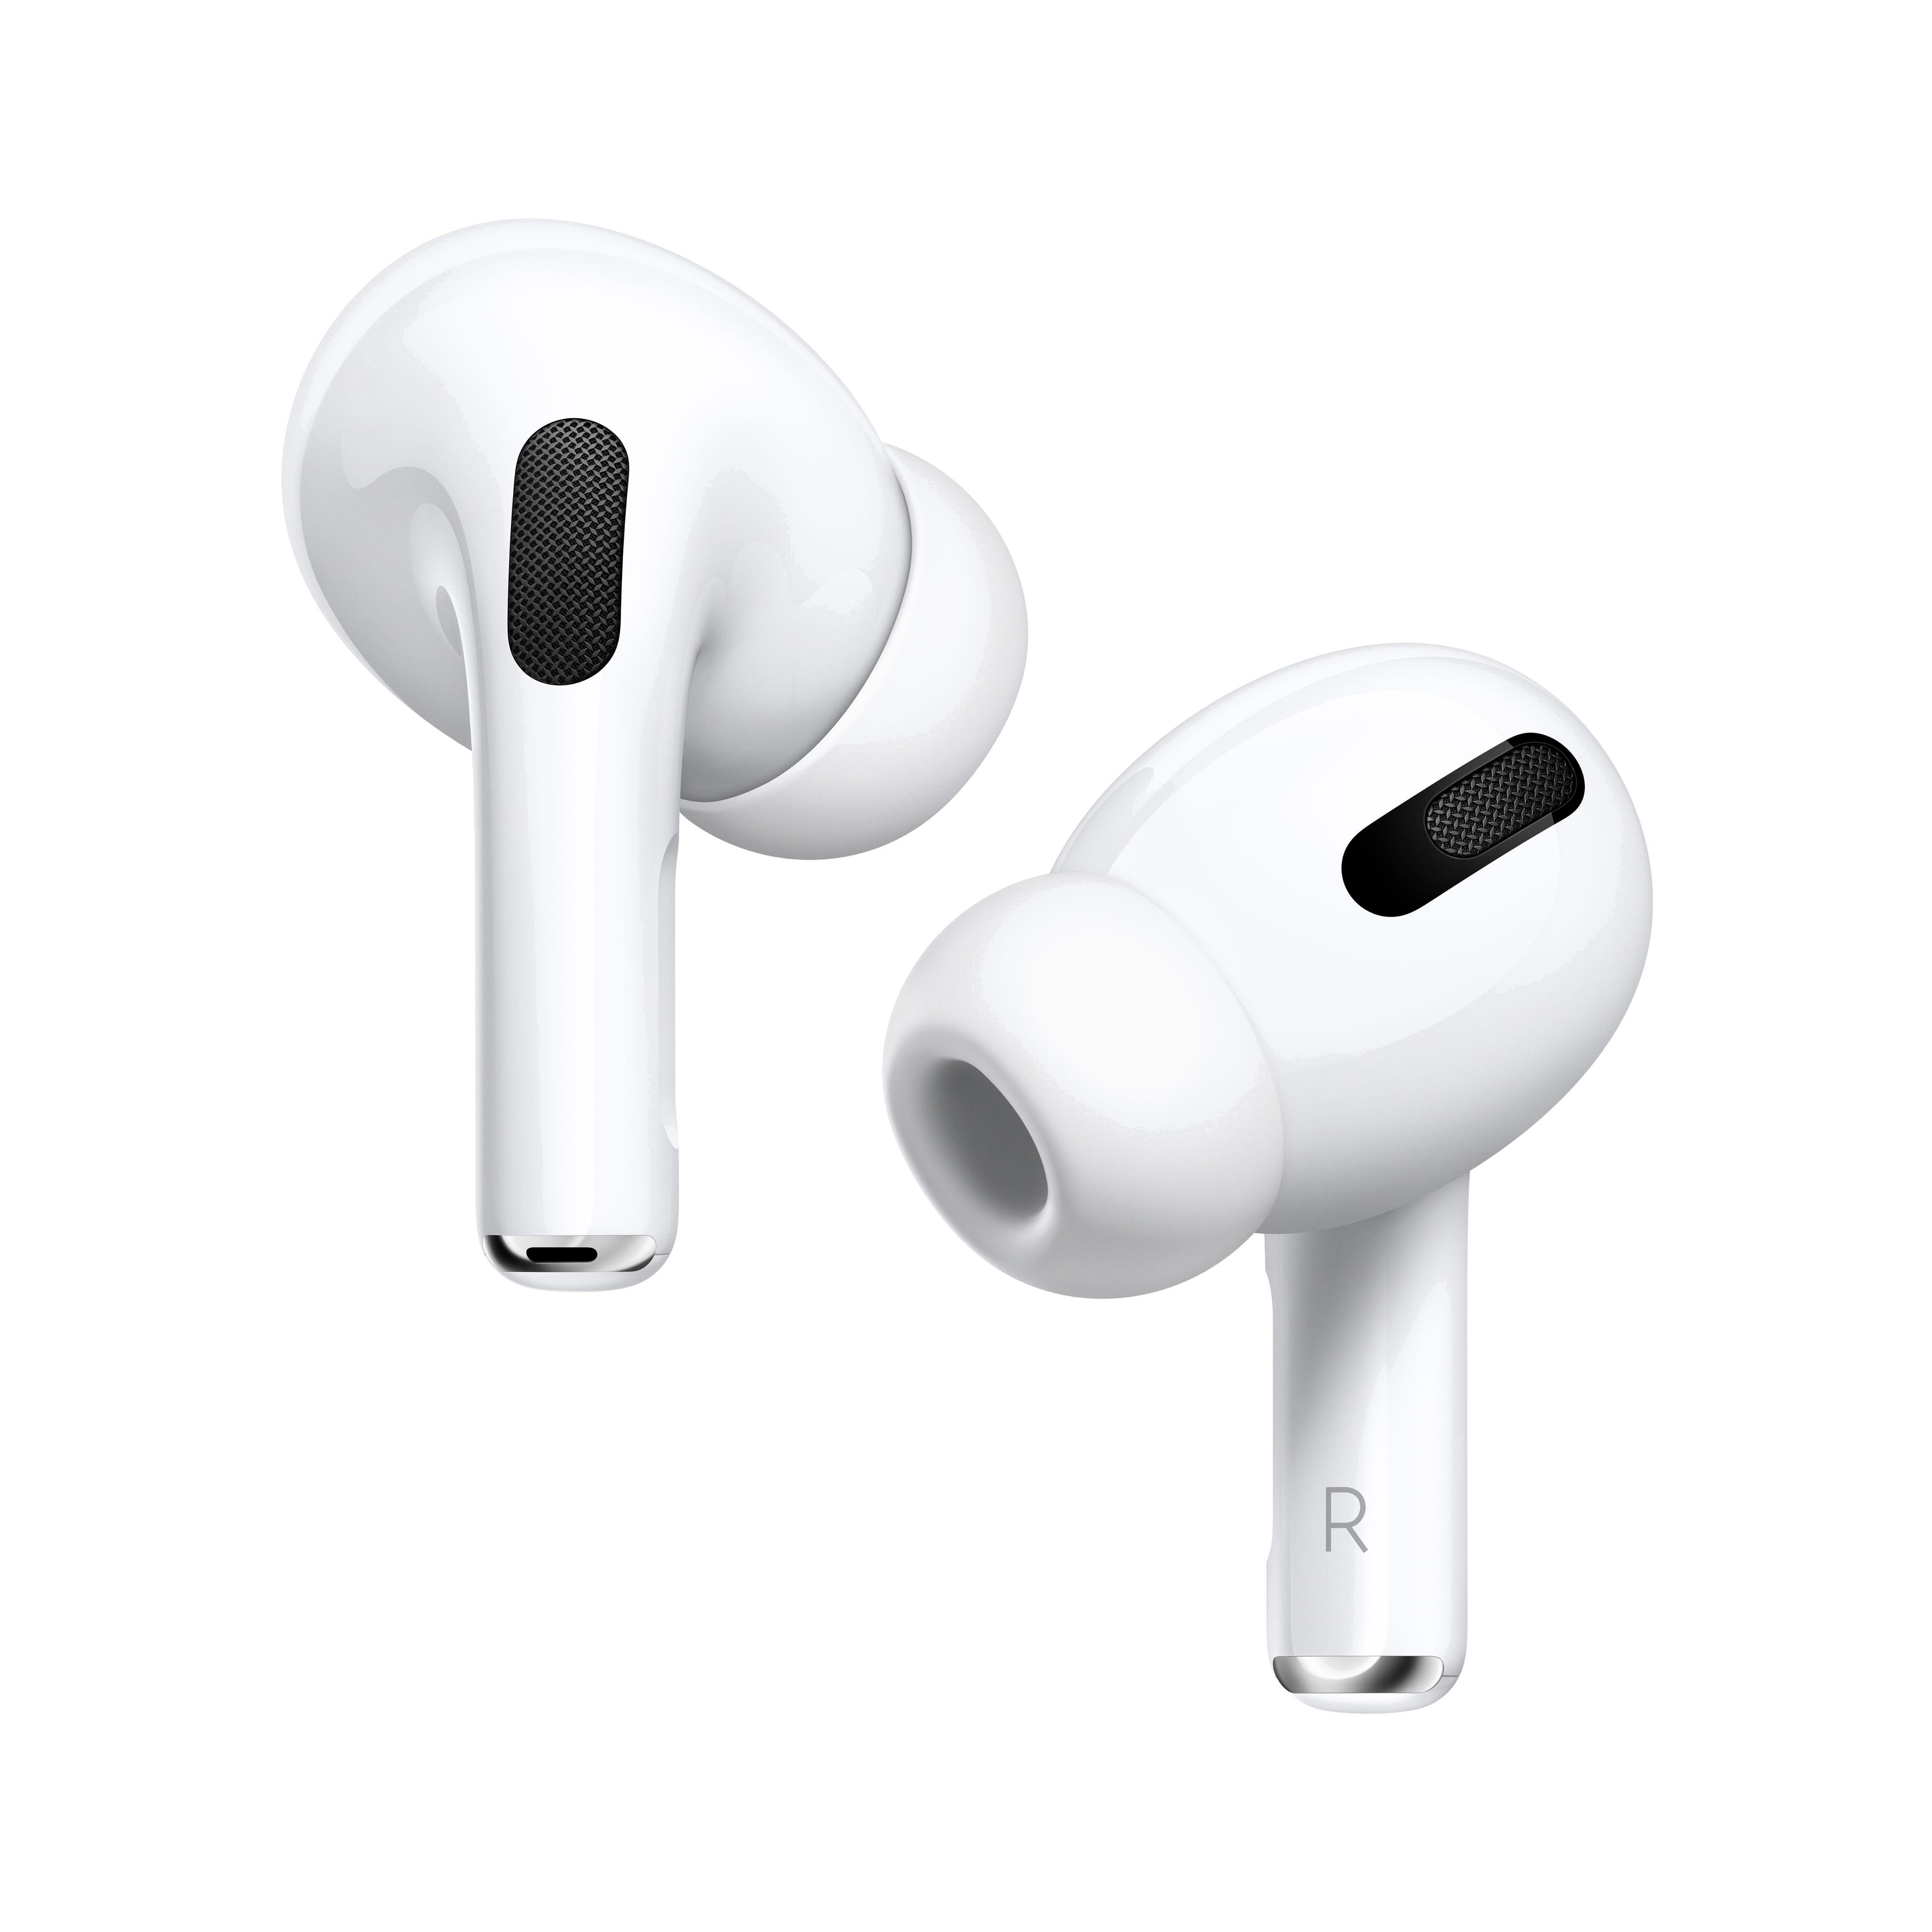
For headphones that come with a charging case, the process is relatively simple. First, ensure that the charging case is fully charged. Then, place the headphones in the charging case and close the lid. The charging case will automatically begin to charge the headphones. The LED lights on the case will indicate the charging status of the headphones. The headphones will typically take around two hours to fully charge.
For headphones that have a charging port on the headphones themselves, you will need a USB cable to connect them to a power source. The USB cable should have USB 3.0 on one end and Type C on the other. Connect the USB cable to the headphones and the other end to a laptop or PC. The headphones will start charging immediately.
It is important to ensure that the power source you are using is sufficient to charge your headphones. Some headphones require a higher voltage than others, so it is important to check the specifications before charging. It is also important to use the charging cable that came with the headphones, as using a different cable may not provide the correct voltage and could damage the headphones.
Charging your headphones is an important aspect to consider when purchasing headphones. Make sure to check the type of headphones you have and the required charging method before attempting to charge them. Also, ensure that the power source and charging cable are appropriate for your headphones to prevent any potential damage. With proper charging, your headphones will provide you with hours of uninterrupted listening pleasure.
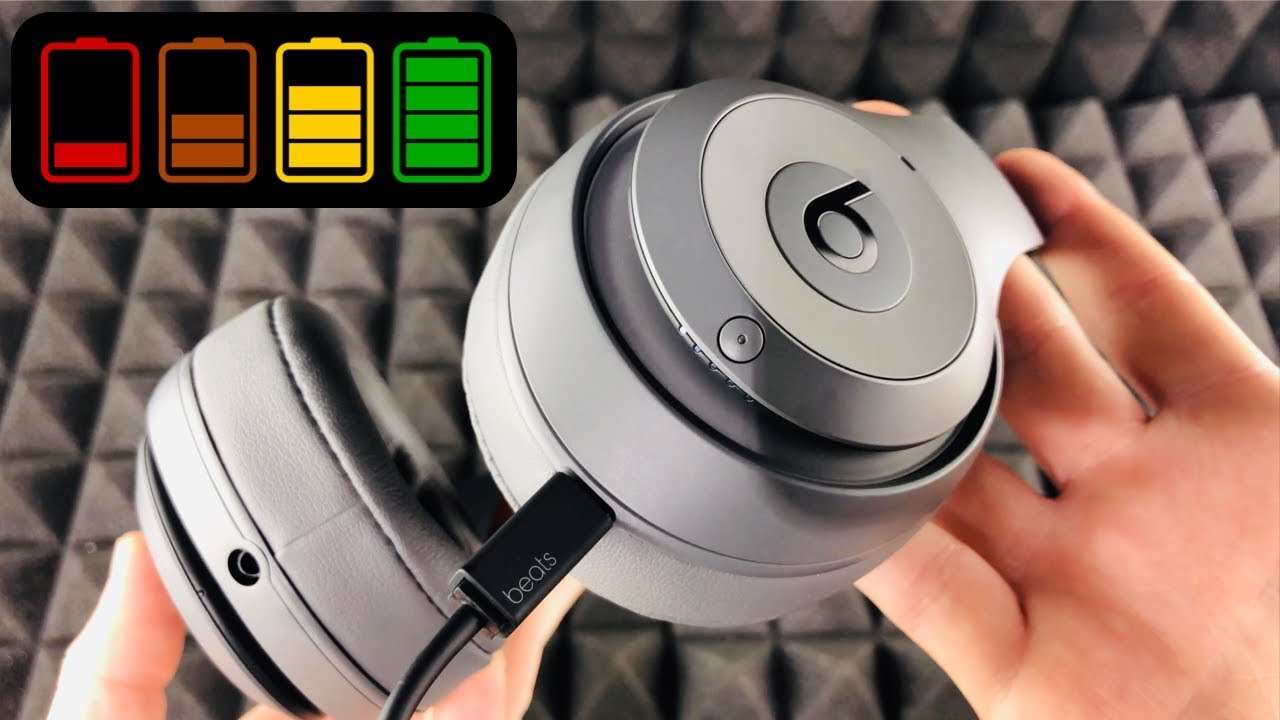
Charging Headphones
To charge your headphones, you need to follow a few steps:
1. Check the charging cable – Make sure that the charging cable you are using is compatible with your headphones. Look for the USB cable with USB 3.0 on one end and type C on the other. Ensure both ends have male connectors.
2. Connect the cable – Once you have the charging cable, connect it to your headphones. The charging port is usually located on one of the earcups.
3. Connect the other end of the cable – After connecting the charging cable to your headphones, connect the other end of the cable to your laptop or PC. Make sure your device is turned on and has a USB port available for charging.
4. Charging – Once you have connected your headphones to your device, they will start charging automatically. Keep them connected until they are fully charged, which usually takes a few hours.
5. Disconnecting – After your headphones are fully charged, disconnect them from your device by removing the charging cable. You can now use your headphones for listening to music or making phone calls.
Checking the Status of Headphone Charging
To determine whether your headphones are charging or not, you need to look for an indicator light. Usually, the indicator light will turn on when you plug in your headphones for charging. The color of the light usually varies by brand or model, but it is typically red when charging. If the light is not on, then either the headphones are fully charged or there may be an issue with the charging cable or the wall outlet. In this case, you can try using a different charging cable or wall outlet to see if that resolves the issue. Additionally, it is advisable to refer to the user manual provided by the manufacturer for specific instructions on charging your headphones.
Charging Bluetooth Headphones
To charge Bluetooth headphones, you need to follow these steps:
1. Locate the charging port on the headphones. It may be a micro-USB or USB-C port, depending on the model.
2. Connect the charging cable to the headphones and plug the other end into a power source. This can be a wall adapter, a computer, or a portable power bank.
3. Wait for the battery LED indicator to turn on. This will usually be a solid or flashing light that indicates the charging status of the headphones.
4. Keep the headphones connected to the charging cable until they are fully charged. This can take anywhere from 1 to 3 hours, depending on the battery capacity and charging speed of the headphones.
5. Once the headphones are fully charged, disconnect them from the charging cable and unplug the cable from the power source.
6. Store the headphones in their case or on a charging stand, if available. This will help keep the battery charged and prolong the lifespan of the headphones.
7. Repeat this process whenever the headphones need to be charged. It is recommended to charge the headphones before they run out of battery completely, as this can damage the battery and reduce its lifespan.
Conclusion
Charging your headphones has become easier than ever before with the availability of USB cables and charging cases. It is important to ensure that you use a USB cable with a USB 3.0 connector on one end and a Type C connector on the other to prevent any compatibility issues. Additionally, it is recommended to use the supplied power cord to charge the headphones via a wall outlet for optimal charging performance. The charging case also provides a convenient and portable way to charge your earbuds while on the go. Remember to check the battery status indicator lights to ensure that your earbuds are fully charged and ready to use for your next listening experience. By following these simple steps, you can easily and efficiently charge your headphones to continue enjoying your favorite music and audio content.

