Taking beautiful waterfall photos with your iPhone doesn’t have to be difficult. With the right techniques and settings, you can capture stunning images of cascading waterfalls and rushing rivers. Here’s a quick guide to taking waterfall photos with your iPhone that will get you started on the path to becoming an expert photographer.
First, it’s important to understand the basics of shooting with an iPhone. iPhones are capable of taking excellent photos in most lighting conditions, but they work best in bright light. When shooting a waterfall, make sure you’re taking pictures during the day when there’s plenty of sunlight.
When it comes to settings, start by ensuring that your phone is set to shoot in RAW format. This will give you more control over color and exposure adjustments during post-processing. Set your ISO as low as possible—ideally 100 or lower—to minimize noise and get a clear image. You should also set your shutter speed to 1 second, which will allow enough time for the water movement to be captured without blurring the image too much. Lastly, use auto white balance or manually adjust it for a richer color palette in your photos.
For composition tips, start by looking for unique angles that make use of different elements in the frame such as rocks and trees. Use leading lines like paths or trails that draw the viewer’s eye into the photo and closer to the waterfall itself. Additionally, look for reflections in pools of water at the base of waterfalls or rivers that can add interest and texture to your shots.
Using a tripod is also essential when shooting with an iPhone as it will help keep images from becoming blurry due to camera shakes or windy conditions near waterfalls. If you don’t have one handy, try propping up your phone on rocks or logs for extra stability while shooting long exposures—this technique can be great for capturing evening shots of waterfalls illuminated by moonlight or starlight!
Lastly, consider investing in neutral density (ND) filters if you plan on doing more serious landscape photography with long exposures—they reduce incoming light so you can slow down shutter speeds even further without overexposing images during bright daylight hours!
With these tips under your belt, all that’s left is practice! Keep experimenting with different compositions and lighting conditions until you find what works best for you—you never know what masterpiece awaits around each bend!

Creating Photo Effects on iPhone
To do photo effects on your iPhone, open the Photos app and select the photo or video you’d like to edit. Tap the Edit option at the top right of your screen, then swipe left under the photo to view all of the available editing effects. Once you find an effect you’d like to use, tap it and drag the slider to make precise adjustments. You can adjust Exposure, Brilliance, Highlights, and Shadows to create unique photo effects. When you’re finished with your adjustments, tap Done in the top right corner of your screen and your edited photo or video will be saved in its original location.
The Best Camera Settings for Capturing Waterfalls
The best camera settings for capturing beautiful waterfalls will depend on the look and feel you are hoping to achieve. Generally speaking, manual mode (or shutter priority if you’re not familiar with manual mode) is the way to go. A good starting point would be an aperture of f/11, a shutter speed of 1 second, an ISO of 100, auto white balance, and focusing on the waterfall itself. Shooting in RAW is also recommended as it gives you more control over the image during post-processing. If you can afford it, adding neutral density (ND) filters to your setup can be helpful in slowing down the shutter speed while maintaining good exposure. This can help create a wonderful effect of motion blur in the moving water.
Can Long Exposure Be Achieved on an iPhone?
Yes, you can do Long Exposure on an iPhone. To do this, launch the Photos app and click on the photo you’ve taken. Then, click on the Live button in the top left corner and select Long Exposure. Once you’ve done this, you should be able to adjust several settings such as exposure duration, shutter speed, and ISO. After adjusting these settings, press the shutter button to take a Long Exposure photo.
The Availability of Blur Effect on iPhones
Yes, there is a blur effect on iPhone. This effect, known as Portrait Mode, can be used when taking photos with the camera on certain iPhone models. When using Portrait Mode, you can adjust the background blur effect of your photo by dragging the slider left or right at the top of the screen. This will give your photo a more professional-looking finish and help create an artistic depth-of-field look.
How to Blur Effects on an iPhone
To blur effects on iPhone, open the photo you would like to edit in the Photos app. Tap Edit, then tap the Effects icon at the top of the screen. A range of options appears at the bottom of the screen. Choose one of the blur effects, such as Portrait or Motion. You can adjust the intensity of these effects by dragging the slider left or right. When you are happy with your changes, tap Done to save them.
The Best Shutter Speed for Capturing Waterfalls
The best shutter speed for photographing waterfalls is typically between 1 and 3 seconds. This will ensure that the movement of the water is captured without creating too much blur. Using a longer shutter speed can result in the white areas of the water becoming too blurred, which can diminish the overall effect. When setting up your camera, you should also consider changing your aperture to create a shallow depth of field and bring out the details of the waterfall. Finally, make sure to take multiple shots with different shutter speeds to get different effects and pick out the one that best captures your vision.
The Benefits of Using a Filter for Waterfalls
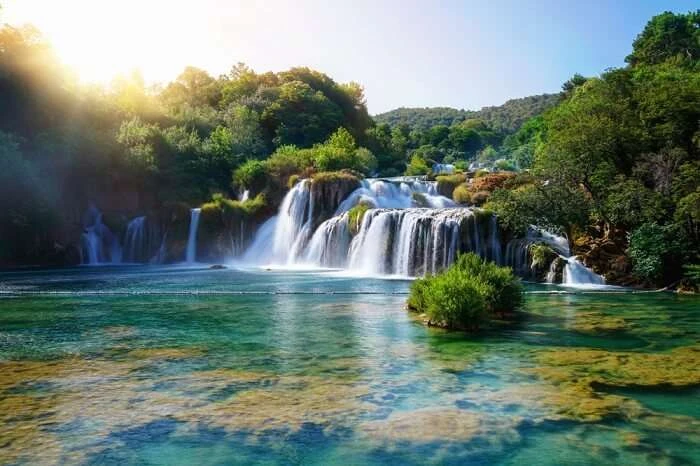
A polarizing filter is an essential tool for capturing stunning images of waterfalls. Reducing glare, it enhances the color and saturation of the scene, allowing you to capture more vivid photos. Neutral-density filters are also helpful for waterfall photography. These filters reduce the amount of light entering the lens, allowing you to use slower shutter speeds and capture smooth, blurred effects in moving water. Both types of filters will help you create beautiful images of waterfalls and other landscapes.
Blurring Water on an iPhone
To blur water on an iPhone, open the Live Photo and swipe up. You’ll see four Effects listed: Live, Loop, Bounce, and Long Exposure. Tap Long Exposure to apply the effect and wait a few seconds for it to take effect. This will give the water a blurry appearance which can be further adjusted using different editing apps or filters.
How to Use the Long Exposure Effect on an iPhone
The Long Exposure effect on iPhone can be found in the Photos app. To access it, open the Photos app and find the photo you’d like to edit. Swipe up on it to reveal the Effects menu, then swipe left until you see the Long Exposure effect. Tap on it to create your long-exposure photo.
Conclusion
In conclusion, taking waterfall pictures with an iPhone can be a great way to capture the beauty of nature. With the help of some simple tips and tricks, such as using a slow shutter speed, setting your camera to the lowest ISO level, and investing in an ND filter, you can create stunning waterfall photos. Additionally, editing photos and videos on your iPhone is easy with the help of the Photos app. With careful consideration for composition and lighting, you’ll be able to create breathtaking waterfall pictures that you’ll cherish for years to come.

