If you’re looking to install FTP on your Mac through Terminal, you’ve come to the right place! FTP (File Transfer Protocol) is a protocol used for transferring files over a network. It’s typically used to transfer files between computers, servers, and websites. By installing FTP on your Mac via Terminal, you’ll be able to easily upload and download files from remote servers.
In this blog post, we’ll cover how to install and set up FTP on your Mac using the Terminal app. We’ll also discuss some basic FTP commands and how to use them to transfer files.
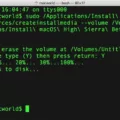
To begin, open the Terminal app on your Mac (found in the Applications > Utilities folder). Once opened, type in the following command: ftp://ftp.domain.com
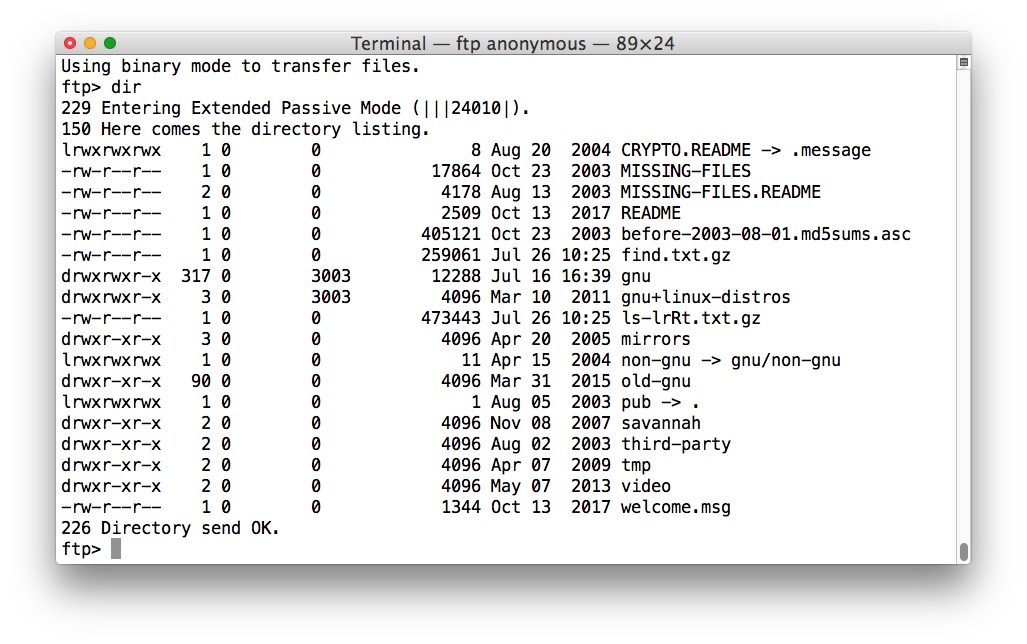
This will connect you to an FTP server. You may need to enter your password as well depending on the server settings. Once connected, you can use various commands such as ‘ls’ (list directory contents), ‘cd’ (change directory), ‘get’ (download file), and ‘put’ (upload file).
Now that you have successfully installed and set up FTP on your Mac using Terminal, let’s take a look at some of the common commands available:
– ls : This command will list all of the directories within the current directory.
– cd : This command allows you to change directories within the current directory structure. For example cd folder_name/subfolder_name/
– get : This command allows you to download a file from an FTP server onto your local machine. The syntax for this command is: get filename
– put : This command allows you to upload a file from your local machine onto an FTP server. The syntax for this command is: put filename
We’ve just discussed how easy it is to install and set up FTP on your Mac using Terminal! With these basic commands at hand, now it’s time for you to start transferring files like a pro!
Installing FTP on Mac Terminal
To install FTP in the Mac terminal, you will need to first open the Terminal application, which can be found in the utility folder within Applications. Once the Terminal window is open, type “curl -O ftp://ftp.example.com/file_name” and press enter. This will download the file from the FTP server to your computer. After it has finished downloading, type “tar xvf file_name” and press enter again to extract the contents of the file into a folder on your computer. Then, type “cd /folder_name” and press enter to change into that directory. Finally, type “./configure” and press enter to configure the installation of FTP in your Mac terminal environment. Once this process is complete, you should be able to use FTP in your Mac terminal environment!
Installing an FTP Server on a Mac
Installing an FTP server on Mac is easy and requires only a few steps.
First, open System Preferences from the Apple menu. Select Sharing and check the box next to Remote Login. This will allow users to connect to their Mac from other computers. You can choose which users can access your Mac by clicking the “i” icon next to the box you checked.
Next, download an FTP server software for Mac. There are many available online, so make sure you choose one that is compatible with your operating system and meets your needs. Once downloaded, install the software and configure it according to the instructions provided with the download.
Finally, restart your computer for the changes to take effect and you’re done! Your Mac is now ready to accept incoming connections via FTP!
Enabling FTP Ports on Mac
To enable FTP ports on your Mac, you’ll need to open the System Preferences window. First, click on the Apple icon in the top left corner of your screen and select “System Preferences” from the drop-down menu. Then, click on the “Sharing” icon and select the “File Sharing” box. Next, click “Options” and make sure that “Share Files and Folders Using FTP” is checked. This will enable all FTP ports on your Mac.
Installing FTP
The command used to install FTP is “yum install ftp”. This can be done as the root user installs the FTP package. Additionally, the command “yum install vsftpd” can be used as the root user to install the vsftpd package which is necessary for a secure FTP connection.
Using FTP Command Line
Using FTP (File Transfer Protocol) from the command line is a great way to manage files on remote servers. It allows you to easily upload, download, delete, and view files from the server. To use FTP commands in the command line, follow these steps:
1. Open a command prompt window and navigate to the folder containing the files you want to transfer.
2. At the C:\> prompt, type FTP and press Enter. This will open an FTP session with your computer as the local host.
3. At the ftp> prompt, type open followed by the name of the remote FTP site and press Enter. This will establish an active connection between your computer and the remote server.
4. To list all files in a directory on the remote server, use the ls command followed by any optional arguments you would like to include (e.g., ls -l).
5. To upload a file from your local machine to a remote server, use the put command followed by the path of your file (e.g., put c:\users\username\desktop\file).
6. To download a file from a remote server to your local machine, use get followed by the path of your file (e.g., get /path/to/file).
7. When you are finished with your session, close it using quit or exit commands and press Enter again to confirm it is closed properly!
Locating an FTP Client on a Mac
The FTP client is included in the macOS operating system by default. To access it, open your Mac desktop or Finder and hit Command+K to bring up the “Connect to Server” window. Alternatively, you can access this from the “Go” menu. Once the window appears, enter the address of the FTP server in the following format: ftp://ftp.domain.com. This will allow you to connect to and transfer files from an FTP server from your Mac OS device.
Conclusion
In conclusion, installing FTP on Mac Terminal is a straightforward and efficient process. Once you open the Terminal app, you can simply enter the server address to connect to the FTP server and enter your password. Additionally, you can set up your Mac as an FTP server by going through System Preferences -> Sharing and enabling Remote Login. After the FTP is installed, you can access it through the File Sharing option in System Preferences. With these steps, you will have no trouble getting your Mac connected to an FTP server for easy file sharing and transfer.


