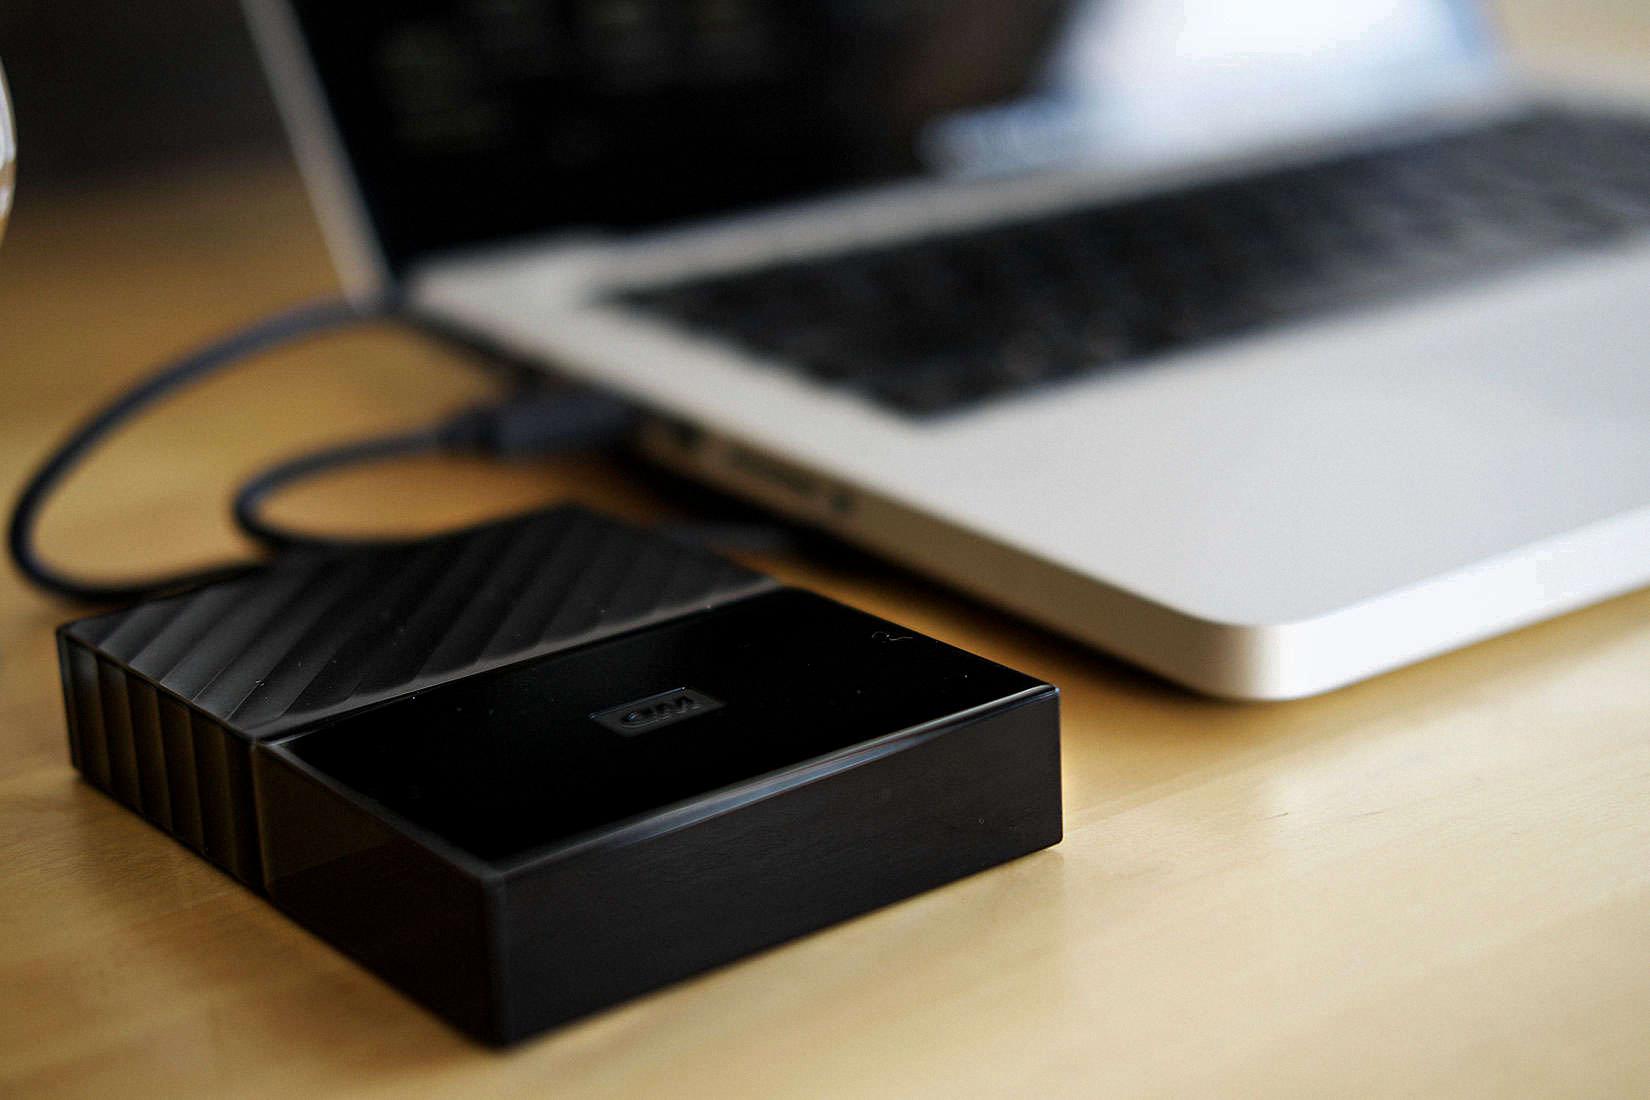
Welcome to the blog post about WD Easystore and how to use it on Mac! The WD Easystore external hard drive is one of the most popular storage devices for both Windows and Mac users. It is a plug n play device that is designed and tested specifically for these two operating systems. This post will cover all the necessary information you need to get started with your Easystore and make sure you get the most out of it.
First, let’s go over how to set up your WD Easystore on your Mac computer. To show the hard drive on your desktop, go to Finder > Preferences > General, and make sure that the “External disks” option is ticked. Once this is done, you should be able to see your WD hard drive on your desktop.
Next, if you want to format your easy store for usage on a Windows Operating System, you must connect your hard drive to the computer first. Then click on the format option and select the format you want for the drive. After that’s done, connect it to your Mac-powered device and open up Disk Utility in order to access formatting options specific to Mac OS X or macOS. Here, select the drive that you want to format from a list of available drives, then choose a desired file system from a dropdown menu. You can also specify whether or not you would like to enable journaling as well as other settings such as block size before finalizing everything by clicking “Erase”.
Finally, if for some reason your WD Easystore isn’t readable on Mac then there are several possible reasons why this could be happening. The most common cause of this issue is usually down to incorrect formatting of the hard drive so double-check that first before looking into other factors such as power supply problems or faulty cables etc… If all else fails and nothing seems to work then consider replacing either the cable or hard drive itself in order to fix this issue once and for all!
We hope this blog post has been informative enough in helping you learn more about using WD Easystore on a Mac-powered device! Feel free to leave us any questions or comments below if there’s anything else we can help with regarding this topic!
Is WD Easystore Compatible with Mac Computers?
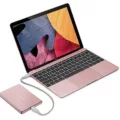
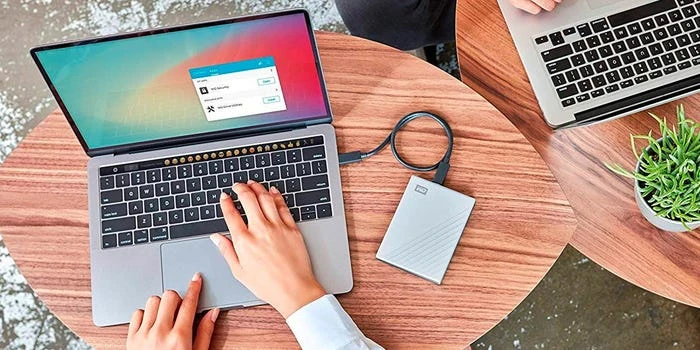
Yes, the WD Easystore External Hard Drive is Mac-compatible. It is plug-and-play and has been tested for use with both Windows and macOS. You can easily connect it to your Mac computer via a USB port and start using it right away. It also comes with software that helps you manage your files on the drive.
Accessing a WD External Hard Drive on a Mac
To access your WD external hard drive on a Mac, you can follow these simple steps:
1. Connect the external hard drive to your Mac computer via an appropriate USB or Thunderbolt cable.
2. Open the Finder window on your Mac by clicking its icon in the Dock.
3. Select “Preferences” from the Finder menu bar, and make sure that “External disks” is checked in the General tab.
4. Now check if you can see the WD external hard drive’s icon on your Desktop or in the left sidebar of the Finder window, depending upon your system preferences settings. If it appears, then double-click it to open it and access its contents.
5. If the external hard drive does not appear on either of these places, then go to Apple Menu > System Preferences > Startup Disk and select the external hard drive from there to make it appear on the Desktop/sidebar of the Finder window.
Making a WD Hard Drive Compatible With Mac
To make your WD hard drive compatible with Mac, you will need to reformat it with the right file system. To do this, connect the hard drive to your Windows computer and use the built-in Format tool in Windows or a third-party disk formatting utility. Once the hard drive is formatted, disconnect it from your Windows computer and then connect it to your Mac. Then open Disk Utility on your Mac and select the hard drive you want to format. Choose the format options that are compatible with Mac (e.g., APFS or HFS+). Once it is reformatted, your WD hard drive should now be compatible with Mac.
Unable to Access External Hard Drive on Mac
There could be several reasons why your Mac won’t let you use an external hard drive. Firstly, it could be because the external hard drive is not compatible with your Mac. Make sure that the drive you’re trying to use is specifically designed for Macs. Secondly, your drive may not have been formatted correctly for Macs. You can check this by opening Disk Utility and selecting the external drive from the left-hand menu. If it is not in a compatible format (such as APFS or HFS), you’ll need to reformat it using Disk Utility. Thirdly, there could be an issue with the power supply or cable connecting your external hard drive to your Mac. Make sure that everything is securely connected and that there are no loose cables or damaged connectors. Finally, if none of these solutions work, there could be an issue with the external hard drive itself; it might have become corrupted or broken over time. In this case, you’ll need to take it to a qualified technician for further inspection and repair.
Troubleshooting WD Hard Drive Not Recognized on Mac
If your WD hard drive is not being recognized by your Mac, the first step is to check if the hard drive is properly connected. Make sure that the cables are securely plugged into both the hard drive and your Mac. If it’s still not working, try disconnecting and then reconnecting the hard drive.
Next, open Applications and select Utilities. In the Utilities folder, select Disk Utility. In the View menu at the top of your screen, select Show All Devices. Select your external WD hard drive and click Unmount. Connect your external WD hard drive again.
Finally, you may need to reset your computer’s SMC (System Management Controller). To do this, shut down your Mac and unplug all external devices from it (including any WD devices). Then press and hold the left-shift + control + option + power button on a MacBook Pro or left-shift + control + option on a MacBook Air for about 10 seconds until you hear a chime sound from the computer or see an Apple logo appear onscreen. After that, wait for a few minutes before turning on your Mac again with just the WD device connected to it.
If none of these steps work, it may be necessary to reformat or partition the WD hard drive using Disk Utility in order for it to be recognized by your Mac.
Source: cultofmac.com
Troubleshooting Easystore Issues
It is possible that the Easystore is not working because the power cable or power adapter is not working properly. The power cable may be damaged or the power adapter may not be plugged in and switched on at the wall outlet. Additionally, if you are seeing flashing LEDs with activity then it could be an issue with the internal components of the Easystore such as a faulty hard drive or a bad connection between components. If none of these solutions work then it may be necessary to contact WD for technical support.
Are WD External Hard Drives Compatible With Macs?
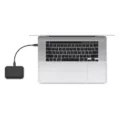
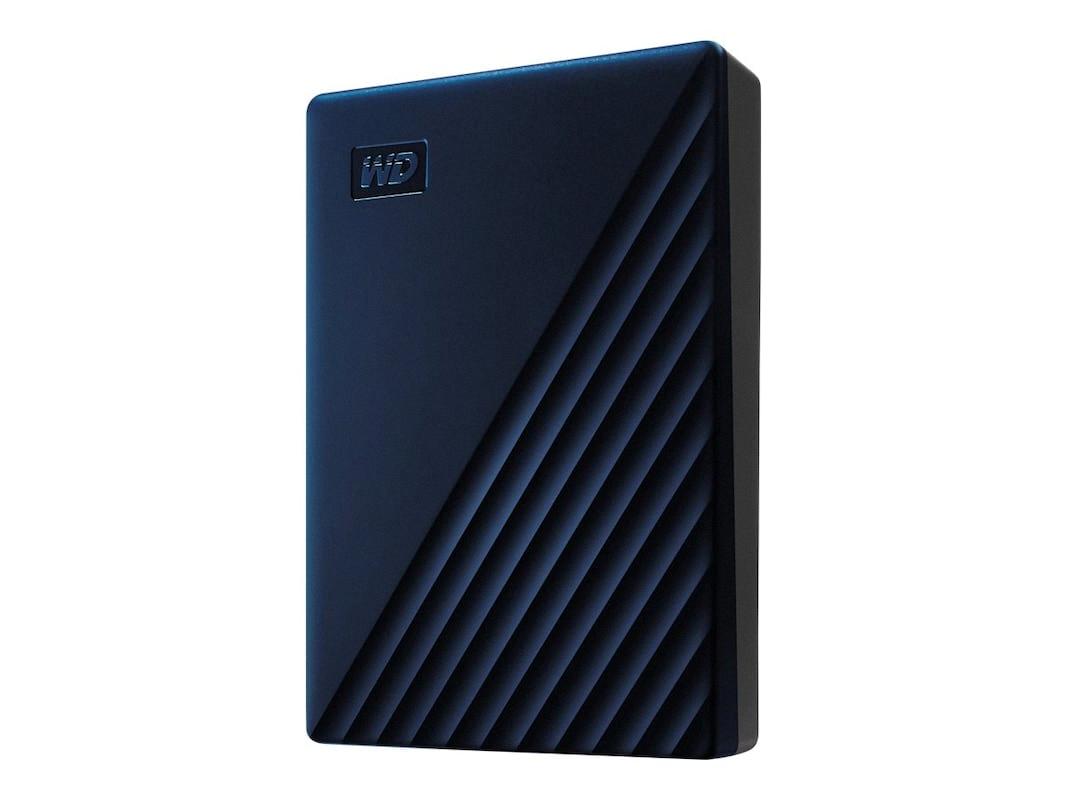
Yes, WD external hard drives are compatible with Macs. The WD Elements SE is a great model for Macs, as it offers USB A connectivity and works with both PC and Mac systems. This model comes in four different capacities, ranging from 1TB to 5TB, and several reviewers report great compatibility with gaming consoles too. To connect the drive to your Mac, you’ll need to plug the USB Type-A connector into your computer’s USB port. Once it has been connected, you can use the WD Discovery software to help manage the drive on your Mac.
Troubleshooting USB Not Showing Up on Mac
There are a few potential reasons why your USB may not be showing up on your Mac. First, check the power, port, and cable connections to make sure they are properly connected. If your Mac has more than one USB port, try switching the device’s cable to another port. Additionally, make sure the device itself is turned on and check if it is compatible with your Mac. If you’re still having trouble, it may be helpful to contact the manufacturer for more information.
Source: connection.com
Using a WD HD on Mac and Windows
In order to get your WD Hard Drive to work on both Mac and Windows devices, you will need to format the drive using the ExFAT or FAT32 file system. To do this:
1. For Mac users: Open Disk Utility from the Applications folder, select your WD Hard Drive from the left-hand panel, then click Erase. Select either ExFAT or FAT32 as the format type and click Erase at the bottom of the window.
2. For Windows users: Open File Explorer, select your WD Hard Drive from the list of Drives and Folders, right-click it, then select Format. Select either ExFAT or FAT32 as the file system and click Start at the bottom of the window.
Once you have successfully formatted your WD Hard Drive using either ExFAT or FAT32, it will be compatible with both Macs and Windows computers and you should be able to read and write data to it without any issues.
Using WD External Hard Drive Without Formatting on Mac
Solution 2. Using iBoysoft NTFS for Mac is the most convenient way to use a WD external hard drive without formatting on a Mac. This NTFS driver provides read-write access to all NTFS drives, so you can access and write to your WD external hard drive without having to format it. All you need to do is install and launch the software, then connect your WD external hard drive to your Mac computer and it will be instantly accessible. The software also comes with several helpful features such as automatic mount after a system reboot, support for multi-languages, and more. With this powerful yet easy-to-use NTFS for Mac, you can easily use the WD external hard drive without formatting on your Mac computer.
Formatting an External Hard Drive for Mac
When formatting an external hard drive for a Mac, you should use either the APFS or Mac OS Extended (Journaled) format. APFS is the preferred format for macOS Mojave and later, while Mac OS Extended (Journaled) is the recommended format for earlier versions of macOS. Note that formatting a drive will permanently delete any data on the volume, so make sure to back up any data before formatting.
Conclusion
To conclude, the WD Easystore External Hard Drive is an excellent choice for those looking for reliable storage and access to their data. It is a plug ‘n’ play device designed and tested for both Windows & macOS, so it can be used on both platforms without any compatibility issues. It has a simple setup process and provides secure storage with its included encryption software. With advanced features such as automatic backup, you can ensure your data remains safe and secure. The WD Easystore External Hard Drive is a great choice for anyone who needs reliable storage and access to their data.

