If you’re a Mac user, you may have found yourself wondering how to screen record on your Mac without QuickTime. While QuickTime is the default option for recording your screen on a Mac, it’s not your only option.
Fortunately, there are several alternative programs that let you quickly and easily capture footage of what’s happening on your computer’s display. From built-in tools to third-party apps, here’s everything you need to know about Mac screen recording without QuickTime.
1. Use the in-built Screen Recording Tool:
If you want to keep things simple, there is an in-built tool for recording your Mac’s screen available in macOS Mojave or later versions. To access the tool, open up the Launchpad from the dock and search for “Screen Recording”. Once opened, click on the record button at the top right corner of the window and select where you’d like to save the video file when prompted. You can also use this tool to record audio from your microphone or select an external microphone if needed.
2. Use Third-Party Apps:
For more advanced features such as annotations and editing capabilities, third-party apps are ideal for recording your Mac’s screen. Popular choices include Snagit by Techsmith and ScreenFlow by Telestream Inc., both of which are available as paid downloads from their respective websites or through the App Store. Both apps allow you to easily capture video footage of whatever is happening on your display, including webpages and software applications, as well as record audio from any source connected to your computer (such as a microphone).
3. Use Chrome Extensions:
For those who don’t want to download additional software for recording their screens, Chrome extensions can also be used for capturing footage of what’s happening within Google Chrome browsers. One popular choice is Nimbus Screen Capture & Video Recorder which allows users to capture screenshots or videos of web pages with just one click. It also has several other features such as annotation tools and allows users to upload recordings directly onto YouTube or save them locally on their computer after recording them.
No matter what kind of video content you plan on creating with screen recordings, these three methods will help get you started with capturing footage of what’s happening on your Mac’s display without having to rely on QuickTime Player!
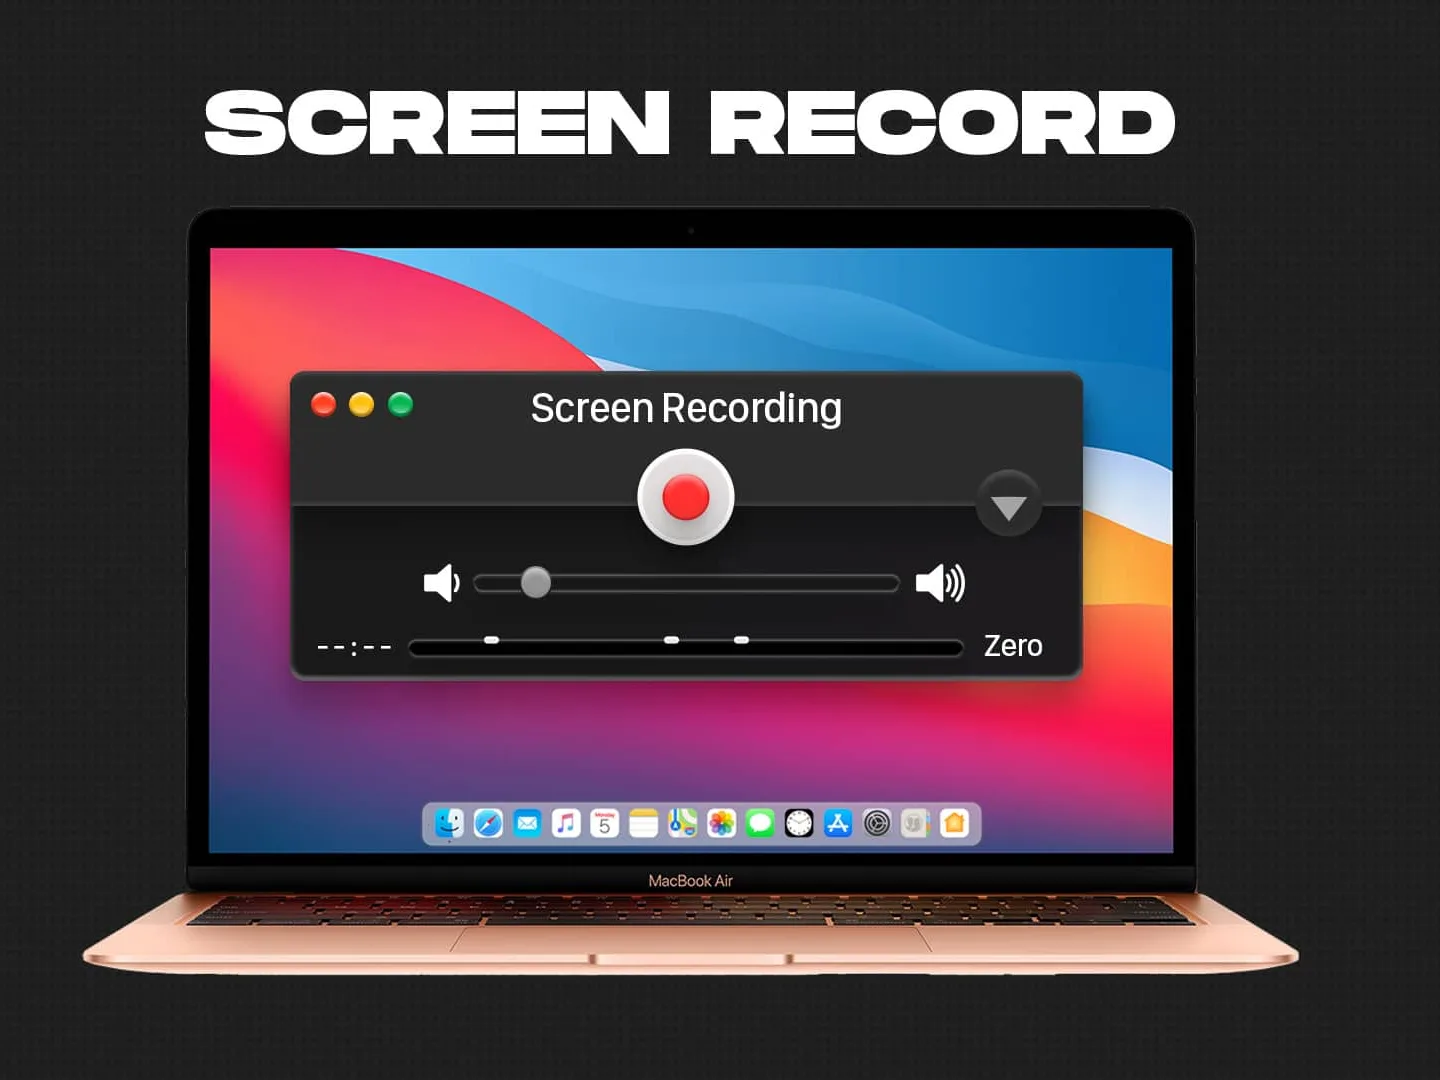
Screen Recording on Mac
Yes, you can screen record on Mac using QuickTime Player. To start a screen recording, open QuickTime Player from your Applications folder and choose File > New Screen Recording from the menu bar. This will open a window where you can select either the entire screen or a specific section of it for your recording. You can also choose to record audio from your microphone and set a timer for when you want the recording to start and stop. Once you have everything set up, click the red Record button to begin capturing your Mac’s screen. When you’re finished, click Stop in the menu bar or press Command-Control-Esc to stop the recording process.
Recording Screen on a Mac Without an App
To record your screen on a Mac without an app, you can use the built-in Screen Recording feature. To access the feature, open the Apple menu > System Preferences, then click Privacy & Security in the sidebar. (You may need to scroll down.) Click Screen Recording. You will be prompted to select which microphone and camera you would like to use for the recording. Once you have selected your preferred settings, click Record to begin recording your screen. To stop recording, simply press Command+Control+Escape or select Stop Recording from the menu bar at the top of your screen. The video will be saved as an MP4 file on your desktop.
Recording Your Computer Screen
To record your computer screen, you will need screen recording software. There are many free and paid options available for download. Generally, the process involves downloading the software, installing it on your computer, and then launching it to begin the recording process. Depending on the software you choose, you may be able to customize settings such as video resolution and frame rate before starting to record. Once you are finished recording, most software programs allow you to save the video file in various formats for playback or sharing.
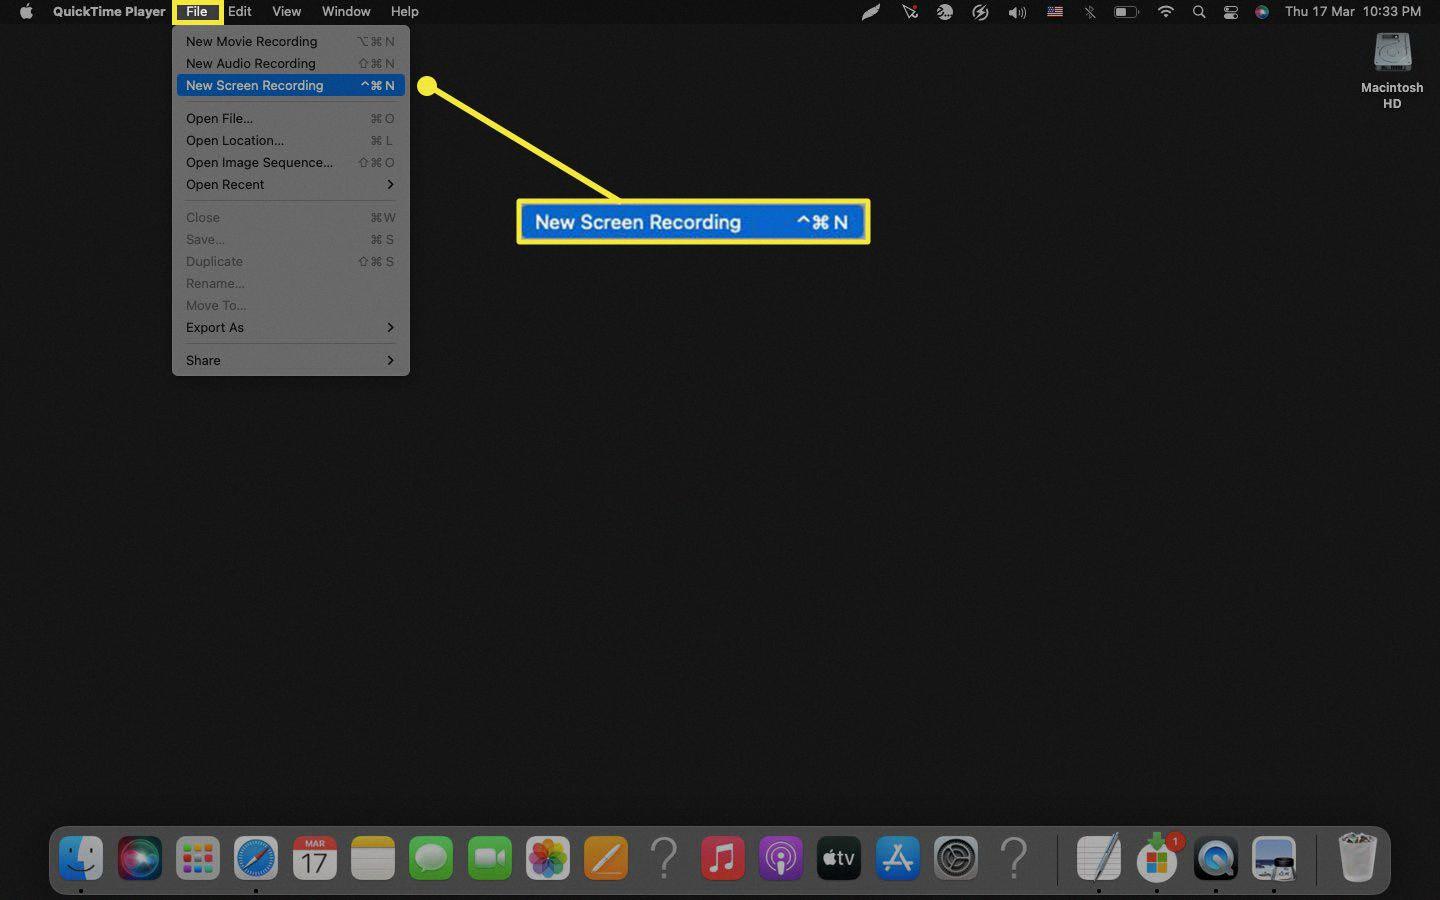
Source: lifewire.com
Recording Screen Without Installing Software
You can easily record your screen without installing any software by using Screenapp.io. All you need to do is search for Screenapp.io on your Chrome or Firefox browser and click on the “Get Started” button. You will be asked to choose between Microphone audio, Browser audio, or No Audio and then select whether you want to share your entire screen, an application window, or just a Chrome tab. After this, you will be taken to the recording interface where you can begin recording your screen with no additional software required.
Recording Your Screen on a Mac
To record your screen on a Mac, you’ll need to press the Shift-Command-5 keys. This will bring up the Screenshot tool, from which you can select what you want to record. You can then click Options if you want to customize your recording with settings like timing and microphone input. Once you’re ready, just hit the Start Recording button and your screen will begin recording.


