Are you new to Apple Mac? Are you wondering how to save a Word document on your Mac computer? Don’t worry! We’ve got you covered.
Using a Mac opens up a world of possibilities, from creative design to professional productivity. Being able to save documents quickly and efficiently is an important part of any workflow, whether it’s for work or pleasure.
In this blog post, we’ll walk you through the steps of saving a Word document on your Apple Mac computer. Let’s get started!
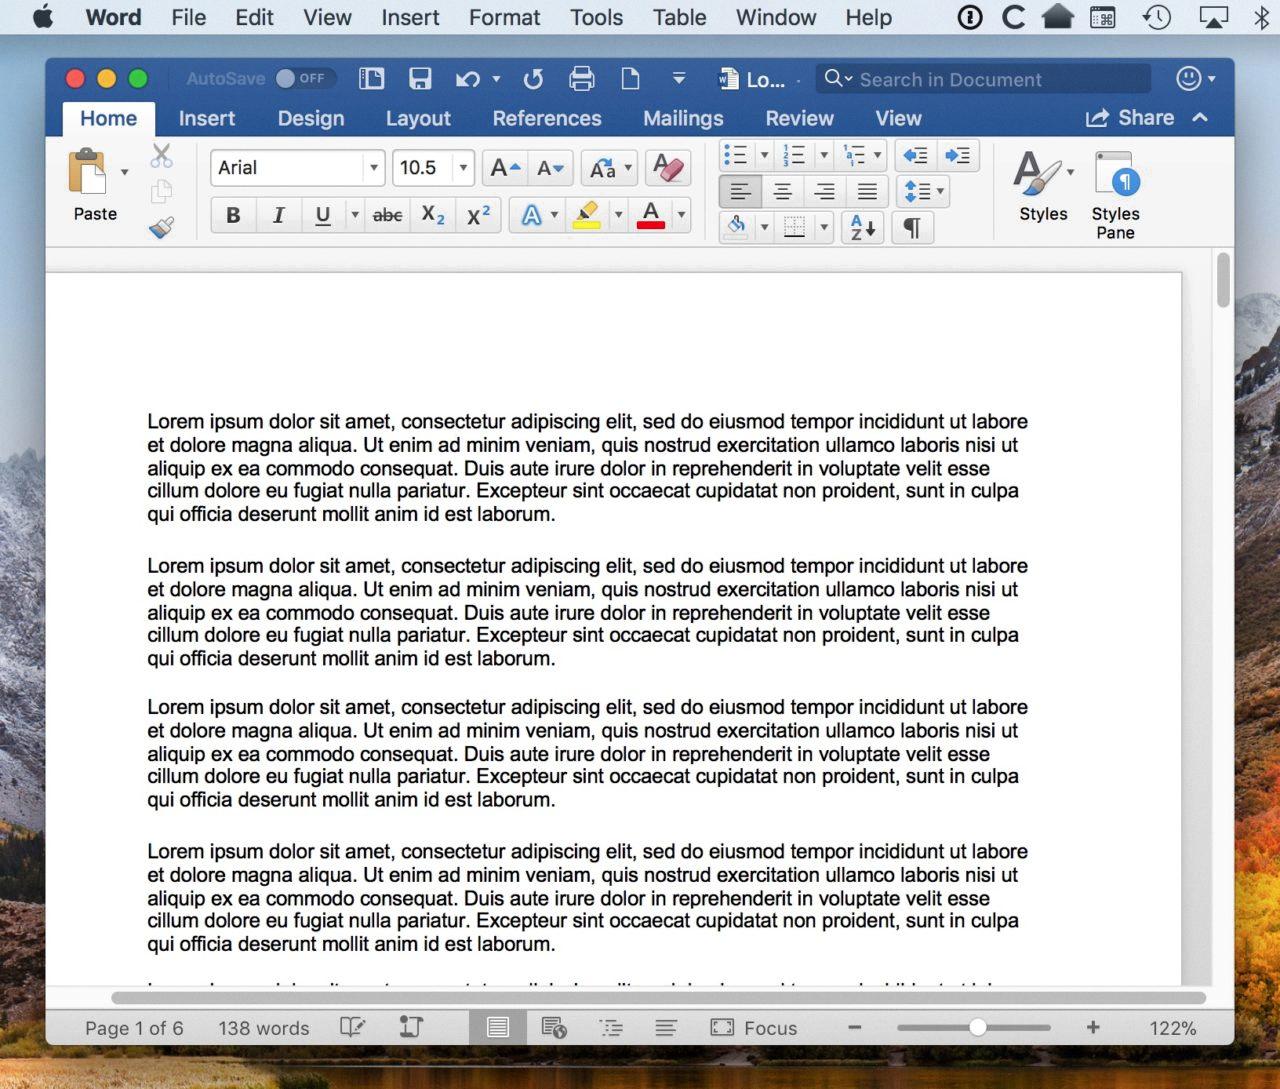
The first step is to open the Word document you want to save. Once the document is open, click File > Save or press Command-S on your keyboard. This will bring up the Save As window, where you can enter a name for your document in the File name box and choose a location in which to save it by clicking the Where pop-up menu. Once you have chosen a location and entered a name, click Save.
If you want to save the file in its current location with its current name, simply press Command-S again and it will be saved automatically without bringing up the Save As window.
You can also use iCloud Drive or Onedrive as your default save location for documents created on your Mac computer. To do this, click File > Save As and then select ‘iCloud Drive’ or ‘Onedrive’ from the Where pop-up menu at the bottom of the window before clicking Save.
Now that you know how to save Word documents on Apple Mac computers, why not explore all that your Mac has to offer? With features like iCloud integration and access to powerful apps like Pages and Keynote, there’s no limit to what you can create!

Troubleshooting Issues with Saving Word Documents on Mac
It sounds like you may be experiencing a naming or permission error while trying to save a document using Word for Mac OS 10.15. This could be due to the destination folder being damaged or corrupt, which is preventing Word from saving the document. To solve this problem, try creating a new folder and saving the document to that location instead. If you continue to experience issues, you may need to repair the existing folder or contact your IT department for further assistance.

Source: microsoft.com
Saving a Document on a Mac
To save a document on a Mac, first, click anywhere in the document window to make it active. Then, choose File > Save from the File menu at the top of your screen. Enter a name for the file in the Save As field and add any tags (optional). Next, click on the Where pop-up menu and choose a location where you want to save your document. Finally, click Save and your document will be saved in the chosen location.
Where Does Word Save Files on a Mac?
Word for Mac saves to Onedrive by default. Onedrive is a cloud storage service provided by Microsoft and it allows you to access your documents from anywhere with an internet connection. When you save a document in Word for Mac, it will automatically be saved to the Onedrive folder associated with your Microsoft account. You can also save documents to other locations on your computer such as your desktop, Documents folder, or any other folder of your choice.
Saving a Word Document
To save a Word document, open the File menu at the top of the window and click ‘Save’. Then, select a folder or directory to save your file in, type a name for your document in the File Name box and click ‘Save’ again. Be sure to give your document an informative name that is easy to recognize later. If you wish, you can also specify the file type for your document by clicking on the ‘Save as type’ drop-down menu. Finally, click ‘Save’ once more and your document will be saved with all of its contents.
Saving a Word Document on a Mac Without iCloud
To save your Word document on your Mac and not iCloud, open the document in Word and select File > Save As. From the drop-down menu, choose where you want to save the file. You can choose from any of your local drives or folders. If you want to save the document to iCloud Drive, deselect the ‘iCloud Drive’ checkbox at the bottom of the window before clicking ‘Save’. Your file will then be saved locally and not in iCloud Drive.
Enabling Save As on a Mac
Enabling Save As on a Mac is easy! First, open the application you want to save from and click File in the menu bar. Then, press and hold the Option key on your keyboard to change the Duplicate option to Save As. Finally, click Save As with your mouse, choose the file format you want to use, and select a save location. That’s it! Now you can easily save your documents in different formats or to different locations.
Unable to Save Word Document
There are a few possible reasons why you can’t save a Word document. It could be that your computer doesn’t have enough available memory to save the file, or that the document has become corrupted somehow. It could also be that you have AutoSave enabled, which is preventing the file from being saved. Finally, if Track Changes was used when editing the document, it may need to be disabled and all changes resolved before you can save it successfully.
Saving Documents on a Mac
The best place to save your documents on a Mac is in iCloud Drive. iCloud Drive is an Apple service that stores files and folders in the cloud, so you can access them on any device where you’re signed in with the same Apple ID. To get started, open Finder and select iCloud Drive from the sidebar. Then drag and drop your documents or folders into iCloud Drive. Your documents will now be safely stored and accessible on all of your Mac devices.
Does Word for Mac Automatically Save?
Yes, Word on Mac does automatically save your files as you work. This feature is called AutoSave and it is available for Microsoft 365 subscribers using Excel, Word, and PowerPoint for Mac. With AutoSave enabled, your documents are saved every few minutes without any action required from you. You can also manually save at any time if desired. As long as you have a subscription to Microsoft 365 on Mac, you can rely on the AutoSave feature to protect your work against data loss or unexpected power outages.

Source: techjunkie.com
Saving a Document
The three ways to save a document are:
1. File? Save: To quickly save a document without changing the name or file location, click File. Save. This will save the current version of the document in its original location.
2. File? Save As: To save a copy of the document with a different name or in a different file location, click File. Save As. This will create a new copy of your document in the specified file location.
3. Press Ctrl + S: To quickly save the current version of your document without changing the name or file location, press Ctrl + S on your keyboard. This will save your document in its current state and location.


