Recording MIDI keyboards in GarageBand is a great way to create high-quality audio tracks for music production. MIDI keyboards are versatile and allow you to easily control a range of different instruments, making them ideal for recording in GarageBand. With the right setup and understanding of how to record MIDI keyboards in GarageBand, you can easily create stunning musical tracks.
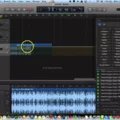
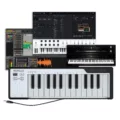
To get started, you’ll need a MIDI keyboard that is compatible with your Mac computer. Once connected, the first step is to open up the GarageBand app and click on “Create Document”. Next, choose an audio recorder option such as “Voice” or “Software Instrument”. This will activate the microphone or instrument track in GarageBand.
You can then hit the record button to start recording your keyboard playing. To ensure that you get the best sound quality possible, it’s important to adjust the input gain so that it is not too low or too high. You can do this by clicking on the input gain icon at the top of the screen while recording.
Once you have finished recording your performance, you can add effects such as reverb and delay to further enhance your track and make it sound more professional. To do this, simply click on the effects icon at the top of the screen and select an effect from the list. You can also use GarageBand’s EQ settings to further refine your sound if needed.
Finally, when you are happy with your track, hit save and export it as an audio file so that you can share it with friends or upload it online for others to hear! With some practice and patience, recording MIDI keyboards in GarageBand will become second nature and will help take your music production skills to a new level!
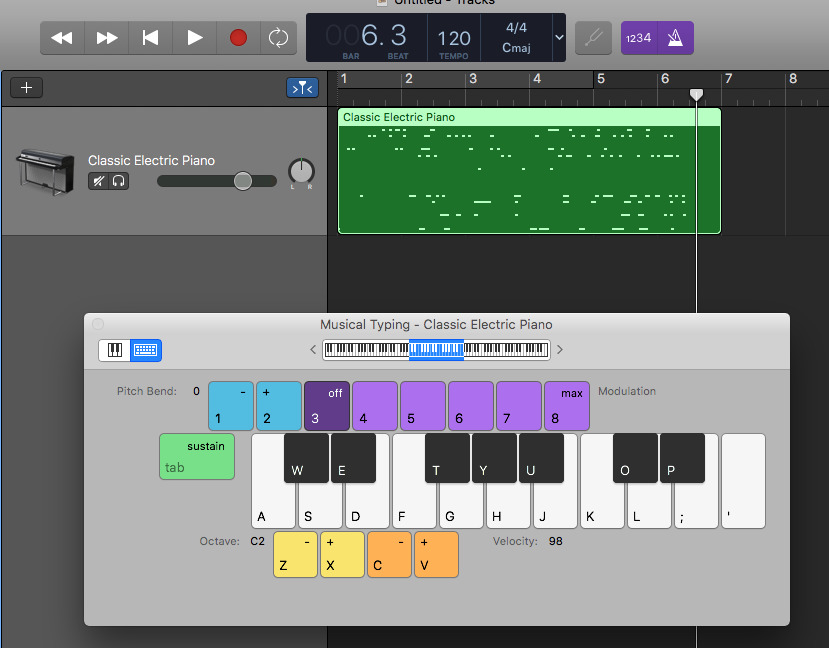
Recording a Keyboard in GarageBand
Yes, you can record a keyboard to GarageBand! There are three main ways to do this. Firstly, you can record the sound through the speakers via a microphone connected to your Mac. Secondly, you can connect an audio interface using a line output and then record the sound into your Mac. Lastly, you can use your keyboard as a MIDI controller and record it directly into your Mac. Whichever method you choose, GarageBand will allow you to easily and quickly record your keyboard!
Troubleshooting Issues with Hearing a MIDI Keyboard in GarageBand
It’s possible that either your MIDI keyboard is not properly connected or has not been selected as an input device in GarageBand. First, make sure that the MIDI keyboard is turned on and correctly connected to the Mac. If a MIDI interface box is involved, double-check your connections to ensure that both the MIDI In and MIDI Out cables are correctly connected. Once that has been done, open GarageBand’s Audio/MIDI preferences and select your MIDI keyboard as an input device in the Inputs tab. If you still can’t hear your keyboard, try restarting GarageBand or unplugging and re-plugging in your keyboard.
Creating a MIDI Track in GarageBand
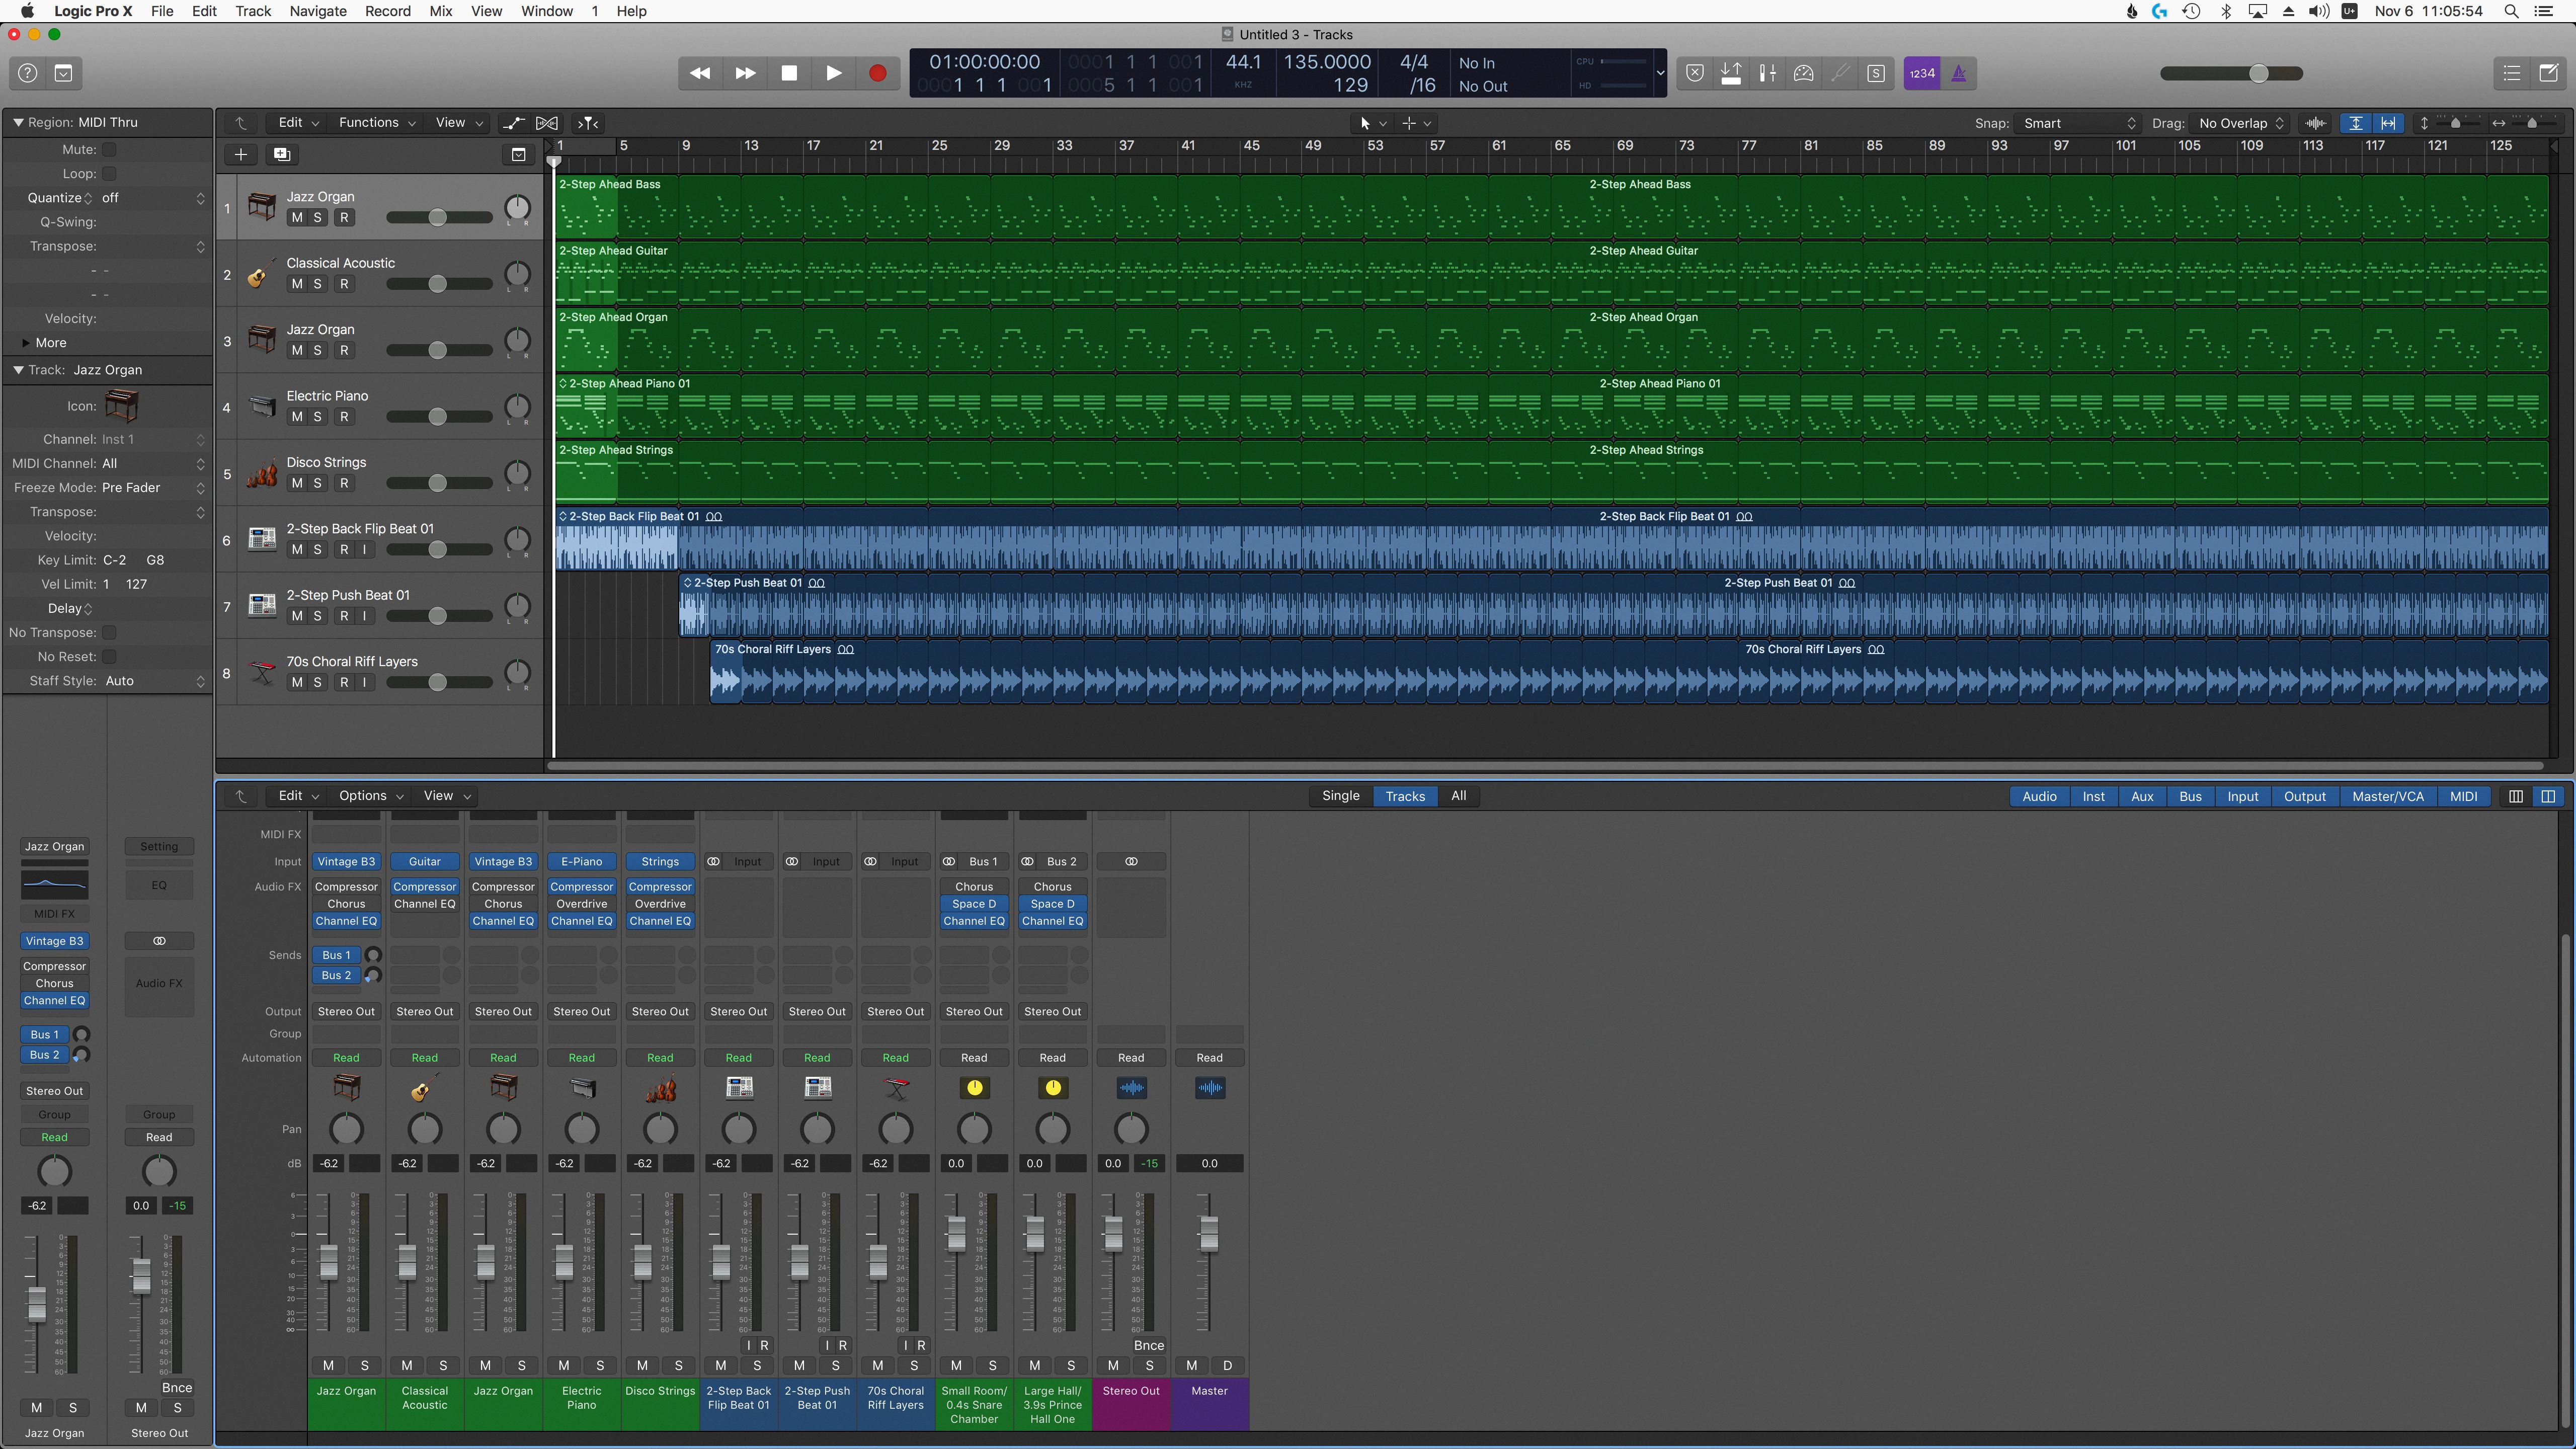
To create a MIDI track in GarageBand, first, open the project you want to work on. Then, click the ‘+’ button at the top left of the Tracks area. From the popup menu that appears, select ‘Software Instrument’. This will create a new software instrument track in your project.
Next, click on the ‘MIDI’ tab at the top right of the Tracks area. This will open up a list of all available MIDI instruments and synths you can use in GarageBand. Select one from the list and it will be added to your project as a new track.
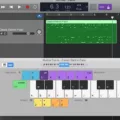
You can now start recording your own MIDI performances with this track by using either an external MIDI controller or simply playing notes directly into GarageBand using your computer keyboard or mouse. You can also input individual notes directly into GarageBand using Step Input mode or draw them using Piano Roll mode.
Now that you have created a MIDI track, you can also adjust its settings such as volume, panning, and effects to make it sound just the way you want it to!

