Are you having trouble with your Macbook Pro’s sticky trackpad? If so, you’re not alone. Many Macbook Pro users have experienced this issue and it can be frustrating. Fortunately, there are a few solutions that can help you fix the sticky trackpad and get your Macbook Pro back in working order.
The most common cause of a sticky trackpad is dirt and debris that has built up over time. This can cause the trackpad to become unresponsive or sluggish when trying to move the cursor around your screen. To clean the trackpad, start by shutting down your Macbook Pro and disconnecting any external devices. Then, grab a soft cloth and dampen it with a bit of water or isopropyl alcohol if necessary. Gently wipe down the surface of the trackpad, being sure to also clean in and around any buttons if those are giving you trouble. Allow the cloth to dry completely before powering on your laptop again.
If cleaning doesn’t solve the issue, try adjusting your Trackpad settings to their original state by navigating to “System Preferences > Trackpad” in your Macbook Pro. Here, you can adjust sensitivity and scrolling speed as well as toggle on/off “Tap to Click” which may help resolve any issues with responsiveness.
If none of these solutions work, you may need to disable-enable NVRAM (Non-Volatile RAM) which stores information about various settings such as display resolution, startup disk selection, etc., that are necessary for booting up your computer. To do this, hold down the Command + Option + P + R keys all at once for about 20 seconds until you hear two startup chimes in quick succession indicating that NVRAM has been reset successfully.
Lastly, try deleting Trackpad PLIST files from Finder which store information about how an application behaves on your computer including preferences for custom keyboard shortcuts or window sizes, etc.. To do this open Finder > Library > Preferences > com.apple.driver and delete any files related to Trackpads from there (usually labeled as either com.*trackpads* or something similar).
If none of these steps have worked then use Apple Diagnostics: press & hold the cmd (Command) + ctrl (Control) keys along with the Power button until the screen goes blank and the Mac restarts – this should at least temporarily fix this problem until another solution is found!
We hope these steps helped you troubleshoot any sticky trackpad issues with your Macbook Pro!
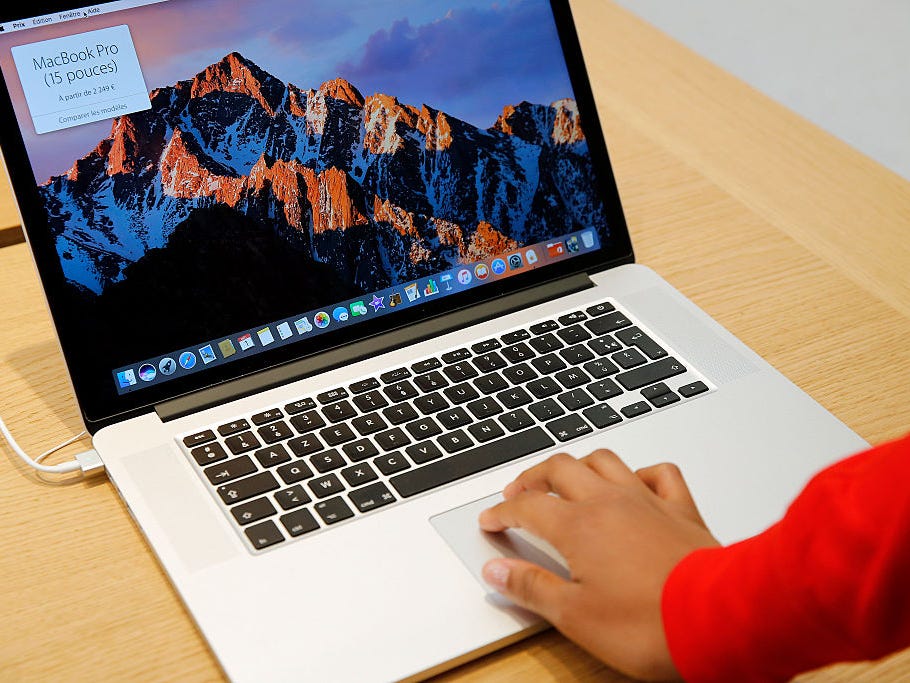
Fixing a Sticking Trackpad
To fix a sticking trackpad, you’ll need to first make sure that any debris or dirt is removed from the surface of the trackpad. Start by grabbing a soft cloth and lightly moistening it with water (or isopropyl alcohol, if necessary). Gently wipe down the entire surface of the trackpad, making sure to clean in and around any buttons as well. You should also check to see if there are any loose screws on the underside of the trackpad that could be causing it to stick. If so, tighten them up with a small screwdriver. Finally, try using a can of compressed air to blow away any remaining dust or particles from between the keys. With these steps, your trackpad should be good as new!
Fixing a Glitchy Trackpad on a MacBook Pro
The first step to fixing a glitchy trackpad on a MacBook Pro is to check for any available macOS updates. Keeping your device up-to-date is essential in order to avoid any potential software issues that could be causing the problem.
If this doesn’t fix the issue, you can try changing the Trackpad settings back to their original configurations. This can be done by going to System Preferences > Trackpad and resetting them.
If that still doesn’t work, you can try disabling and then re-enabling NVRAM (nonvolatile random access memory). To do this, shut down your MacBook Pro and hold the Command + Option + P + R keys for about 20 seconds. Once the power has been restored, see if the trackpad works properly again.
If it’s still glitching, you can delete any Trackpad PLIST files from the ~/Library/Preferences folder. Be sure not to delete anything else in this folder as it may cause further problems with your system.
Finally, if none of these solutions have worked, you may need to use Apple Diagnostics or take your device to an Apple Store for further assistance.


