Do you have an iPhone and are looking for ways to fix a pixelated image? Pixelation occurs when an image is compressed or the resolution of the photo is too low. This can be especially common with iPhones as they often have lower resolution cameras than some digital cameras. But don’t worry! Here we will discuss some tips and tricks on how to fix a pixelated image on your iPhone.
The first step to fixing a pixelated image is to determine why it looks blurry or pixelated in the first place. There are quite a few potential causes, including low light, over-processing, or a poor camera sensor. The newer models of iPhones tend to have better sensors which means they produce better-quality images with less grain and noise. But regardless of what iPhone you have, there are still steps you can take to improve your photos and reduce grain.
One way to fix a pixelated image is by using sharpening tools available in Photoshop or Camera RAW. These tools help you manually sharpen individual pixels which help create higher-resolution images that are less pixelated.
Another option is to use AI-based depilatory such as Cutout. Pro Photo Enhancer which can automatically restore details that were lost due to compression or low resolution by reconstructing the missing pixels. This can help make your photos look clearer and sharper without having to manually sharpen each one individually.
Finally, if none of these methods work, it’s possible that the photo has just been taken at too low of a resolution for it to be salvageable. In this case, the only real option would be to retake the photo at a higher resolution so that you can get better results.
In conclusion, if you have an iPhone and have encountered issues with pixelation, there are fortunately multiple solutions available depending on what caused the issue in the first place. By following the steps outlined above, you should be able to successfully improve your photos and make them look clear and sharp without having to retake them all over again!
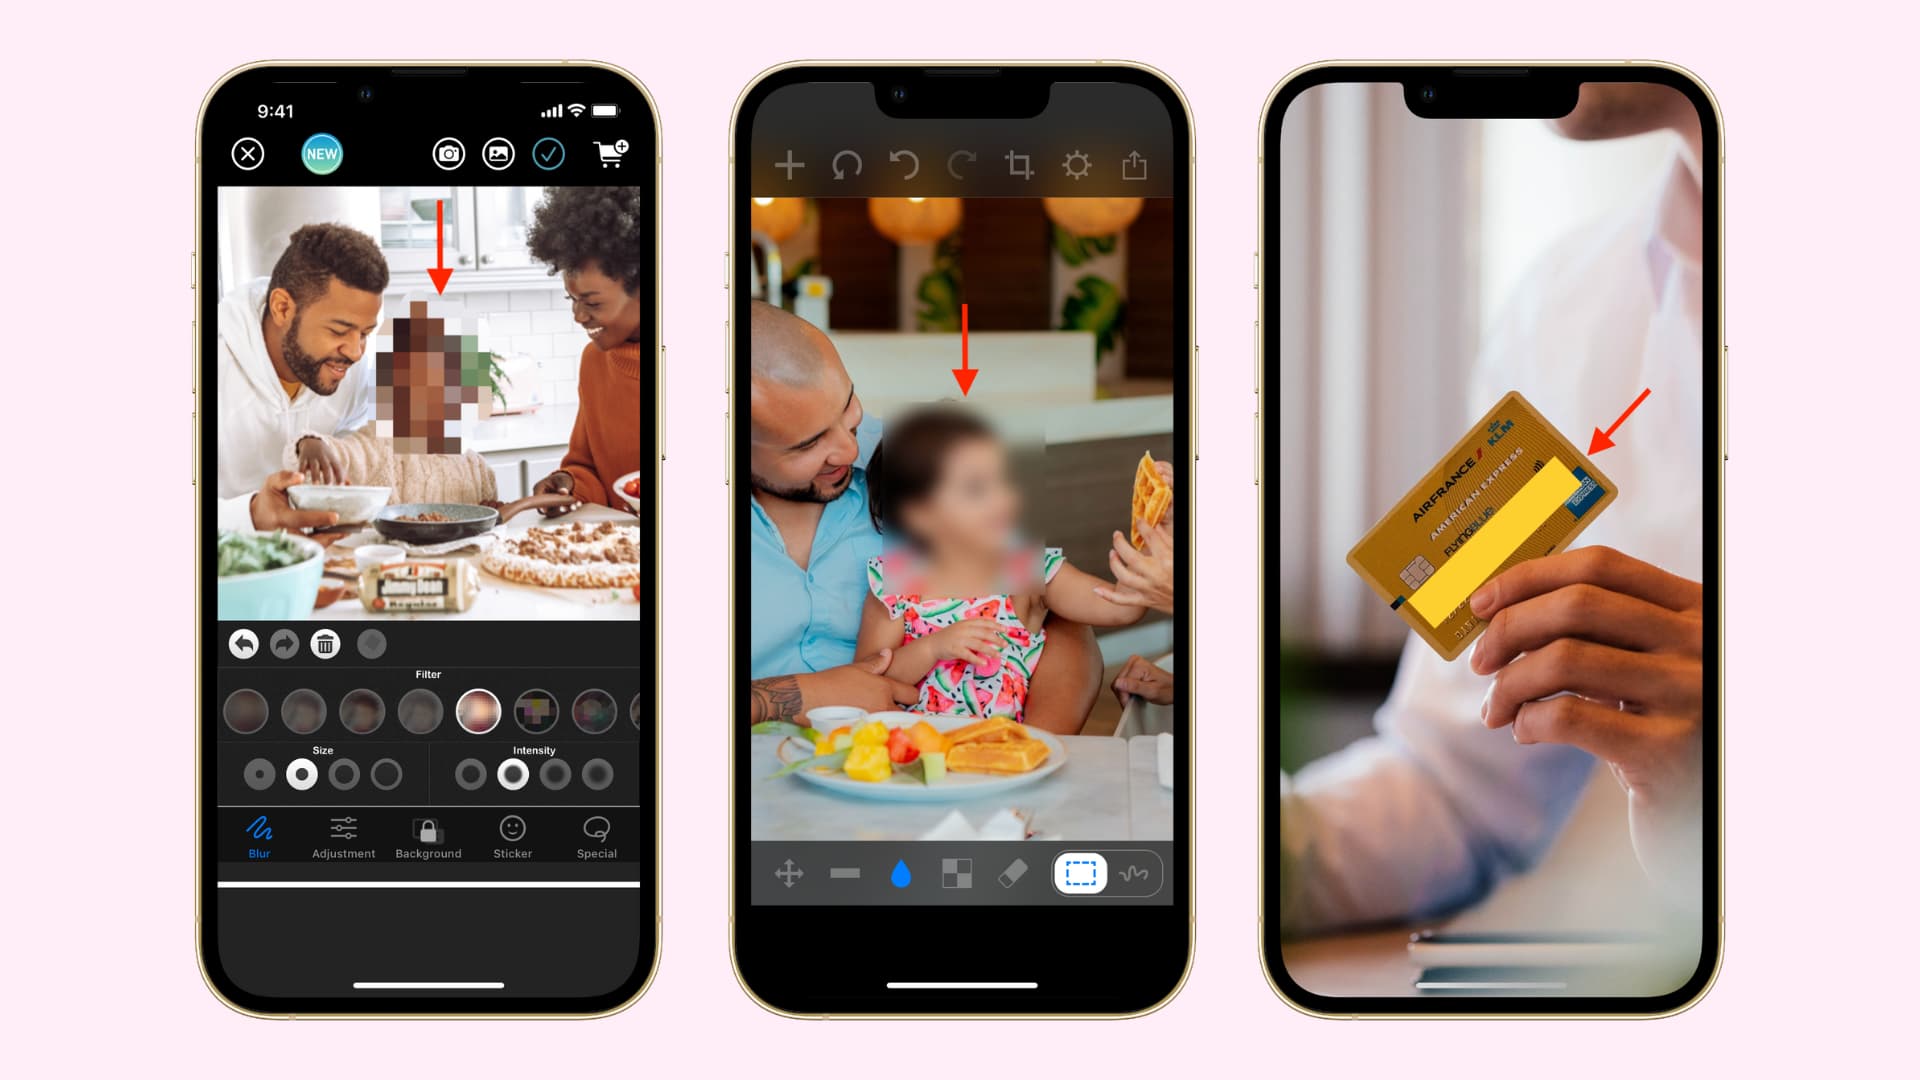
Fixing Pixelated Pictures on an iPhone
To fix pixelated pictures on an iPhone, you can use an AI-based image editing app such as Adobe Photoshop Express or Pixelmator Pro. These apps will analyze the picture and fill in the missing pixels, allowing you to restore details that would otherwise be lost. Additionally, these apps offer a range of other features that allow you to adjust brightness, contrast, hue, and saturation levels to further enhance the quality of your pictures.
Can Pixelated Photos Be Restored?
Yes, pixelated photos can be fixed. To do this, you can use the sharpening tools available in both Photoshop and Camera RAW. This will allow you to manually sharpen individual pixels, which will create a higher-resolution image. You can also use noise reduction techniques, such as blurring or denoising, to reduce the amount of distortion in the photo. Additionally, if you have access to a high-resolution version of the photo, you can up-res it using interpolation techniques such as bicubic or bilinear to improve its resolution.
Unpixelating a Pixelated Image
Unpixelating a pixelated image is the process of taking a low-resolution, pixelated image and restoring it to its original, high-resolution form. To do this, you need to use a specialized tool designed specifically for this purpose. One such tool is Cutout.pro Photo Enhancer, which uses artificial intelligence (AI) to accurately reconstruct the missing pixels in an image. The software can be used on both JPEG and PNG files, and it offers several levels of deblurring depending on the complexity of the photo. Additionally, Cutout. pro also allows you to customize your results by adjusting brightness, contrast, and color balance before saving the final version of your restored image.
Why Do My iPhone Pictures Look Pixelated?
Pixelation in iPhone pictures can be caused by a variety of factors. Low light, over-processing, or a poor camera sensor can all contribute to the pixelated look. In low-light situations, the camera has to work harder to produce a clear image, resulting in a grainier photo. Over-processing can also lead to pixelation if too many adjustments are made during editing – for example, increasing the contrast or saturation too much can blur out details and make the image appear pixelated. The quality of your images is also heavily dependent on the camera sensor itself – older iPhones with lower-resolution sensors tend to produce grainier photos than newer models with higher-resolution sensors.
Fortunately, there are ways to reduce grainy photos on any iPhone model. Increase the amount of light available when taking pictures; this will help ensure that your camera’s sensor is able to capture as much detail as possible. Additionally, avoid making too many adjustments while editing; subtle changes are preferable in order to retain clarity and sharpness. Finally, if you find yourself constantly dealing with grainy photos consider upgrading your phone’s camera sensor if possible – this will give you access to higher-resolution images with improved clarity and sharpness.
Enhancing a Pixelated Picture
To enhance a pixelated picture, you can use Photoshop. First, open your image in Photoshop. Then, select ‘Filter’ and ‘Blur’ and choose ‘Gaussian Blur.’ Adjust the slider until you find an acceptable level of blur for your image. Next, select ‘Filter’ and ‘Sharpen,’ then choose ‘Unsharp Mask.’ Adjust the slider until you find an acceptable level of sharpness for your image. Once you are done adjusting the levels, save the image. With these steps, you should be able to enhance your pixelated picture!
Improving the Quality of Pictures on an iPhone
Improving the quality of a picture on your iPhone can be done in several ways. First, make sure to adjust the exposure to achieve perfect brightness levels. This will help make sure that the colors in your photos look as accurate as possible. Second, use night mode when taking pictures in low-light situations. Night mode allows you to capture more light and details in dark environments. Third, switch between the lenses on your phone to zoom in and out of your photos for different compositions. Finally, use portrait mode and portrait lighting effects to blur the background and add studio-like lighting effects to your photos.
The Causes of Image Pixelation
Image pixelation occurs when the image is enlarged to a point where individual pixels become visible. When an image is enlarged beyond its original size, the individual pixels that make up the image are stretched and become blurry or fuzzy. This can be caused by using a low-resolution image, resizing an image without using proper resampling techniques, insufficient memory for the application being used, or incorrect color settings. Pixelation may also occur if the resolution of an image is not changed during printing. Although some pixelation can be minimized by using appropriate resampling techniques and adjusting memory requirements, it cannot be completely avoided due to the finite number of pixels in an image.
Conclusion
In conclusion, pixelated images are a common problem faced by digital photographers. There are many ways to fix a pixelated image, such as using AI-based depilatory, manually sharpening individual pixels with tools such as Photoshop or Camera RAW, and reducing grain in pictures through better camera sensors. Ultimately, it is up to the photographer to decide which solution will work best for their image. With careful attention and the right tools, it is possible to restore pixelated images to their original sharpness and clarity.

