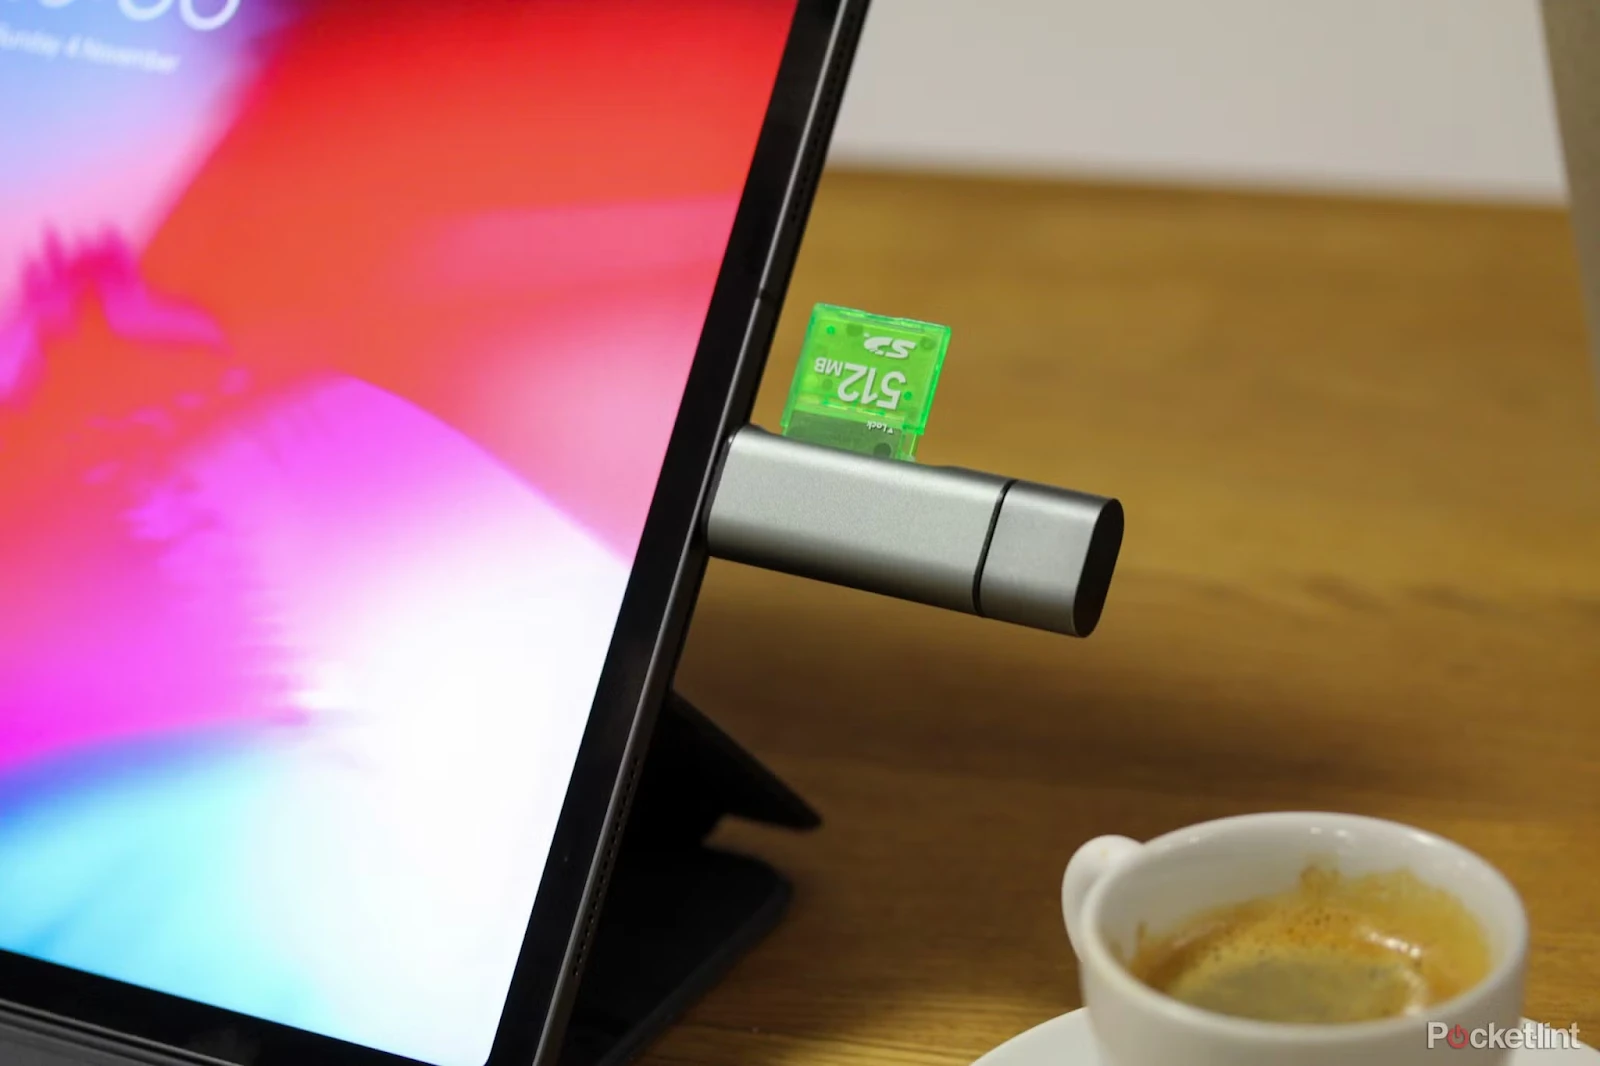
Pulling out a USB drive from your iPad without a second thought might seem harmless, but it’s a risky move. Safe USB ejection from iPad isn’t just a technical suggestion—it’s what stands between you and data loss or a corrupted drive that refuses to open when you need it most.
Checking Data Transfers Before Ejecting
If there’s an ongoing file transfer, interrupting it mid-way could mean losing important documents, photos, or videos you thought were safely copied.
Always perform a USB data completion check by ensuring the transfer progress bar has disappeared and that no apps are still accessing the drive. Rushing the process might seem harmless, but it’s one of the easiest ways to avoid corrupting USB files—because once a file gets corrupted, there’s often no fixing it.
Closing the Files App Before Removal
The first step before removing your USB drive from your iPad is closing the Files app. After using files you might think the system automatically stops interacting with your drive, yet this is not usually the case each time.
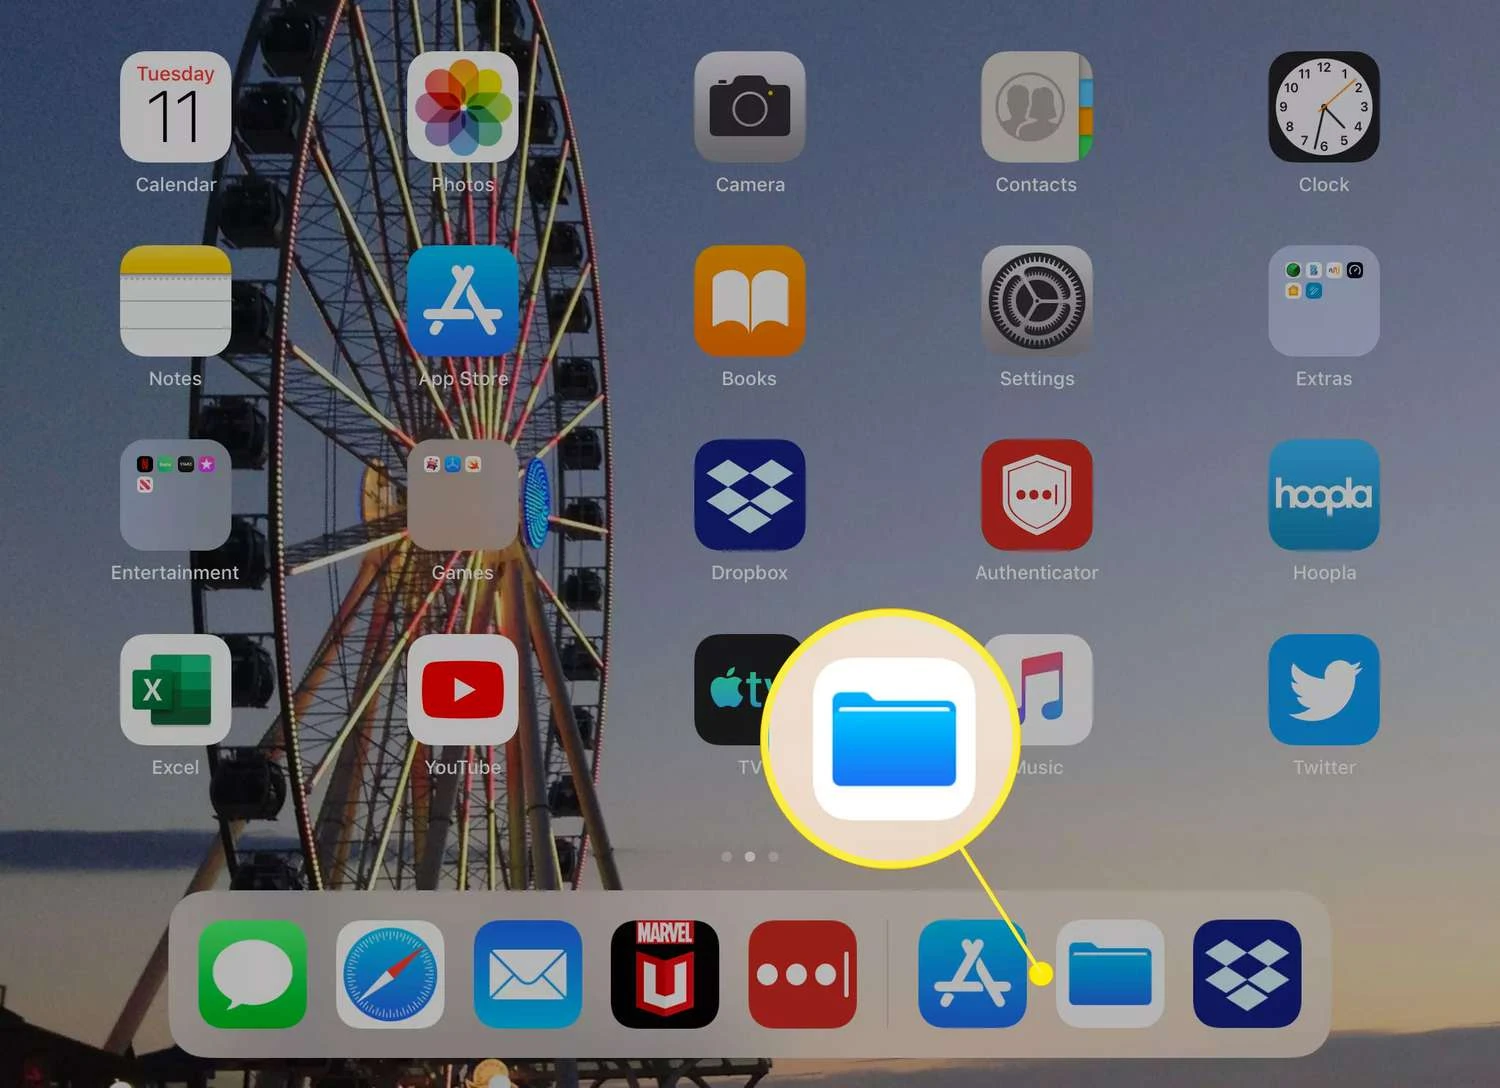
Sometimes, the iPad continues operating background processes such as file indexing and saving recent changes. These processes remain active until you properly close it on your iPad, and if you remove the USB early you increase the risk of file corruption and error occurrences when next you try to access them.
You can ensure that your iPad USB file access is properly disconnected by shutting down the app. This also helps suspend background file transfer activities which run silently. Taking one brief moment to shut down the app will protect you from serious trouble in the future.
How to Safely Eject USB on an iPad
Inspect your drive’s LED light (if present) to determine its flashing status. A blinking light usually means that data transfer is underway which needs a brief period of patience.
Ejecting your USB from your iPad safely requires that you shut down all currently active files and apps, especially the Files application. If you want to be extra careful, you should allow your iPad screen to lock before pulling out the plugged drive.
For people who prefer a belt-and-braces approach, turning off the iPad power before taking out the external drive is an extra measure.

Disconnecting your USB properly protects both your stored files and maintains the health of your drive.
Understanding If Safe Ejection is Necessary
When you plug a USB into your iPad, the question pops up—Do I need to eject USB before pulling it out? Unlike computers, where you click “eject” before unplugging, iPadOS doesn’t have that feature.
Safe ejecting USB from iPad isn’t technically required, but that doesn’t mean you should yank it out carelessly. If files are still transferring, removing the drive too soon could corrupt your data.
To be extra cautious, check that no files are being read or written, close the Files app, or wait a few seconds after your last action. It’s a small step that could save you from a big headache. For iPad external drive safety, a little patience goes a long way.
Troubleshooting USB Ejection Issues
Removing a USB from your iPad should be simple, but sometimes things don’t go as planned. If the USB won’t eject, you might not see an obvious option to remove it safely, leaving you wondering if just pulling it out is the right move.
That’s where issues start—forceful removal can trigger a USB error, corrupting files or causing the iPad to misbehave the next time you plug it in.
Then there’s the classic frustration of your iPad refusing to recognize the drive at all, making iPad USB troubleshooting an unexpected headache. To avoid these problems, always close any open files before unplugging, and if the iPad seems stuck, a quick restart can work wonders.
Conclusion
Unplugging a USB from your iPad might seem simple, but skipping the right steps can lead to trouble. To safely remove USB from iPad, always check that no files are being copied or edited—interrupting a transfer can corrupt your data.
Since iPadOS doesn’t have a built-in eject button, the safest move is to close the Files app before unplugging. Some users even go the extra mile by shutting down their iPad first, just to be extra cautious.


