Garageband is an incredible music production tool and it’s easy to use even for the beginner. It is a great platform for anone looking to start making their own music or to just have fun with sound. With Garageband, you can create your own songs in a matter of minutes and you can also record yourself or others. You can even add cool effects and mix your music exactly how you want it!
Adding a master track in Garageband is an important step in turning your song into a fully produced masterpiece. The master track, also known as the master bus, is where all of the tracks from your song are combined togther into one final mix. This helps bring out the best qualities of each track and helps give your song an overall professional sound.
To add a master track in Garageband, simply click on the “Track” menu at the top of the screen and select “New Track”. Then select “Master” as your track type. You will now have a new master track that appears at the bottom of all othr tracks in Garageband. From here, you can apply different effects such as EQ, compression and limiting to this track to give your song that professional touch.
Once you’re happy with how everyhing sounds, it’s time to export your song from Garageband so that it’s ready for sharing or streaming online. To export your song, go to File > Export > Song to Disk and then choose either MP3 or AIFF as your file type and hit Export! Your song is now ready for distribution!
Garageband is an incredibly powerful program that makes producing music simpler than ever before. By adding a master track, you can take advantage of its features and get closer to making music that sounds like it was produced by professionals!
Mastering Tracks in GarageBand
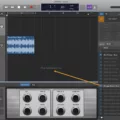
Mastering tracks in GarageBand is a simple process that involves using the built-in tools to apply EQ, compression and limiting to your track. To begin, export your song as an AIFF file, then import it back into GarageBand. Next, set up a Channel EQ and adjust the frequency response of the track to give it clarity and punch. Next, set up a Compressor with the “Platinum Analog Tape” preset to create a more consistent sound across all frequencies. Finally, use a Limiter with “Gain” set to +2.0 and “Output Level” set to -0.1 for maximum volume withut clipping or distortion. With these steps you can master a track in GarageBand quickly and easily.
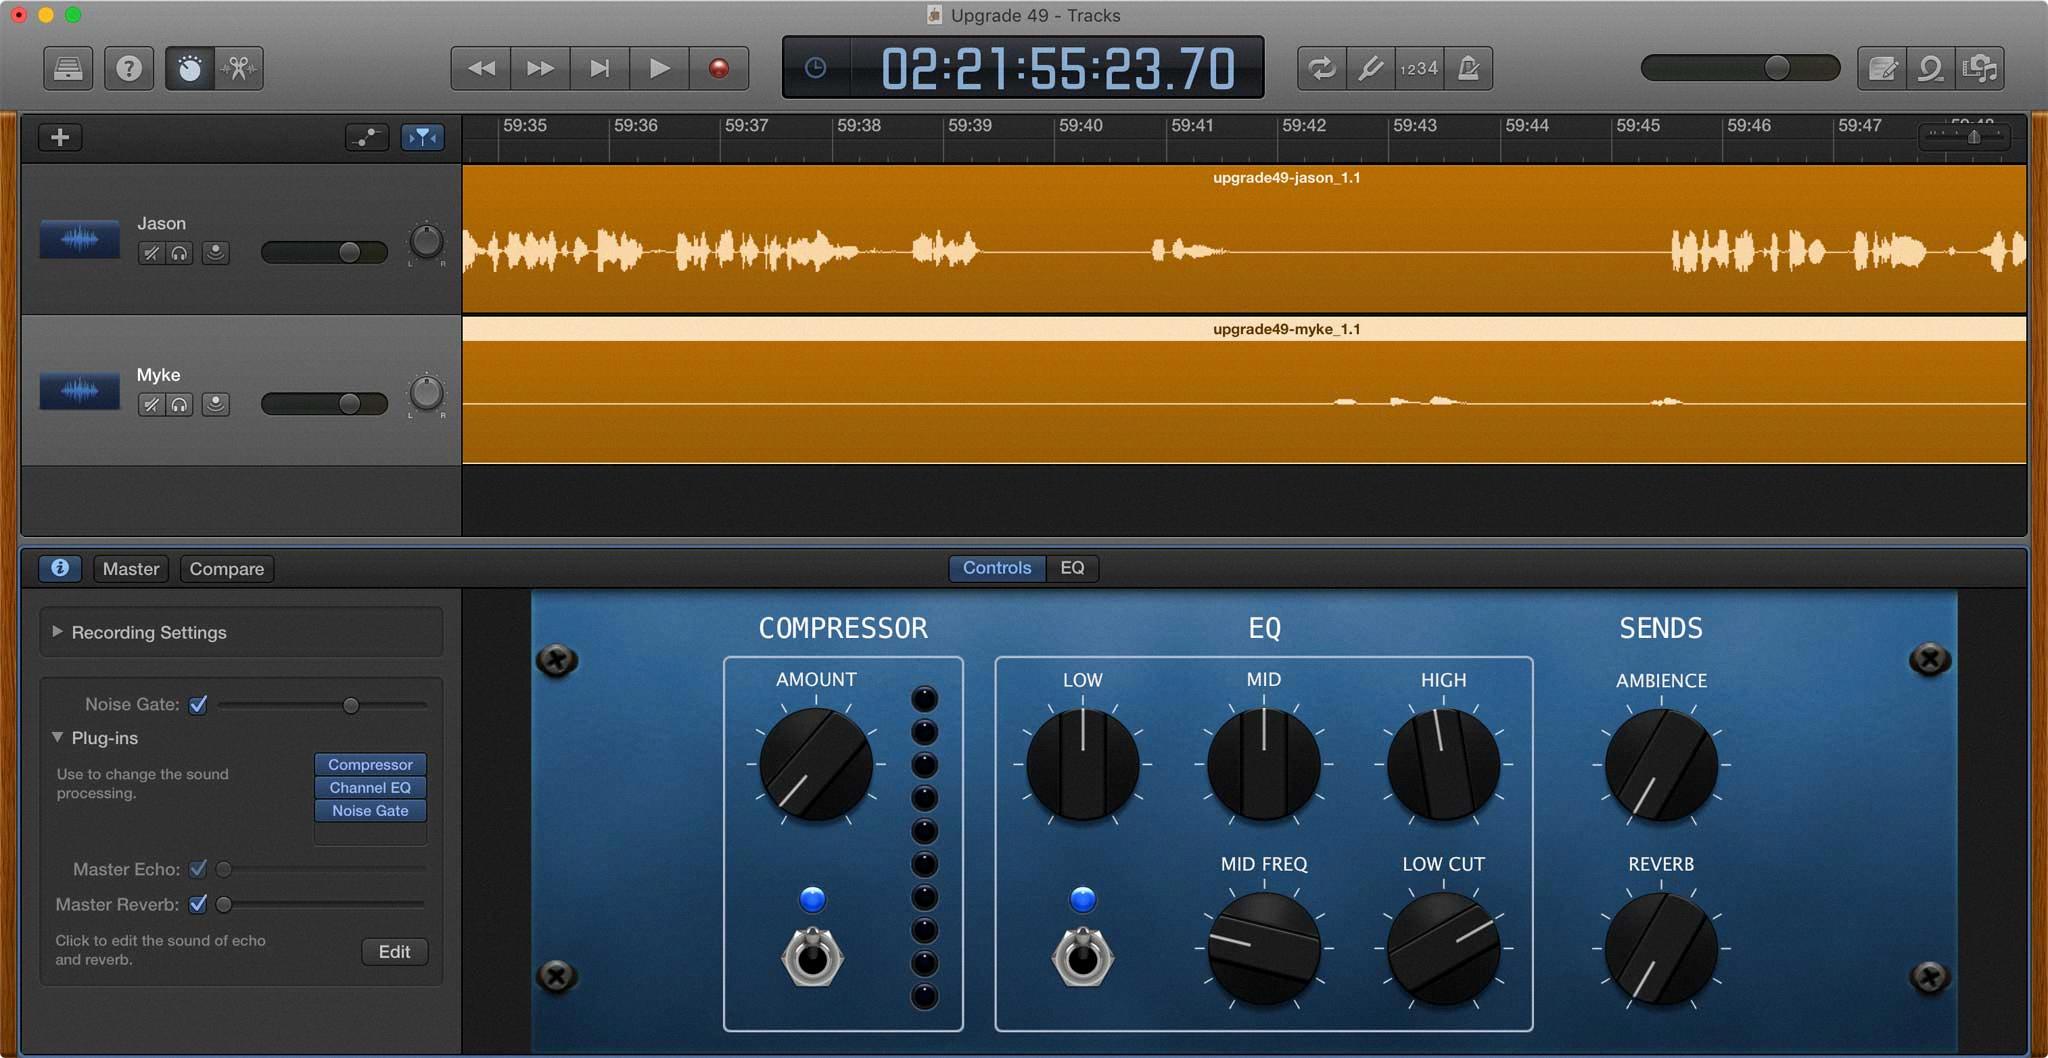
Source: sixcolors.com
Adding a Track to GarageBand
To add a track to GarageBand, open the app and choose Track > New Track (or press Option-Command-N). This will open the New Track dialog, were you can select the type of track you wish to create from the upper part of the window. Depending on the type of track you have chosen, you may also be able to select an input source from the Input pop-up menu. When you are done making your selections, click Create to add your new track.
Mixing and Mastering in GarageBand
Yes, it is possible to mix and master songs in GarageBand. The program provides tools and features that allow you to adjust levels, add effects, and make other adjustments to your music. You can use the equalizer, compressor, reverb, echo and other built-in effects to create a richer sound. Additionally, you can also use automation to fine tune your mix and get the exact sound you’re looking for. Finally, GarageBand also allows you to export your song as an audio file so that you can share it with others or upload it to streaming platforms such as Spotify.
Locating Master Track in GarageBand
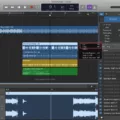
The master track in GarageBand can be found by navigating to the Tracks area and selecting Track > Show Master Track. The master track will appear at the bottom of the list of tracks – below the last track. This track is used to adjust the ovrall volume and balance of your song and is an important tool for refining your final mix.
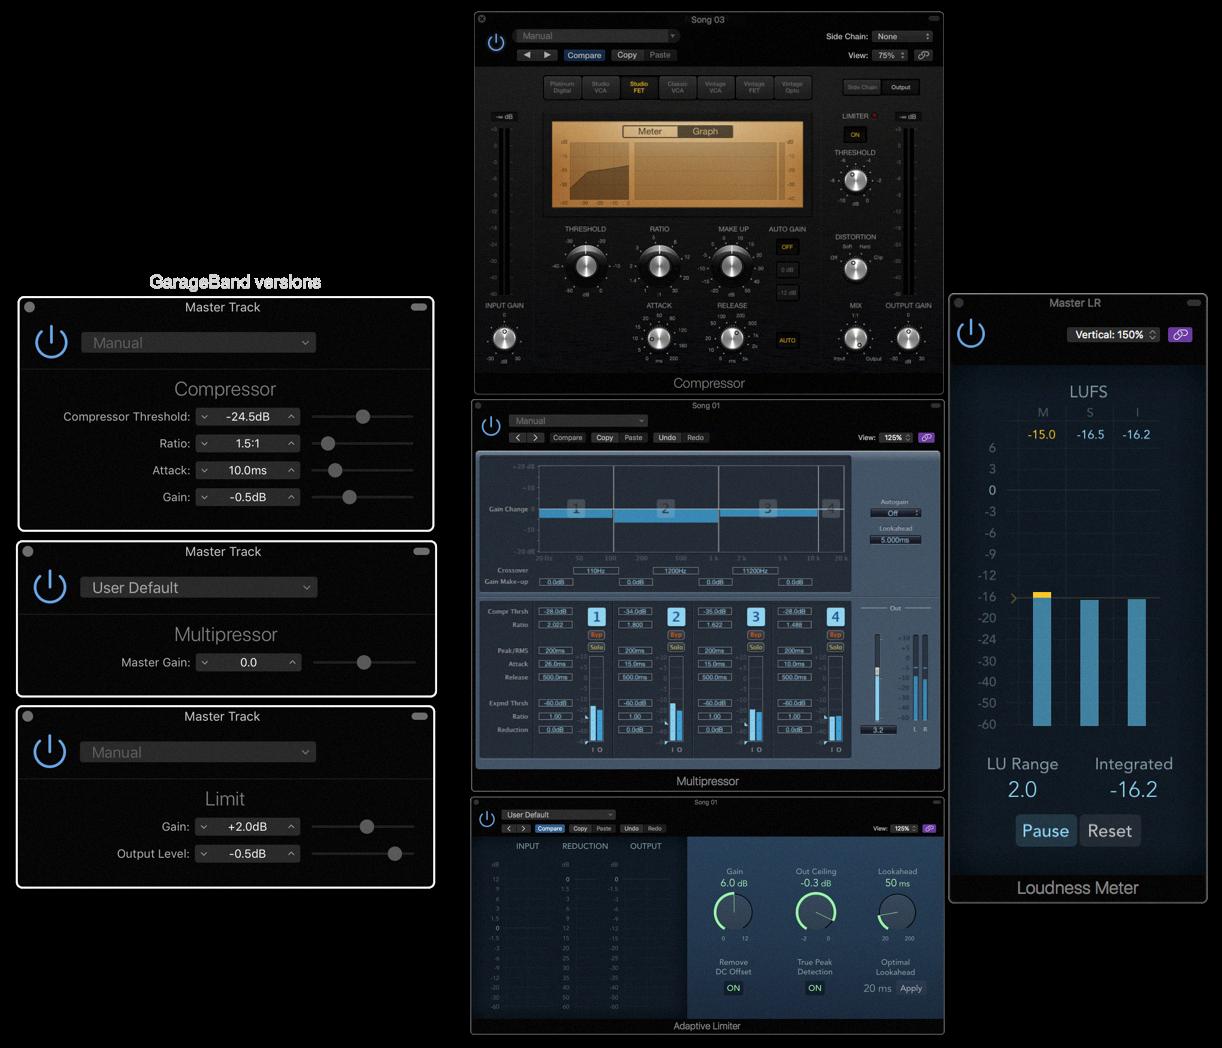
Source: macprovideo.com
Unable to Add Audio Tracks to GarageBand
Unfortunately, tere are several potential reasons why you may not be able to add audio tracks to GarageBand. The most common reason is that you have not enabled the software’s audio input settings. To do this, open GarageBand and go to the Preferences section. In this section, make sure that all of your audio inputs are enabled.
Another potential issue could be that the file you are trying to add is not in a supported format. GarageBand only supports certain types of audio files such as AIFF, CAF, WAV, AAC, Apple Lossless, and MP3. If the file isn’t in one of those formats then it won’t be able to be imported into GarageBand. Lastly, if you downloaded an MP3 from a youtube-to-mp3 converter then it will not work in GarageBand either as these types of files are often corrupt or contain malicious code.
If none of tese suggestions solve your problem then it is likely an issue with your computer or operating system rather than with GarageBand itself.
Exporting a Master Track in GarageBand
To export a master track in GarageBand on Mac, go to the Share menu and select “Export Song to Disk”. This will open a window where you can rename the exported file, choose a location to save it, and select the format (AAC, MP3, AIFF, or WAVE). Once you have made your selections, click the Export button. Your master track will then be exported as a single audio file.
Conclusion
GarageBand is an incredibly powerful and versatile tool for creating music. It has a wide range of features and instruments, making it an ideal platform for producing professional sounding songs. With mastering and mixing, you can bring your GarageBand songs to life and make them sound even better than before. Whether you’re a beginner or experienced musician, GarageBand offers somethig for everyone. Its user-friendly interface makes it simple to navigate and use, and its wide range of features make it an invaluable tool for music production.


