The Macbook Air is a great choice for those who need a lightweight and powerful computer. Not only does it come with a slim design and long battery life, but it also has great features that make it an ideal device for recording audio and video. Whether you’re a musician, podcaster, or vlogger, the Macbook Air can help you get the job done.
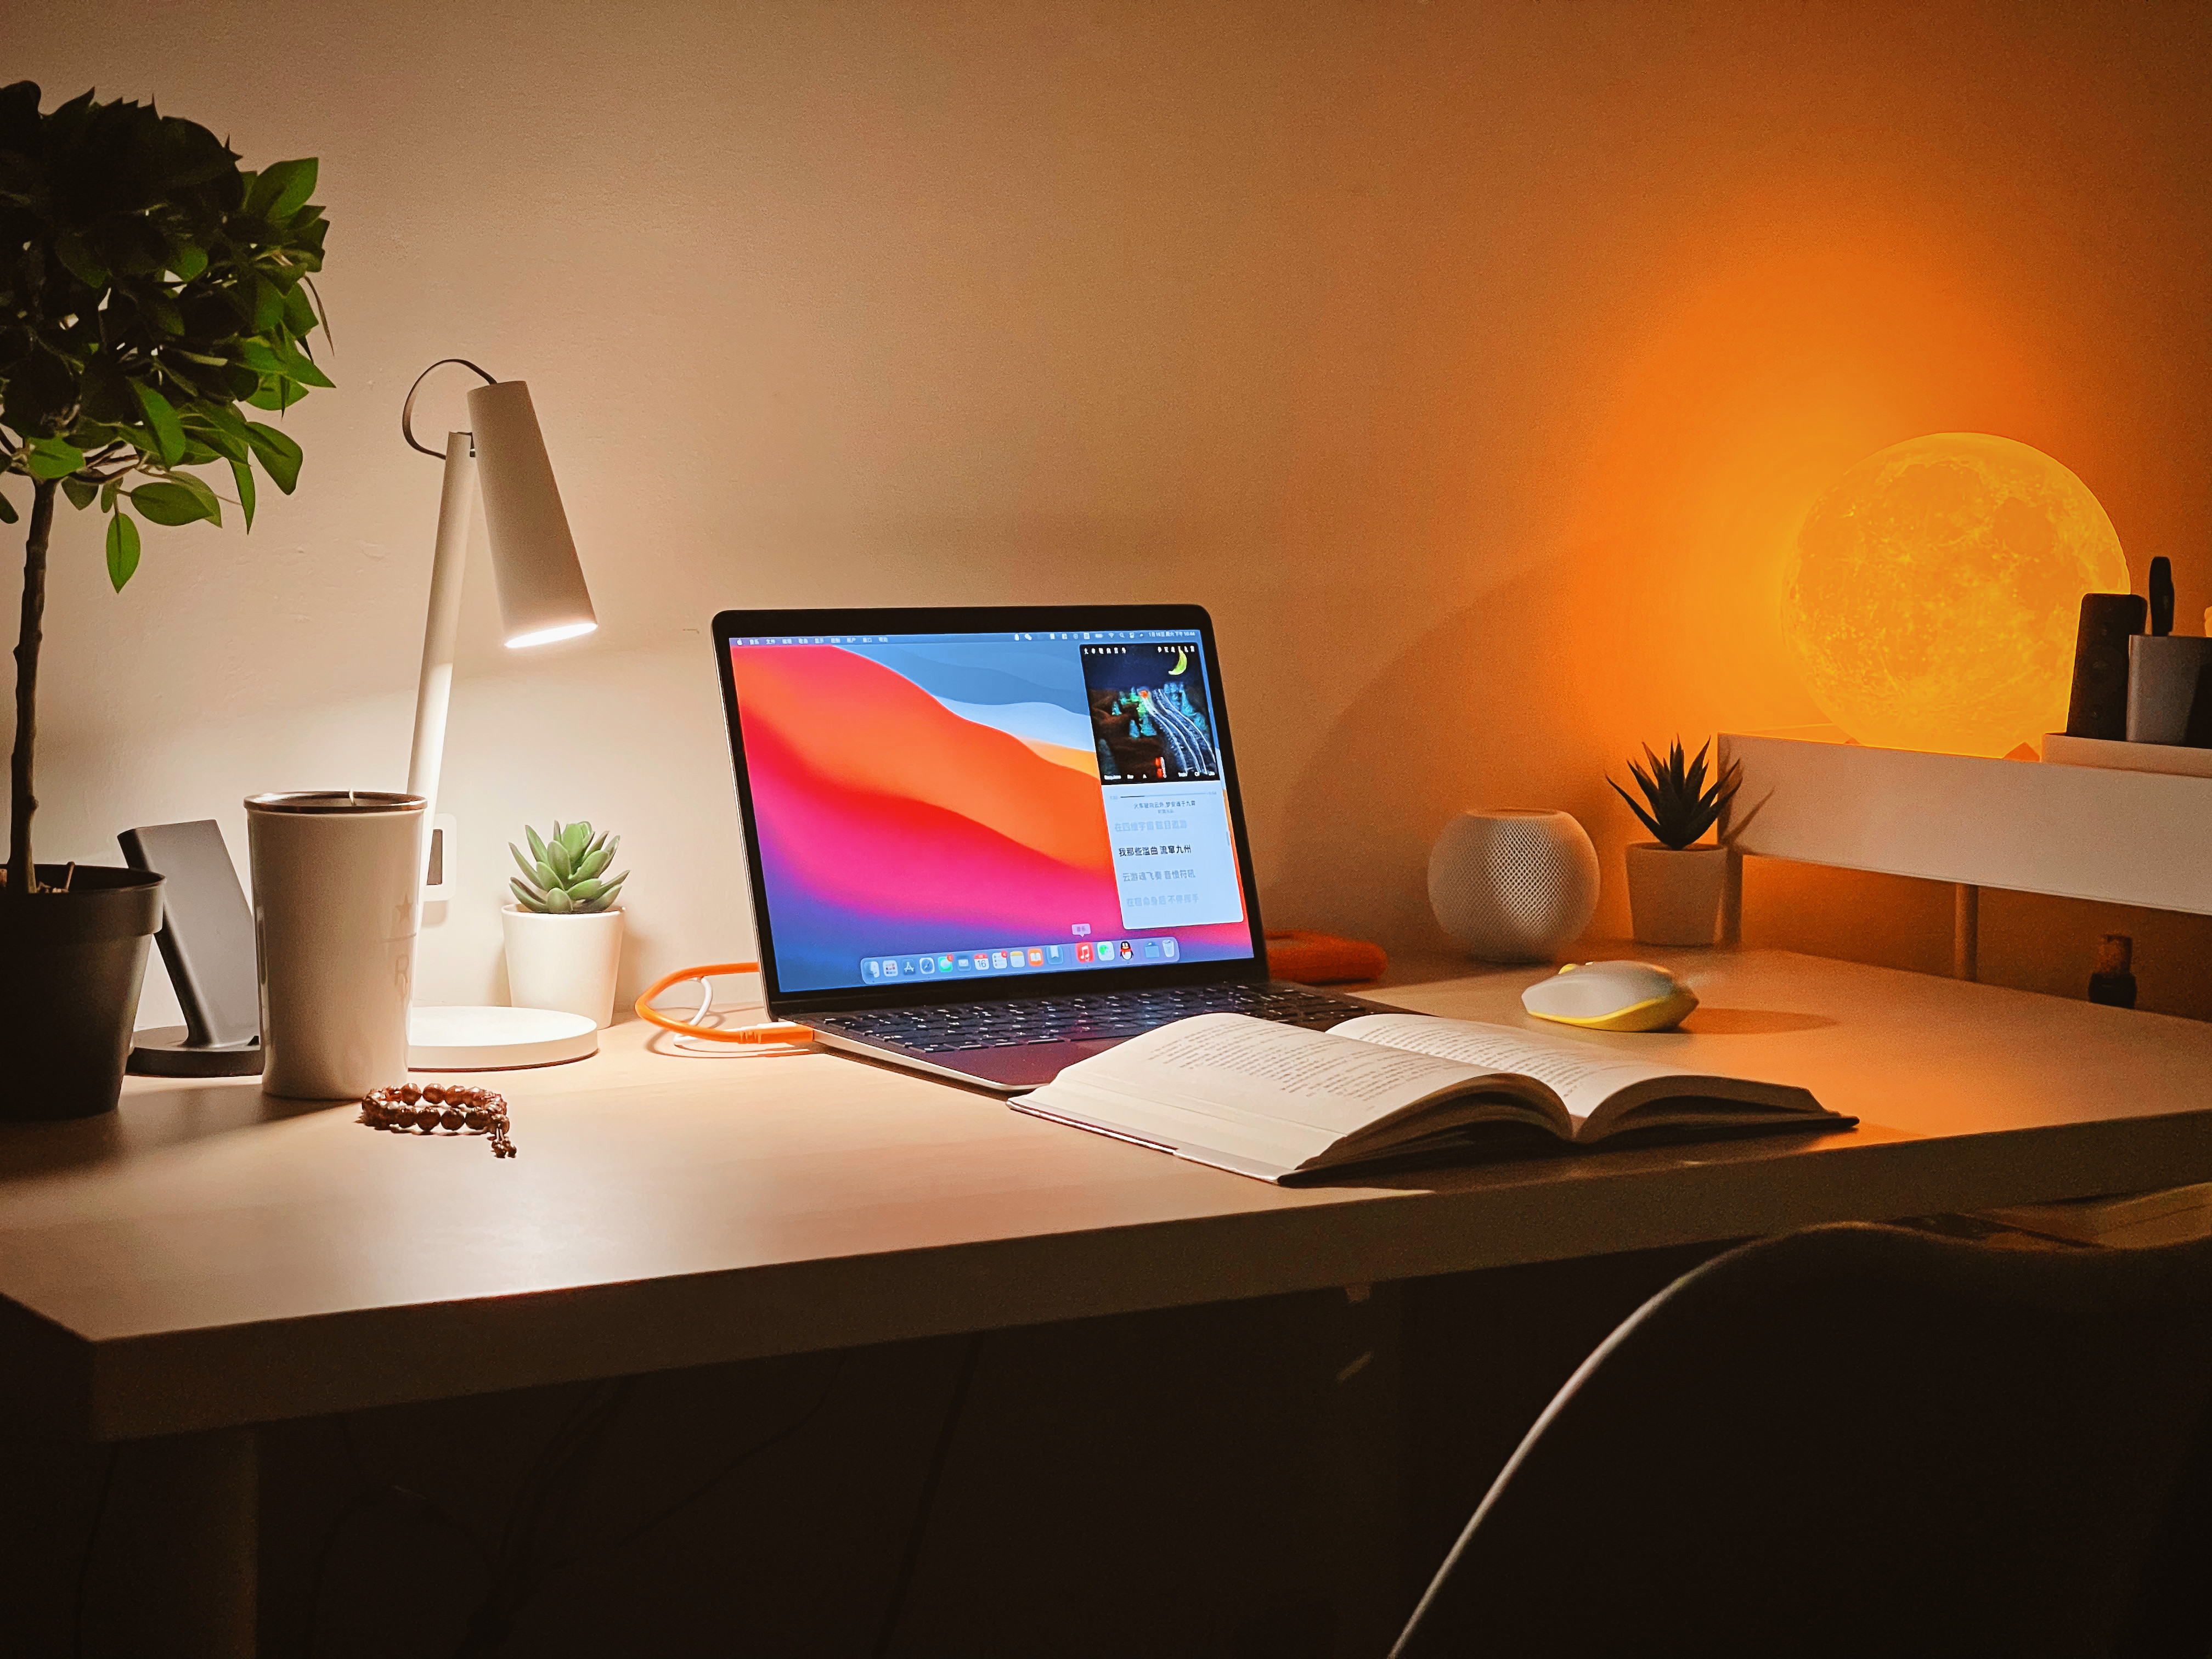
Recording on the Macbook Air is easy to do with its built-in microphone and HD webcam. To record audio on the Macbook Air, you can use the QuickTime Player app. Within this app, choose File > New Movie Recording. You will then see a green light next to your built-in camera and microphone. Press the record button to begin recording, then press stop when finished. If you want to record video on the Macbook Air, you can use the Photo Booth app. From here, click on eiter “View Photo” or “View Video” to get access to the “Record Video” button.
You can also capture screenshots or screen recordings usng Shift-Command-5 (or Launchpad). Choose a tool depending on what type of image or video you want to capture or record (or use the Touch Bar). You can then start recording by pressing the Record Video button in Photo Booth.
Overall, recording on your Macbook Air is easy and efficient – perfect for anone who needs an all-in-one device for audio and video recording purposes!
Recording Video on a MacBook Air
To record video on a MacBook Air, open the QuickTime Player application on your computer. Then select File > New Movie Recording from the menu options. This will open up a new window with recording controls. You will see a green light next to the built-in camera in your Mac, indiating that it is ready to record. Once you are ready to start recording, click the red Record button and begin speaking or performing the task you want to capture in the video. When you are finished recording, click the Stop button, and then choose File > Save from the menu options to save your video file.
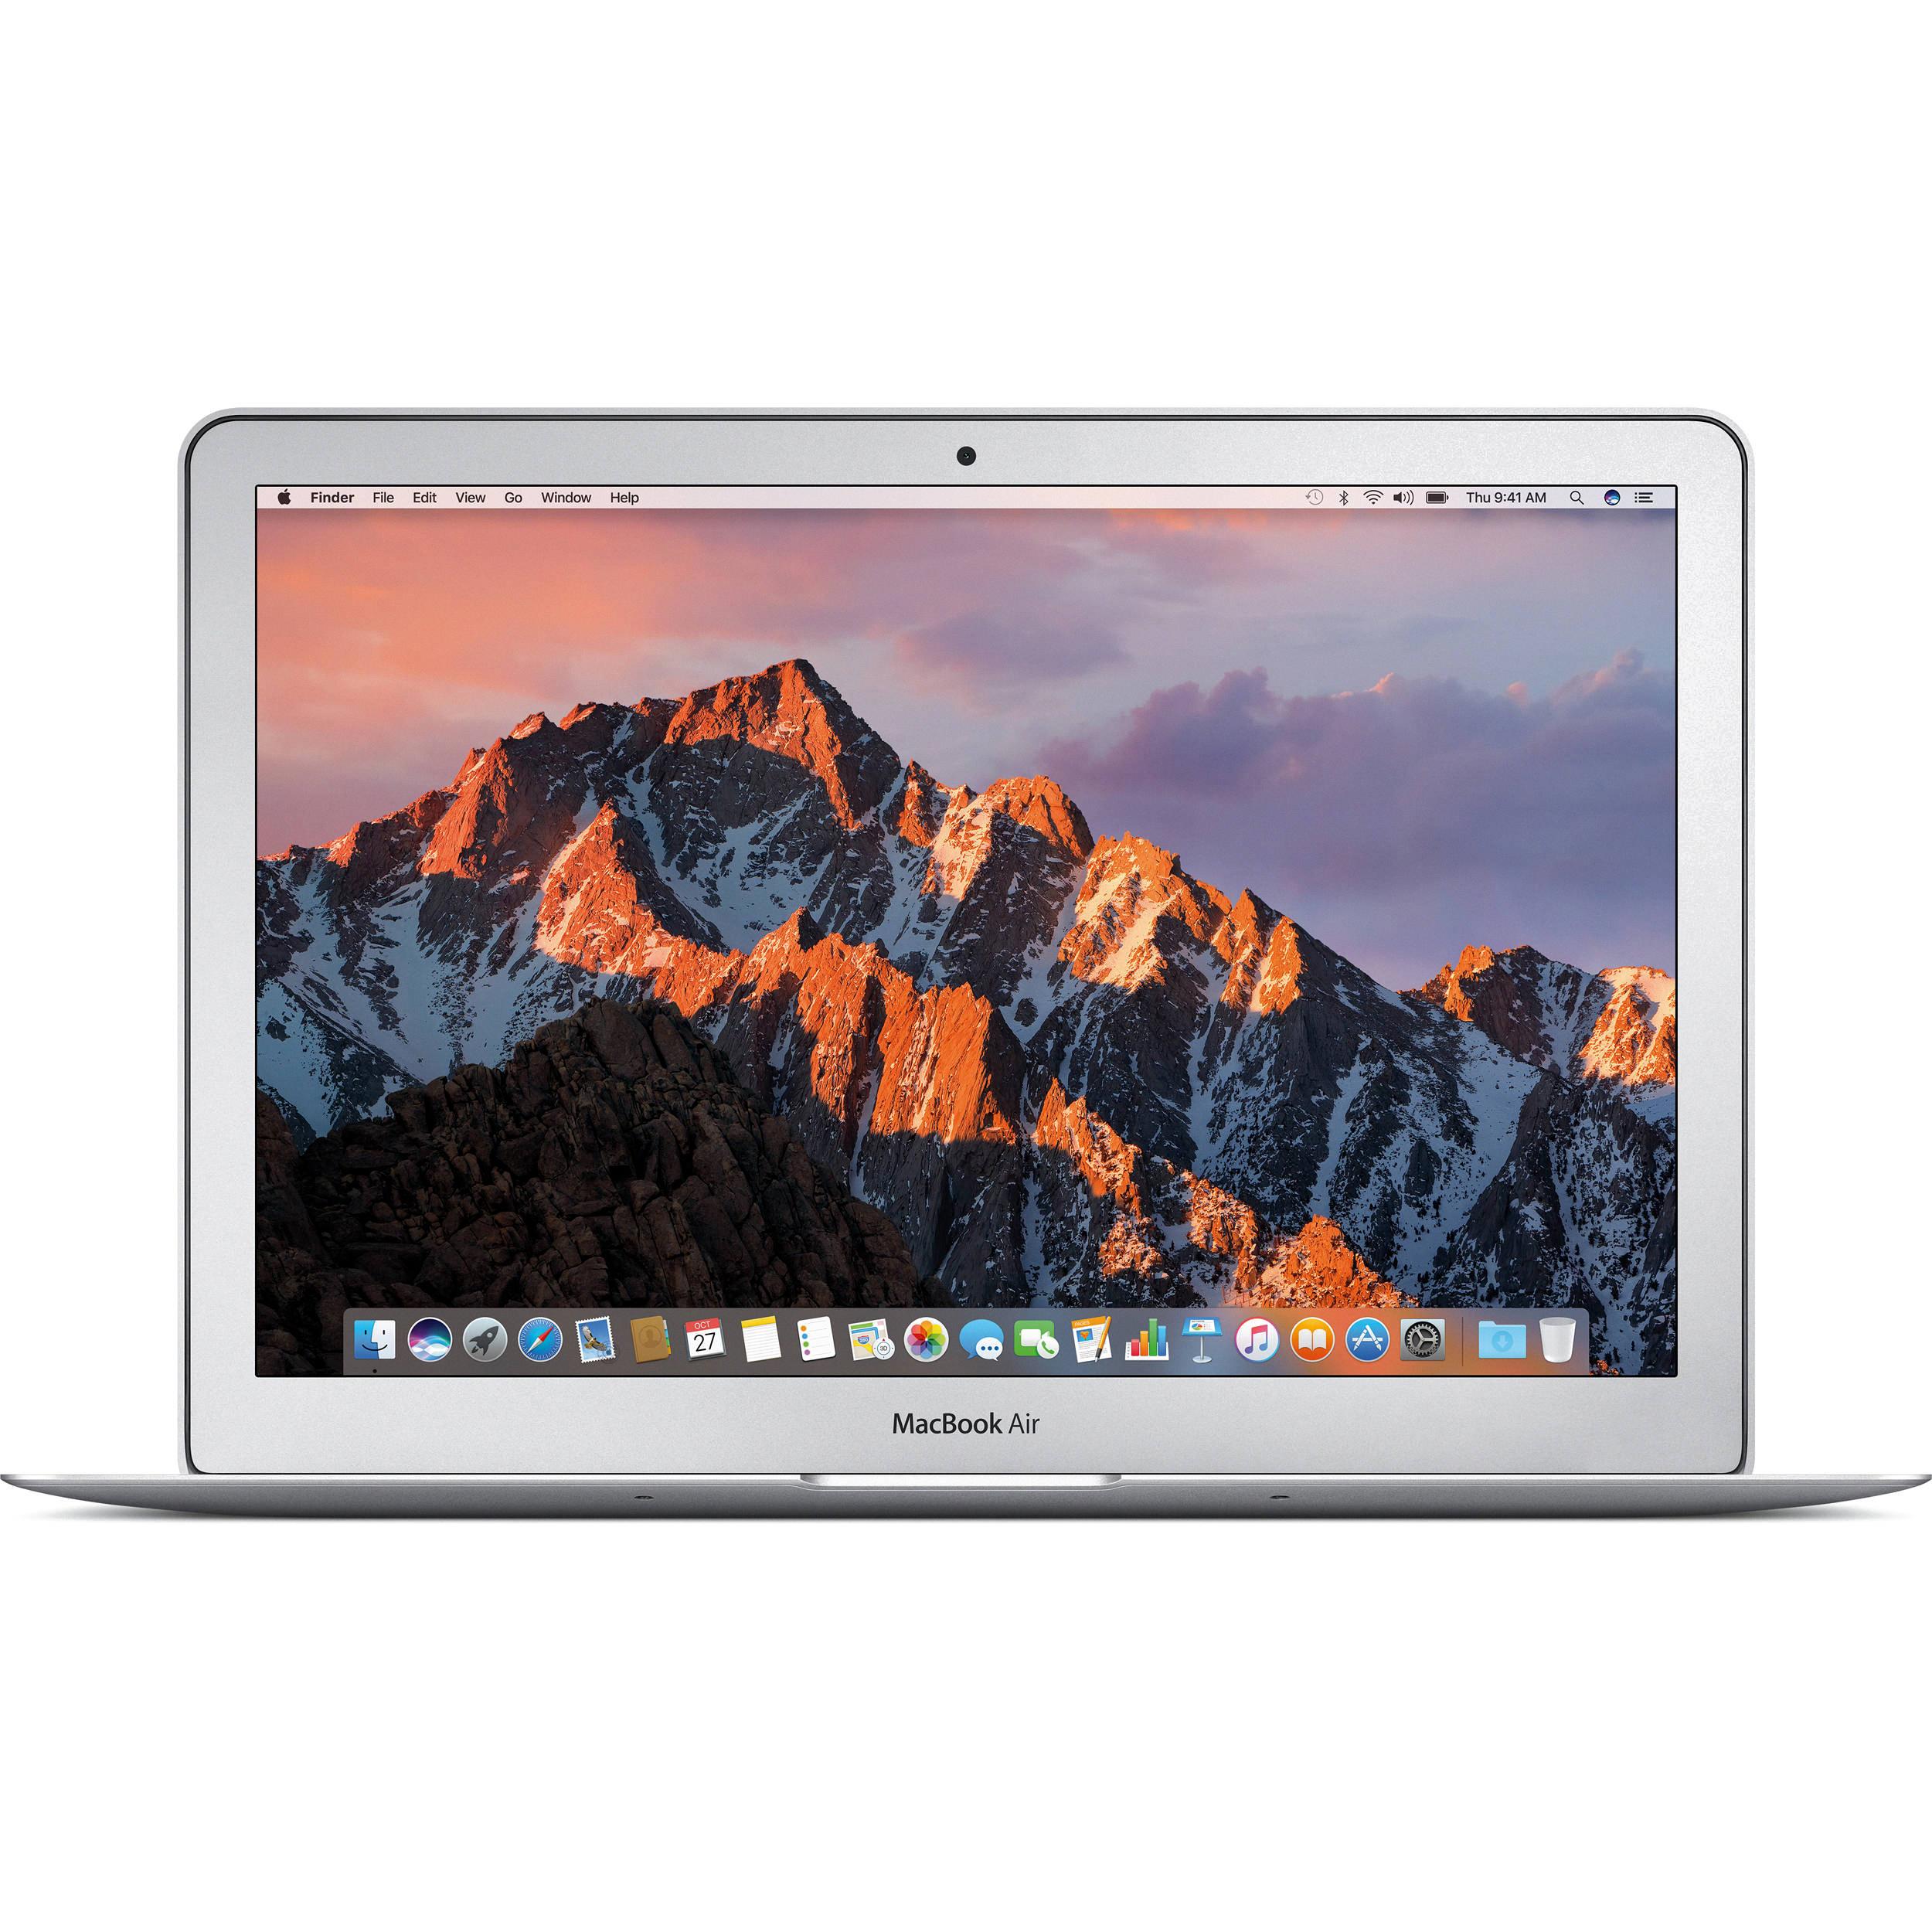
Source: walmart.com
Location of Record Button on MacBook Air
The record button on MacBook Air is located in the menu bar at the top of the screen. To access it, click File > New Movie Recording. Once you have opened the movie recording window, you will see a record button at the bottom of the window. When you are ready to start recording, press this button and your recording will begin.
Does the MacBook Have a Video Recorder?
Yes, MacBooks come with a built-in video recorder. In the Photo Booth app, you can click on the “Record Video” button to start recording a video. You can also adjust the recording settings, such as resolution and file format, to get the best quality video for your needs. With Photo Booth, you can record videos of up to 15 minutes in length and store them directly on your MacBook.
Recording on Mac: What Buttons to Press
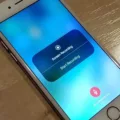
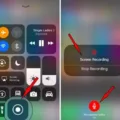
To record your screen on Mac, press Shift-Command-5 (or use Launchpad) to open Screenshot and display the tools. Then click the Record Entire Screen or Record Selected Portion button. You can also click Options to customize your recording settings, such as enabling microphone audio or choosing to show or hide the mouse pointer. Once you have set up the recording parameters, just press the Start Recording button to begin capturing your screen activity.
Is the MacBook Air Suitable for Video Recording?
The MacBook Air is a great choice for video recording and editing, as long as it has the necessary specs. It has an 8th or 9th-generation Intel Core processor with Turbo Boost up to 3.2GHz, which provides plenty of power for most activities. Additionally, it offers 8GB of RAM, which can be upgraded to 16GB for more intensive tasks. The laptop also has a 256GB SSD, which is enogh storage to store your media files and projects. In terms of ports and connectivity, the MacBook Air offers two Thunderbolt 3 ports, which support up to 40Gbps data transfer speeds and up to four displays per port. Lastly, the laptop has a 13-inch Retina Display with True Tone technology that will make your recordings look sharp and vibrant. All in all, the MacBook Air is a great choice for video recording and editing tasks.
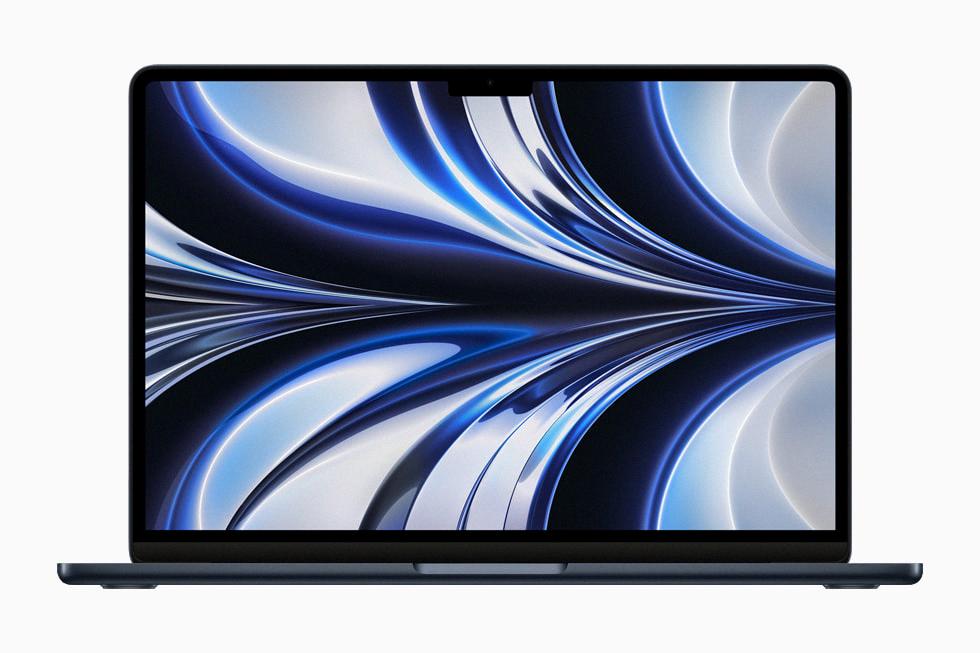
Source: apple.com
Recording Audio and Video on a Mac
To record audio and video on a Mac, start by opening QuickTime Player and selecting “File” > “New Screen Recording”. Next, you’ll need to choose the microphone you wish to use for the recording. You can do this by clicking the small arrow next to the Record button. Once you’ve made your selection, click the Record button to begin capturing both audio and video from your Mac. When you’re finished, simply click Stop Recording in QuickTime Player. Your screen recording will be saed as a file on your computer that can be viewed or shared at any time.
Turning On a Mac to Record
To turn on screen recording on a Mac, open your System Preferences by clicking the Apple menu at the top left of your screen. Then, click Privacy & Security > Screen Recording. You’ll see a list of apps that are allowed to record your screen. Select any apps you want to authorize and turn them on. Once you’re done, click the lock icon in the bottom left corner to save your changes. Now, when you launch tose apps, they will be able to record your screen.
Unable to Record on Mac
There could be several reasons why you cnnot record on your Mac. Firstly, you may need to enable microphone access for the app you are trying to record with. To do this, go to the Apple menu ? > System Preferences > Privacy & Security and click Microphone. Make sure the setting is enabled for the app that needs access to your mic.
Secondly, check that your mic is connected properly and working correctly. If it is an external USB mic or audio interface, make sure it is plugged in securely and try a different port if possible. You can also test it with a different device or try connecting a different mic to see if the issue persists.
Thirdly, make sure your sound settings are correct. Go to System Preferences > Sound and select Input tab at the top of the window. Make sure that the correct input source is selected (e.g. Built-in input or USB Mic).
Finally, if all else fails, there may be an issue with your Mac’s hardware or software that might require repair or reinstallation of macOS.
Maximum Recording Time of a Mac Video
A Mac computer can record video for as long as you have the hard drive space to save it. There is no limit to how long a video can be recorded provided that the computer has enough storage capacity. When recording, it is important to note that the longer the video, the more space it will take up on the hard drive. Additionally, depending on whether you are recording in 4k or 1080p resolution, higher quality videos will require more storage space than their lower resolution counterparts.
Are Macs Suitable for Recording?
Yes, Macs are excellent for recording. The MacBook Pro is a particularly powerful machine that provides professional-grade capabilities for music production. It is the ideal computer for recording and editing audio with Logic Pro X, Apple’s popular music production software which has been optimized for the M1 chip included in the MacBook Pro. The MacBook Pro also features an impressive Retina display, ample RAM and fast storage, and excellent connectivity options. Additionally, its portability makes it a great choice for musicians who need to take thir recording setup on the road and record in different locations. Ultimately, the MacBook Pro is an exceptional option for any musician or audio engineer looking to record high-quality audio.
Shortcut Key for Recording
The shortcut key for record depends on the mode you are in. In Basic Mode, the shortcut key is CTRL+ALT+C. In Extended Mode, the shortcut key is CTRL+B.

