Are you looking for an easy way to set up your Google Fi phone with eSIM? You’ve come to the rght place! We’ll explain everything you need to know about setting up your phone with eSIM and what you can do with Google Fi after activation.
ESIM stands for embedded SIM, and it’s a new technology that eliminates the need for a physical SIM card. With eSIM, all you need is the Google Fi app, a compatible Pixel or iPhone device, and access to Wi-Fi. Once you’ve set everything up, your phone will be ready to make calls, send texts, and use data both in the US and abroad. Here’s how to get started:
1. Activate your Google Fi account and make sure you have access to Wi-Fi.
2. Download the Google Fi app from Google Play or open it on your device if it’s already installed.
3. Sign in with the same Google Account you used to sign up for Fi. When asked to activate Google Fi, tap “Continue”.
4. Open Settings on your phone and tap Network & Internet.
5. Tap the plus button next to SIMs, then select “Download a SIM instead” at the bottom of your screen.
6. Tap “Next” then scan your QR code when prompted; this code shoud have been sent via email when you signed up for Google Fi service.
7. Once your code has been confirmed, tap “Done” to complete your eSIM activation and start using Google Fi services!
Setting up an eSIM-equipped device is easy once you know what steps are involved! And remember that once activated, you can use it for calls, texts, and data both in the US (territories not included) as well as abroad — no physical SIM card required! So take advantage of this great feature today by geting started with eSIM setup on your Pixel or iPhone device today!
Understanding How Google Fi ESIM Works
Google Fi’s eSIM feature allows you to set up your phone wthout the need for a physical SIM card. Simply tap a button on your compatible Pixel or iPhone® device and you’ll be ready to go. You don’t have to worry about inserting a physical SIM card or waiting for one to arrive in the mail. With Google Fi’s eSIM, you can quickly and easily set up your phone and start using it right away. Plus, setting up with eSIM eliminates the need to switch out SIM cards when you travel abroad—simply select the country in which you’re traveling and connect automatically!
Does Google Fi ESIM Work Internationally?
Yes, Google Fi eSIMs work internationally! When you activate a Google Fi eSIM and use Fi in the US (including Puerto Rico and the US Virgin Islands), you can use your phone for calls, texts, and data outside the US. Depending on your device’s capabilities, you may be able to connect to a local carrier’s network in many countries around the world. To get the most out of your plan whle traveling abroad, join the Google Fi International Data Plan for just $10/GB. This plan gives you unlimited data at 3G speeds in over 135+ countries and territories, with no extra fees or contracts.
Setting Up ESIM with Google Fi
To set up eSIM with Google Fi, you’ll need to have access to a Wi-Fi connection. Once that’s taen care of, open the Google Fi app (or download it from Google Play if you don’t have it yet). Sign in using the same Google Account you used when signing up for Fi. When prompted to activate your Google Fi plan, tap Continue. Your phone should now be ready for activation. You’ll be asked to confirm your wireless number and accept the terms and conditions of service. Once you’ve done this, your eSIM will be set up and ready to use!
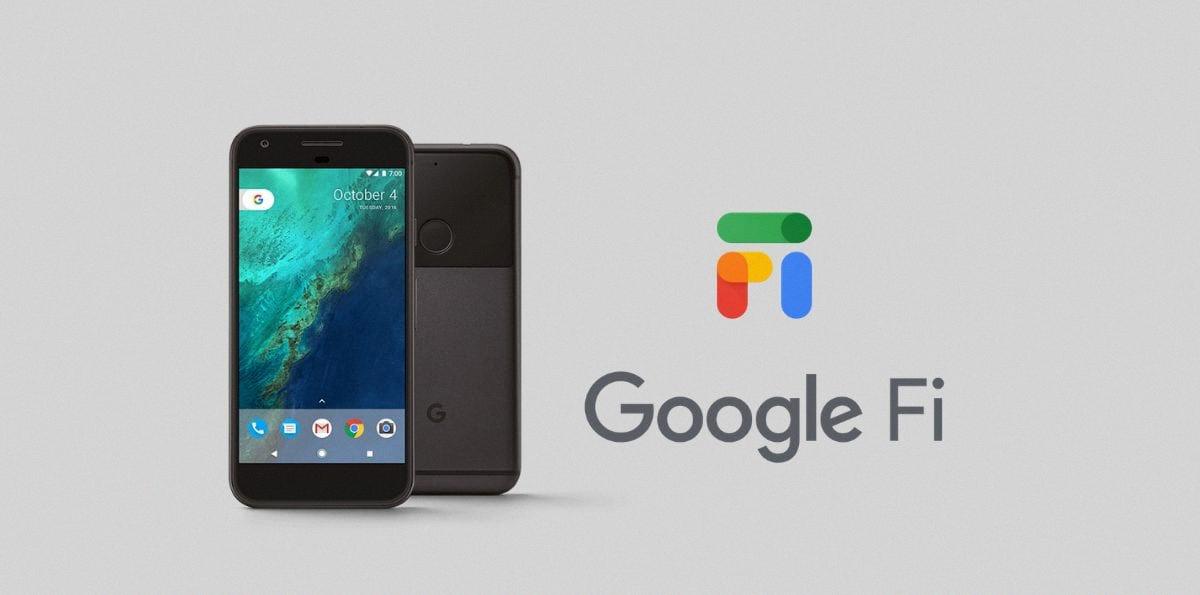
Source: thriftytraveler.com
Activating an ESIM
To activate your eSIM, start by opening the Settings menu on your Android device. Then tap on Network & Internet. You should see an option to “Add a SIM card” or “Download a SIM instead” at the bottom of the page. Tap on “Download a SIM instead” and then scan the QR code povided with your eSIM package. Once the code is confirmed, tap “Done” to finish activating your eSIM. You can then select this new eSIM as an active line in your Network & Internet settings so that you can use it for data and voice services.
Setting Up an ESIM Manually
1. Start by ensuring your device is compatible with eSIM technology and that you have an active eSIM plan from your wireless carrier.
2. After verifying compatibility, go to Settings on your device and select Network & Internet.
3. Tap the Add or + icon next to Mobile Network, then tap Next when asked, “Don’t have a SIM card?”
4. Turn on eSIM uner Mobile Network and enable Mobile Data, if necessary.
5. Select “Scan QR Code” from the list of options, or select “Manual Setup” to enter all the relevant informaion about your eSIM plan manually (e.g., carrier name, account number).
6. If you chose to scan a QR code, use the device’s camera app to scan the provided code into the setup screen in order to automatically fill in all of the necessary information aout your eSIM plan.
7. Finally, review all of your settings and select Activate Now if everything loks correct. Your new eSIM should now be properly set up and ready for use!
Obtaining an ESIM QR Code
To get an eSIM QR code, you need to contact your wireless carrier or retailer. Depending on the carrier, you may be able to get the QR code online, over the phone, or in a store. You will need to provide some personal information and/or proof of identity in order to activate your eSIM. Once you have the QR code from your carrier, you can then use it to set up your iPhone with the eSIM.
Does ESIM Automatically Activate?
Yes, eSIMs can activate automatically when activating an iPhone over Wi-Fi or cellular. When activating an iPhone, the eSIM will be automatically installed if your cellular carrier supports eSIM Carrier Activation. This means there is no need to use Mobile Device Management (MDM) to install the eSIM duing initial setup.
Activating ESIM Without a QR Code
Yes, you can activate an eSIM without a QR code. To do so, simply download the Ubigi app and follow the step-by-step guide for activating an eSIM on Android devices. This guide will provide all of the necessary information and instructions to complete the activation process. It is important to note that while some carriers may require a QR code as part of thir activation process, Ubigi does not require one.
Do QR Codes Provide Benefits for ESIM?
Yes, you do need a QR code to use an eSIM. The QR code is provided by the cellular service provider, and it contains all of the information needed to activate your eSIM. To use the eSIM, you’ll need to scan the QR code usng either your camera or settings app (depending on your device’s operating system). On iOS devices, open the camera app and scan the QR code; on Android devices, go to the device settings, then Network & Internet and scan the provided eSIM QR code. Once scanned, follow any additional instructions that may be given to complete activation.
Conclusion
In conclusion, Google Fi’s eSIM setup is a quick and easy way to get your phone up and running. With just a few taps, you can activate your account and start usng your phone for calls, texts, and data without a physical SIM card. To set up eSIM on your Android phone, simply open the Google Fi app or download it from Google Play, sign in with the Google Account you used to sign up for Fi, scan the QR code that appears in the app, and tap Done to complete your activation. With eSIM setup on Google Fi, you can get started with your new phone right away.


