Creating MIDI Regions in GarageBand is a great way to add an extra layer of creativity and complexity to your compositions. Whether you’re creating a simple beat or a full-fledged symphonic piece, MIDI Regions offer a variety of possibilities. Here’s how to create MIDI regions in GarageBand.
First, open the Tracks area of your project and select the software instrument track you want to record on. Then set the input source for that track by clicking the Input pull-down menu in the Track Info area at the bottom of the window. You can choose from any connected MIDI device, including keyboards, drum pads, or external synthesizers.
Next, hit Record in the Transport bar (the bar at the top of the screen) and start playing your part on your selected MIDI device. Once you’re finished recording, stop playback and hit Stop in the Transport bar. This will create a new MIDI region from what you just recorded.
If you want to edit this new region further, double-click it with your mouse to open up its Region editor window. Here you can adjust velocity values for each note as well as apply effects like reverb or delay that will be applied only to this specific region.
You can also copy and paste multiple copies of a single MIDI region into different parts of your arrangement if needed by dragging them around with your mouse while holding down ? + Option keys together on Mac or Ctrl + Alt keys together on Windows computers. This is great for creating variations on a single part without having to re-record it each time!
Once you’ve finished editing all your MIDI regions, save them as one collective file by selecting File > Save As… from the menu bar and giving it an appropriate name like “My Project Name -MIDI Regions” before pressing Save. Now you have all your regions saved safely for future use in oter projects!
Understanding MIDI Regions in GarageBand
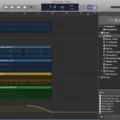
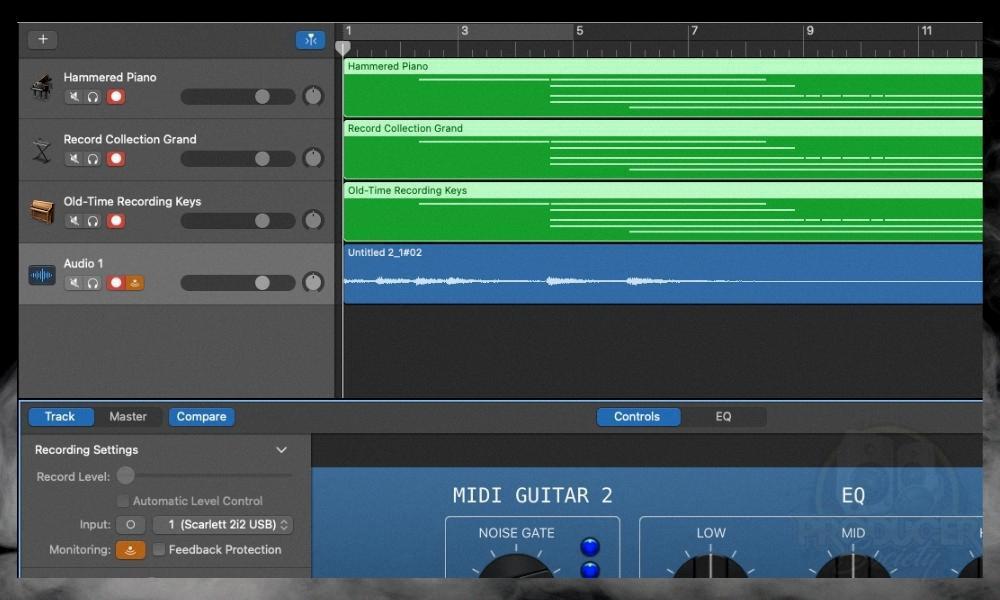
A MIDI region in GarageBand is a green rectangular region that represents a MIDI recording, software instrument recording, software instrument Apple Loop, or an imported MIDI file. MIDI regions contain musical data such as note pitches, note lengths, and other performance information. This data can then be edited using the Piano Roll editor or Score Editor to change the notes and performance of the recorded part.
Creating a Region in GarageBand
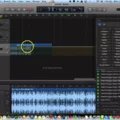
Creating a region in GarageBand is easy. First, open the Drummer track you want to create a region for. Then, Command-click at the point in time where you want the region to start. To complete the process, Control-click the Drummer track and choose Create Drummer Region from the shortcut menu. This will create a new region with a starting point at the time you chose. You can then adjust the length of this region by dragging your cursor over it or by using oher editing tools in GarageBand.
Splitting a Region in GarageBand
Yes, you can split a region in GarageBand. To do this, select the audio region you want to split, then position the playhead whre you want to split the audio region. Finally, use Edit > Split Regions at Playhead (?T) to split the region into two separate audio regions.
Creating a MIDI Region
Creating a MIDI region in Logic Pro is a straightforward process. First, make sure the software instrument track you’d like to create the MIDI region on is selected. Then, Control-click the track, and choose Create MIDI Region from the shortcut menu that appears. This will create an empty MIDI region in the Tracks area of your project window. You can then double-click on the region to open up the Piano Roll Editor and begin entering notes or use step input to add notes manually. Once you have added notes, you can adjust teir length, velocity, and other parameters as needed. When you are finished editing your MIDI region, you can drag it around in the Tracks area to move it within your project or even copy and paste it into other sections of your arrangement.
The Benefits of Using GarageBand for MIDI Production
Yes, GarageBand is a great choice for MIDI. It is easy to use and has many features that make it suitable for creating music with MIDI controllers. For example, its intuitive interface makes it easy to assign and record MIDI data, while its virtual instrument library provides a wide range of sounds to choose from. Additionally, GarageBand supports most popular hardware controllers, allowing you to control the software’s parameters with real-time control. Thanks to its extensive compatibility and intuitive design, GarageBand is an excellent choice for those who want to create music with their MIDI controller.
Editing Individual Regions in GarageBand
To edit individual regions in GarageBand, firt select the region you want to edit by clicking on it. You can then move the region by clicking and dragging it to a new location. You can also adjust its length by clicking and dragging one of its edges, or use the Trim tool to trim an audio region. To access the Trim tool, place your pointer over the lower-left or lower-right edge of the region; the pointer will change to a Trim pointer. You can also double-click on a region to open up its settings window, where you can adjust volume, pitch, panning, and more.
Combining MIDI Regions
To combine MIDI regions in Logic Pro, start by selecting the MIDI regions you want to merge on each track (by Shift-clicking, dragging, or usig Command-A). Then go to Edit > Bounce and Join > Join per Tracks (or use the Merge Regions per Tracks key command). This will combine all selected regions into one region on each track. The newly combined regions will be located at the end of your project and can be moved around just like any other region.
Source: producersociety.com
Gluing Regions in GarageBand
In GarageBand, you can glue regions togeter to create longer sections. To do this, simply select the two or more regions that you want to combine and press the Command + J keys on your keyboard. This will create a new region that combines all of the selected regions into one larger section. You can also use this technique to move multiple regions around at once; just select the regions you want and press Command + J, then drag the new combined region around however you desire.
Conclusion
In conclusion, creating MIDI regions in GarageBand is a great way to add more complexity and variety to your audio recordings. By using the Join Regions and Split Region commands, you can easily manipulate existing MIDI regions or create new ones from scratch. With tese tools, you can make your music sound exactly how you want it, giving you full creative control over your audio recordings.

