When you purchase AirPods, it’s important to ensure they are genuine. You can do that by checking the AirPods’ Apple registration.
In this article, we will show you how to verify that your AirPods are registered and genuine. We will also show you how to “register” and link your AirPods with your Apple ID, so you can find them if they get lost and prevent thieves from using them.
If you are planning to buy a pair of AirPods, or if you recently purchased AirPods, this article is a must-read.
Verifying the Authenticity of AirPods
Before you purchase a pair of AirPods, you should check if they are real AirPods by authenticating the AirPods’ serial number. If you recently purchased a new pair of AirPods, it’s also important to verify their authenticity.
That way, you can identify counterfeit AirPods and avoid buying them. If you did buy them, it will give you a chance to return them and request a refund.
The easiest way to verify the authenticity of AirPods is to check if the serial number is registered with Apple.
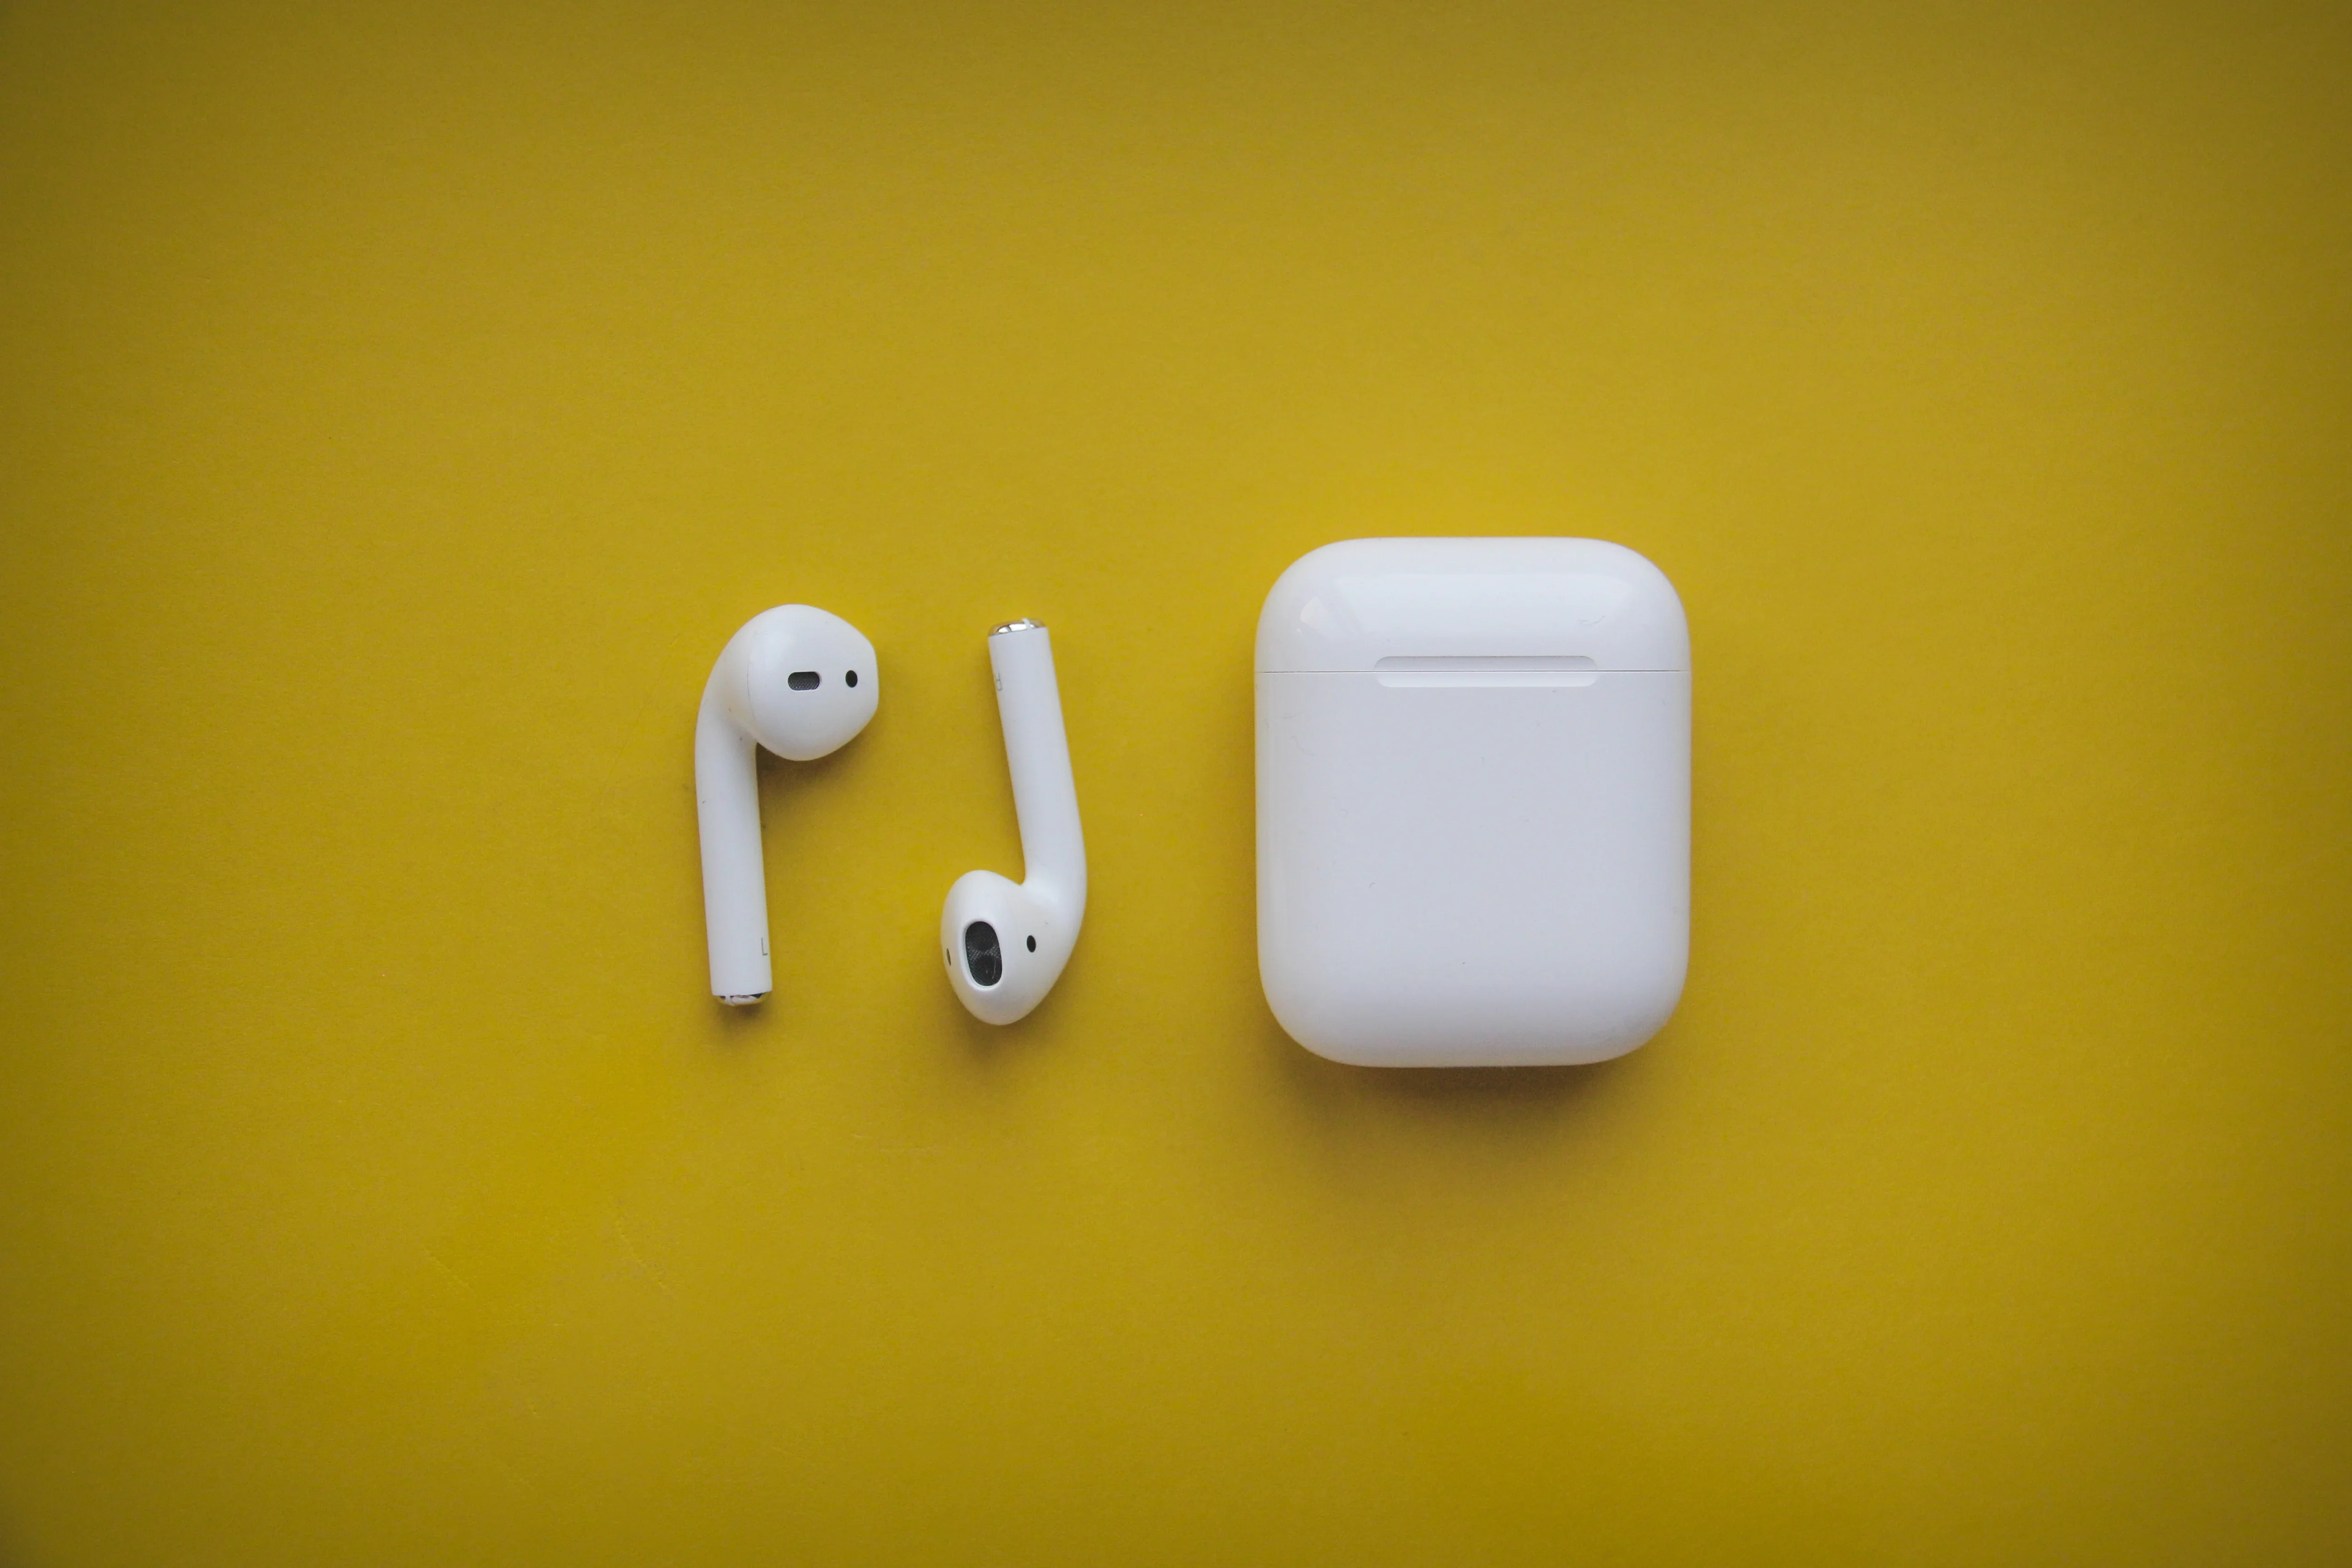
You can usually find the serial number on the packaging of the box in which they are sold. However, you can also find them on the AirPods case or on the AirPods themselves. The serial number may be printed on the underside of the lid of your case, so you might not see them on the outside of your case. They may be printed in small letters, so look closely.
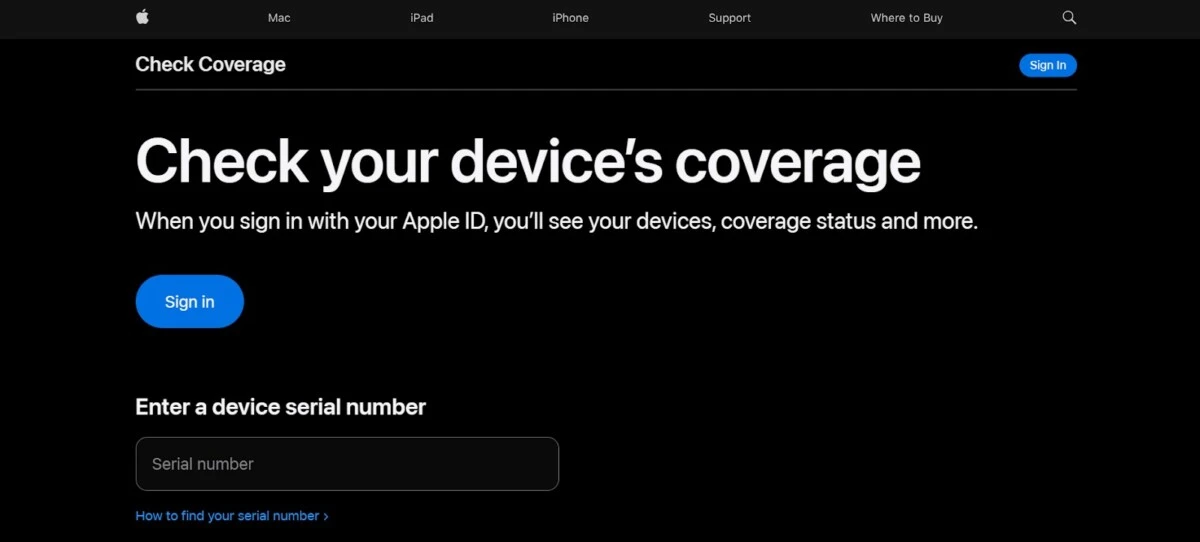
Once you have found the serial number, enter it into Apple’s Check Coverage tool. If they are genuine, they will appear, and you will also see the purchase date and warranty information. Make sure that the purchase date is correct. Note that if you purchased the AirPods from an unauthorized reseller – for example, from an eBay seller – you may see the purchase date when they purchased the AirPods, not when you did.
You should also look out for other telltale signs that your AirPods might not be real:
- The serial number on the box’s packaging does not match the serial number on the AirPods case or the AirPods themselves.
- The box is missing its original seals, or the seals are broken.
- The box is missing the warranty card.
- The box or product information contains spelling errors.
Another way to check if your AirPods are genuine – and this is the best way – is to simply try connecting them to your phone. If you have iOS 16 or later, you may get a message saying that the AirPods could not be identified as genuine.
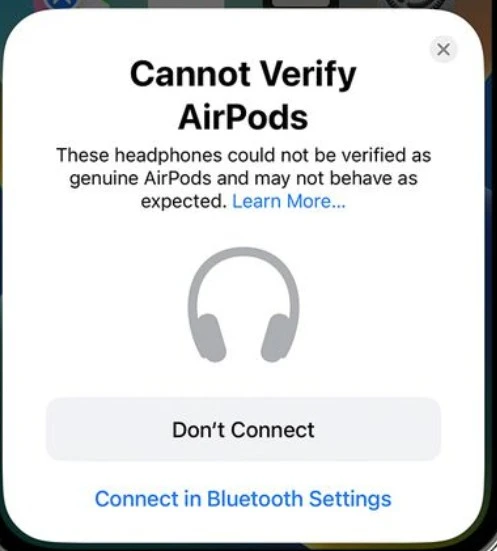
This won’t work on earlier versions of iOS, though. However, even on earlier versions of iOS, you can sometimes check if the AirPods are fake – if you find yourself needing to connect the AirPods through Bluetooth instead of your iPhone automatically detecting your AirPods, they are not genuine.
If you get that message, it means the AirPods were not made by Apple and are thus not registered with Apple.
What to Do If AirPods Are Not Registered
If your AirPods do not show up when you perform a serial number check with the Check Coverage tool, or if you get a warning message saying that your iPhone cannot verify the authenticity of your AirPods, your AirPods are probably fake.
In that case, you should return them to the seller, if possible. If you purchased them on a platform like Amazon or eBay, you may be able to request a return. If you purchased them in a physical store, like Best Buy or Walmart, bring them back and show them that it is not authentic.
If they refuse to give you a refund, and you purchased the items with your credit card, you may be able to file a chargeback for the item. Include evidence that the AirPods are not authentic. That may include screenshots of the message you got or of the Check Coverage site indicating that the AirPods are not authentic.
How Are AirPods Linked to an Apple ID?
If your AirPods are authentic, and you can connect them directly to your iPhone, your AirPods will be linked to your Apple ID automatically. There is no need to manually connect your AirPods to your Apple ID or register them with your Apple ID, as AirPods and Apple ID syncing occurs by itself.
That means that your AirPods can be used with any other Apple device on which you are signed in with the same Apple ID.
At the same time, it means that you can’t automatically pair your AirPods with an Apple device that has another Apple ID. This is a good thing for security reasons.
If you want to pair it to another Apple ID (for example, you want to give it away to a friend), what you can do is deregister it from your current Apple ID.
You need to do that yourself – your friend can’t do it. This is, once again, to deter theft. To remove your AirPods from your Apple ID, follow these steps:
- Open the Find My app on your iPhone or Mac.
- Click on the Items or Devices tab.
- Click on your AirPods.
- Swipe up from the bottom of the screen.
- Click on Remove Item.
If you don’t do that, your friend can still use your AirPods, but they won’t be able to link them to their Apple ID. They will have to manually connect them to each device.
Using Find My iPhone for Lost AirPods
Did you know that you can locate lost AirPods if they have been linked to your Apple ID? To track AirPods with Find My, Find My must have been enabled on your iPhone, Mac, or other Apple Device to which they were paired.
If you lost your AirPods, follow these steps to find them:
- Open the Find My app on your iPhone or Mac or sign into icloud.com/find.
- Click on the Items, Devices, or All Devices tab.
- Click on your AirPods.
- You will see where they are on the map.
Note that if the two AirPods are in separate places, you will only see one. After you locate it and put it back in its case, you will see the location for the other AirPod.
There are some other tricks you can use to find your AirPods with Find My. For example, you can click on Play Sound so your AirPods make a sound. This only works when they are outside their case (except for the AirPods Pro 2nd Generation, which also makes a sound even when they are in the case). If your AirPods are separated, click on Left or Right when the sound plays to mute one of them, so you can find them more easily.
Making your AirPods play a sound is very useful when you left them somewhere in the house.
Another option is clicking Find instead of Play Sound. That will allow you to navigate towards the AirPods with your iPhone. Typically, you will see an arrow pointing in their direction or a message telling you how far away they are or whether they are on a different floor in your house. This only really works when you lost them somewhere in the house (not when you are far away).
Depending on your AirPods model, you may even be able to make them flash a light so you can find them in the dark.
Finally, depending on your model, you may be able to mark them as lost by activating Lost Mode. If someone finds your AirPods, a message will appear on their iPhone (through the Find My network) that these AirPods were lost. You can also customize a special message with your contact information so they can contact you to return the AirPods.
Obviously, this depends on the goodwill of the finder. Not everyone will go through the trouble of doing that. However, it’s worth a try. You will also get a notification if they are found.
Can You Block Stolen AirPods?
No, there is no way to block stolen AirPods. You can only track stolen AirPods using Find My. You will see where on the map they are, along with a possible address, but the exact location and address might be inaccurate depending on the region.
Note that even if your AirPods are linked to your ID, this will not entirely prevent stolen AirPods use.
Remember, you have to remove the AirPods from your ID yourself before they can be linked to another ID.
However, you can still use the AirPods! It only prevents you from linking it to another Apple ID. You can still connect it to a device and listen over Bluetooth. The thief will miss out on the benefits of having it linked to an Apple ID, such as being able to find it with Find My and having it connect automatically to any device they are signed in to with their Apple ID. If they try to sell it, the buyer will also miss out on those perks.
However, it is still usable. Note that some people have also come up with methods to reset AirPods and link them to new Apple IDs, with various measures of success, even without the old owner’s permission.
Conclusion
When buying new AirPods, remember to verify if the AirPods are registered with Apple. Then, once you purchase them, link them to an Apple device that you are signed in to with your Apple ID so you can find them if you lose them. Set up Find My on your linked device, so you can always find your AirPods when you lose them.


