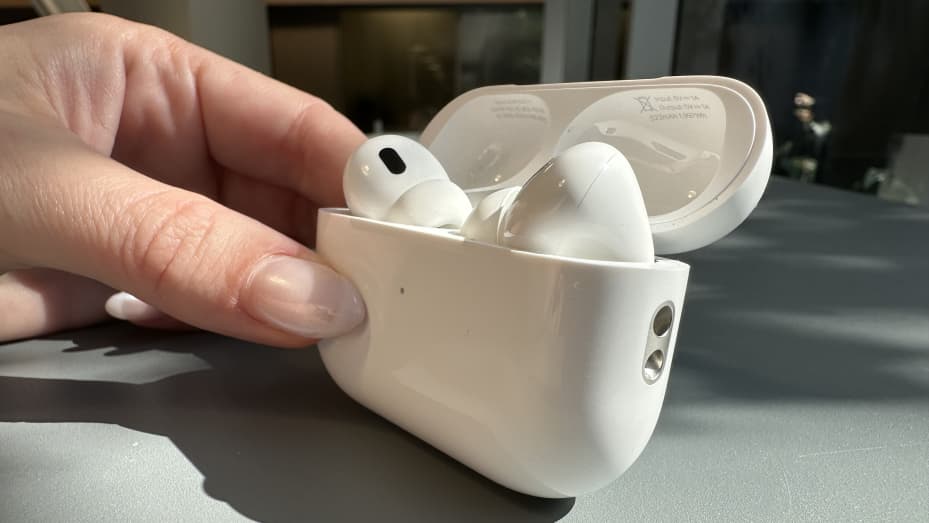
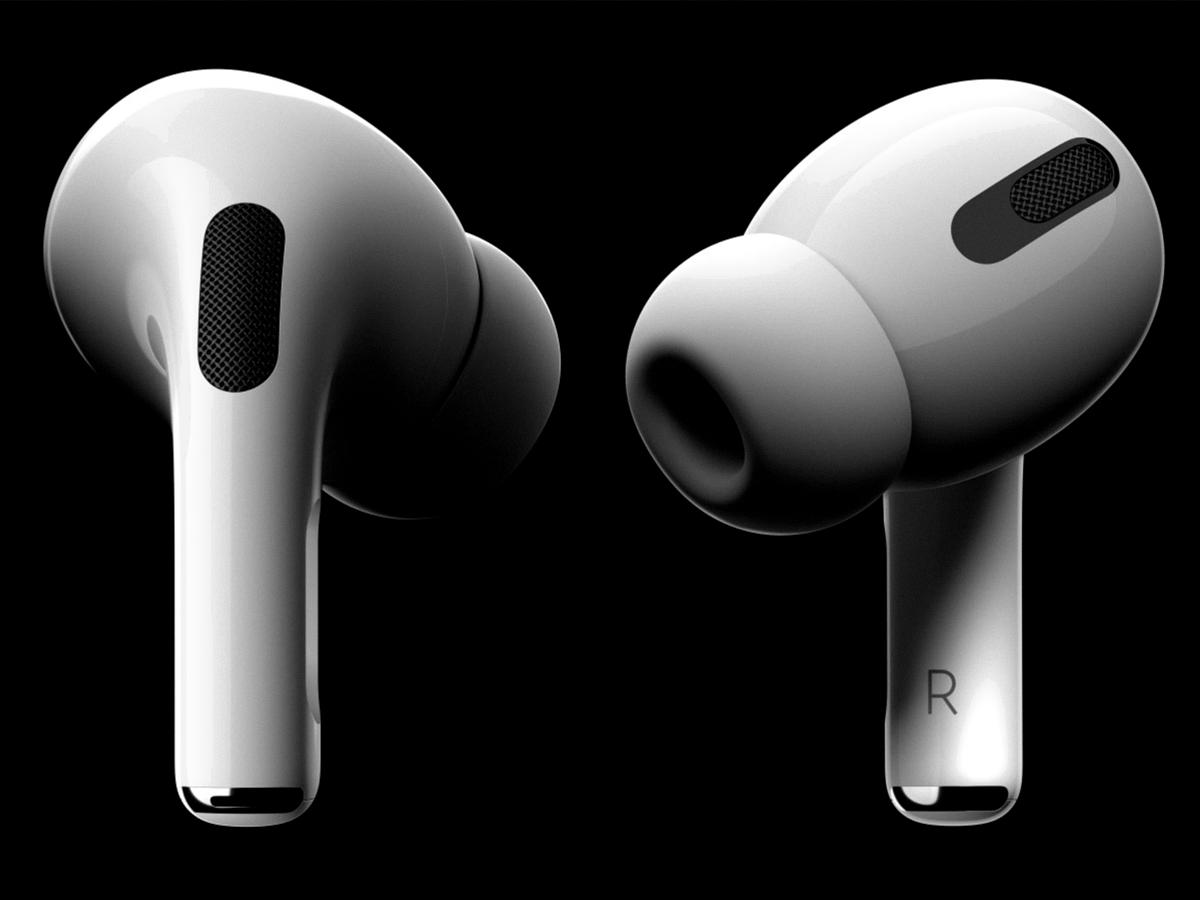
Are you lookng for the perfect way to customize your AirPods Pro microphone settings? Look no further! In this blog post, we will be discussing how to customize and improve your AirPods Pro microphone settings for optimal sound quality.
When it comes to mic settings on your AirPods Pro, there are a few thigs to keep in mind. First, you want to make sure that the mic is located correctly and that the sensitivity setting is set appropriately. Second, you may want to adjust the Automatic Microphone Switching setting so that your AirPods Pro can determine which microphone is best suited for the situation. Third, if you have dust particles blocking the mic, you’ll want to clean it out. Lastly, if none of these options seem to work, try resetting your AirPods Pro and updating its firmware if necessary.
Now let’s get into how to configure these settings. To start off, check the battery level of your AirPods Pro and make sure they are fully charged before attempting any of these steps. Then connect them to your device and go into Settings > Bluetooth > tap the i icon next to your AirPods > select Microphone > choose one of the following:
• Right + Left: Both mics will be used at once (recommended)
• Left only: Only left mic is used
• Right only: Only right mic is used
• Automatically Switch: Your AirPods will switch betwen mics as needed based on noise levels/conditions
• Off: Both mics are disabled
If you’re using Automatic Microphone Switching, check if it’s enabled by going into Settings > Bluetooth > tap the i icon next to your AirPods > select Microphone > toggle Automatically Switch Mic On/Off. This will alow your AirPods Pro to automatically switch between mics depending on external noise levels or conditions.
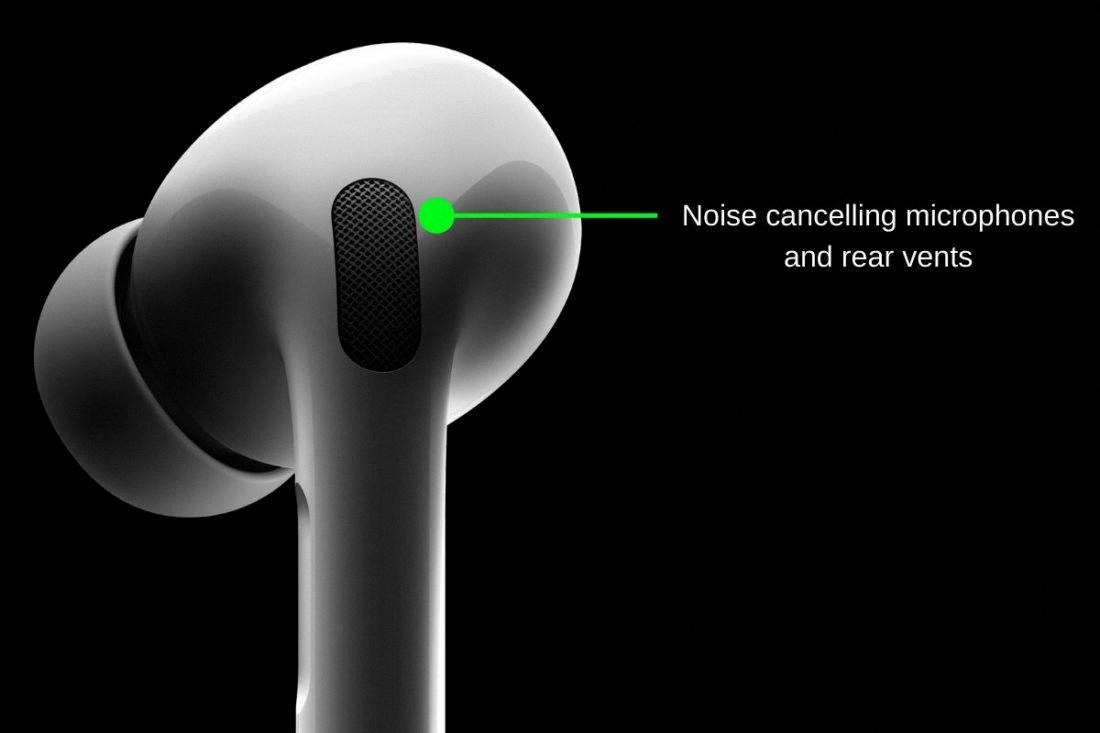
Next up, check for dust particles that may be blocking or interfering with your microphone sound quality by cleaning out the mesh screen with a microfiber cloth or compressed air spray can. If this doesn’t solve it then try resetting your AirPods Pro by going into Settings > Bluetooth > tap “i” icon next to your AirPods > click Forget This Device and then pair them again with your device. Lastly, if all else fails then update the firmware on both devices – either manually or through Apple’s Find My app – by going into Settings > General > About and tap Software Update from there.
That’s it! Once you have configured these settings according to preference, you should have improved audio quality from your AirPods Pro’s microphones when making calls or recording audio on any device connected!

Adjusting Microphone Settings on AirPods
To change your microphone settings on AirPods, make sure they are connected to your device and then go to Settings. Tap the name of your AirPods near the top of the screen and select Microphone. From here, you can choose between Left/Right, Automatic, or Always Left/Right. You can also adjust the sensitivity of each microphone by sliding the slider left or right. Once you have made your selection, press the ‘Done’ button in the top right corner to save your changes.
Improving Mic Quality on AirPods Pro
To improve your mic quality on AirPods Pro, there are a few steps you can take. First, check the battery and make sure it is charged up. Then, try uing only one microphone if possible. You can also turn off all noise cancellation features on your AirPods Pro or Max. Additionally, clean the microphones and speakers to remove any dirt or debris that may be blocking sound from traveling through properly. Finally, reset your AirPods to see if that helps with mic quality. If you still experience issues with your mic, try using Transparency Mode for calls on your AirPods Pro or Max and make sure you have the most updated firmware installed.
Testing the Microphone on AirPods Pro
To test your AirPods Pro mic, you can use any voice recorder or voice call app such as Skype. Simply open the app and make a call or record a voice message. Once you’ve done that, listen back to the recording to hear how your AirPods Pro mic is performing. You can also adjust the microphone settings by ging to Settings > Bluetooth and tapping the i icon next to your AirPods, then tap Microphone and enable the Automatically Switch AirPods option.
Troubleshooting AirPods Pro Microphone Issues
If your AirPods Pro mic is not working properly, it could be due to a few different factors. Dust particles may have accumulated and blocked the mic, so clean your AirPods thoroughly and check if it improves. If the AirPods are not fully charged, plug them in to charge and then check again. If pairing is an issue, try forgetting the device on your phone or other device and then reconnecting your AirPods. Lastly, make sure that you have updated both your Airpods and your device to the latest software version as software bugs can sometimes caue problems with microphone functionality.
Adjusting AirPod Microphone Sensitivity
Yes, you can adjust the sensitivity of your AirPods’ microphones. To do so, go to Settings > Bluetooth on your device and tap the blue “i” next to AirPods in the “My Devices” list. On the next screen, make sure that Noise Control is selected under Press and Hold AirPods. This will enable you to adjust how sensitive the microphone is when you press and hold eiher of your AirPods.

Source: audioxpress.com
Troubleshooting Low AirPod Microphone Volume
It’s possible that your AirPod mic is low due to a variety of factors. It coud be due to a software issue, hardware issue, or simply because the mic is blocked. If you’re having issues with your AirPod mic, you should first try to reset your AirPods and be sure to clean them to make sure nothing is blocking the microphone. If this doesn’t work, it may be necessary to contact Apple support for further assistance.
The Quality of AirPods Pro Microphones
Yes, the microphone on AirPods Pro is very good. It features a beamforming microphone that picks up your voice even in noisy environments, and it also has an additional inward-facing microphone to reduce background noise even further. The Pro also has a speech-detecting accelerometer that helps isolate your voice from other noises in the room, so you can be sure that your call will come throuh loud and clear.
Troubleshooting AirPods: Why Can’t Anyone Hear Me?
It’s possible that your AirPods’ microphones are dirty, which can cause audio issues. To fix the problem, you can spray a q-tip with 70% isopropyl alcohol and gently clean the microphone grills at the bottom of each AirPod. This should help restore clarity to your calls.

Source: headphonesty.com
The Effect of Background Noise on AirPods Pro Microphone
No, the AirPods Pro microphone is designed to pick up only your voice and reduce unwanted background noise. It uses an inward-facing microphone to listen inside your ear and counter any internal sounds with anti-noise. Additionally, the Transparency mode lets outside sound in so you can hear what’s gong on around you.
Does AirPods Have Mic Monitoring?
Yes, AirPods have mic monitoring features. With Live Listen, you can use your iPhone, iPad, or iPod touch as a microphone that sends sound to your AirPods or Beats. Live Listen helps you to hear conversations in noisy areas or even from across the room. It works by using the built-in microphone on your iPhone and sending it though your AirPods or Beats. You can adjust the volume and other settings from the control center on your device.
Fixing Issues With AirPods Voice
To fix your AirPods voice, first check the microphone and speaker mesh on each AirPod for any debris. If there is any debris present, clean your AirPods using a soft, lint-free cloth. Make sure not to get any moisture in the openings.
Next, go to your device’s Settings > Accessibility > Audio/Visual > Balance and make sure that the balance is set to the middle. This will ensure that both of your AirPods are evenly balanced and should help fix any issues with sound quality.
If these steps don’t resolve the issue, you may need to reset your AirPods by pressing and holding the setup button on the back of the charging case for at least 15 seconds until you see a solid white light. After resetting them, try connecting them again to see if that fixes your sound quality issue.
Uncover lesser-known features, such as whether AirPods Pro can translate languages.
Conclusion
In conclusion, setting up the microphone of your AirPods Pro is easy and can be done in a few simple steps. It is important to make sure that the microphone is correctly set up for optimal sound quality. To do this, you should check the battery, try using only one microphone, turn off all noise cancellation (AirPods Pro and Max), clean the microphones and speakers, check for water damage, reset your AirPods, try transparency mode on calls (AirPods Pro and Max), and update the AirPods firmware. Additionally, you should also check the active microphone settings by ging to Settings > Bluetooth and then tapping on the i icon next to your AirPods. By following these instructions you can ensure that your AirPod Pro microphone is optimized for maximum performance.


