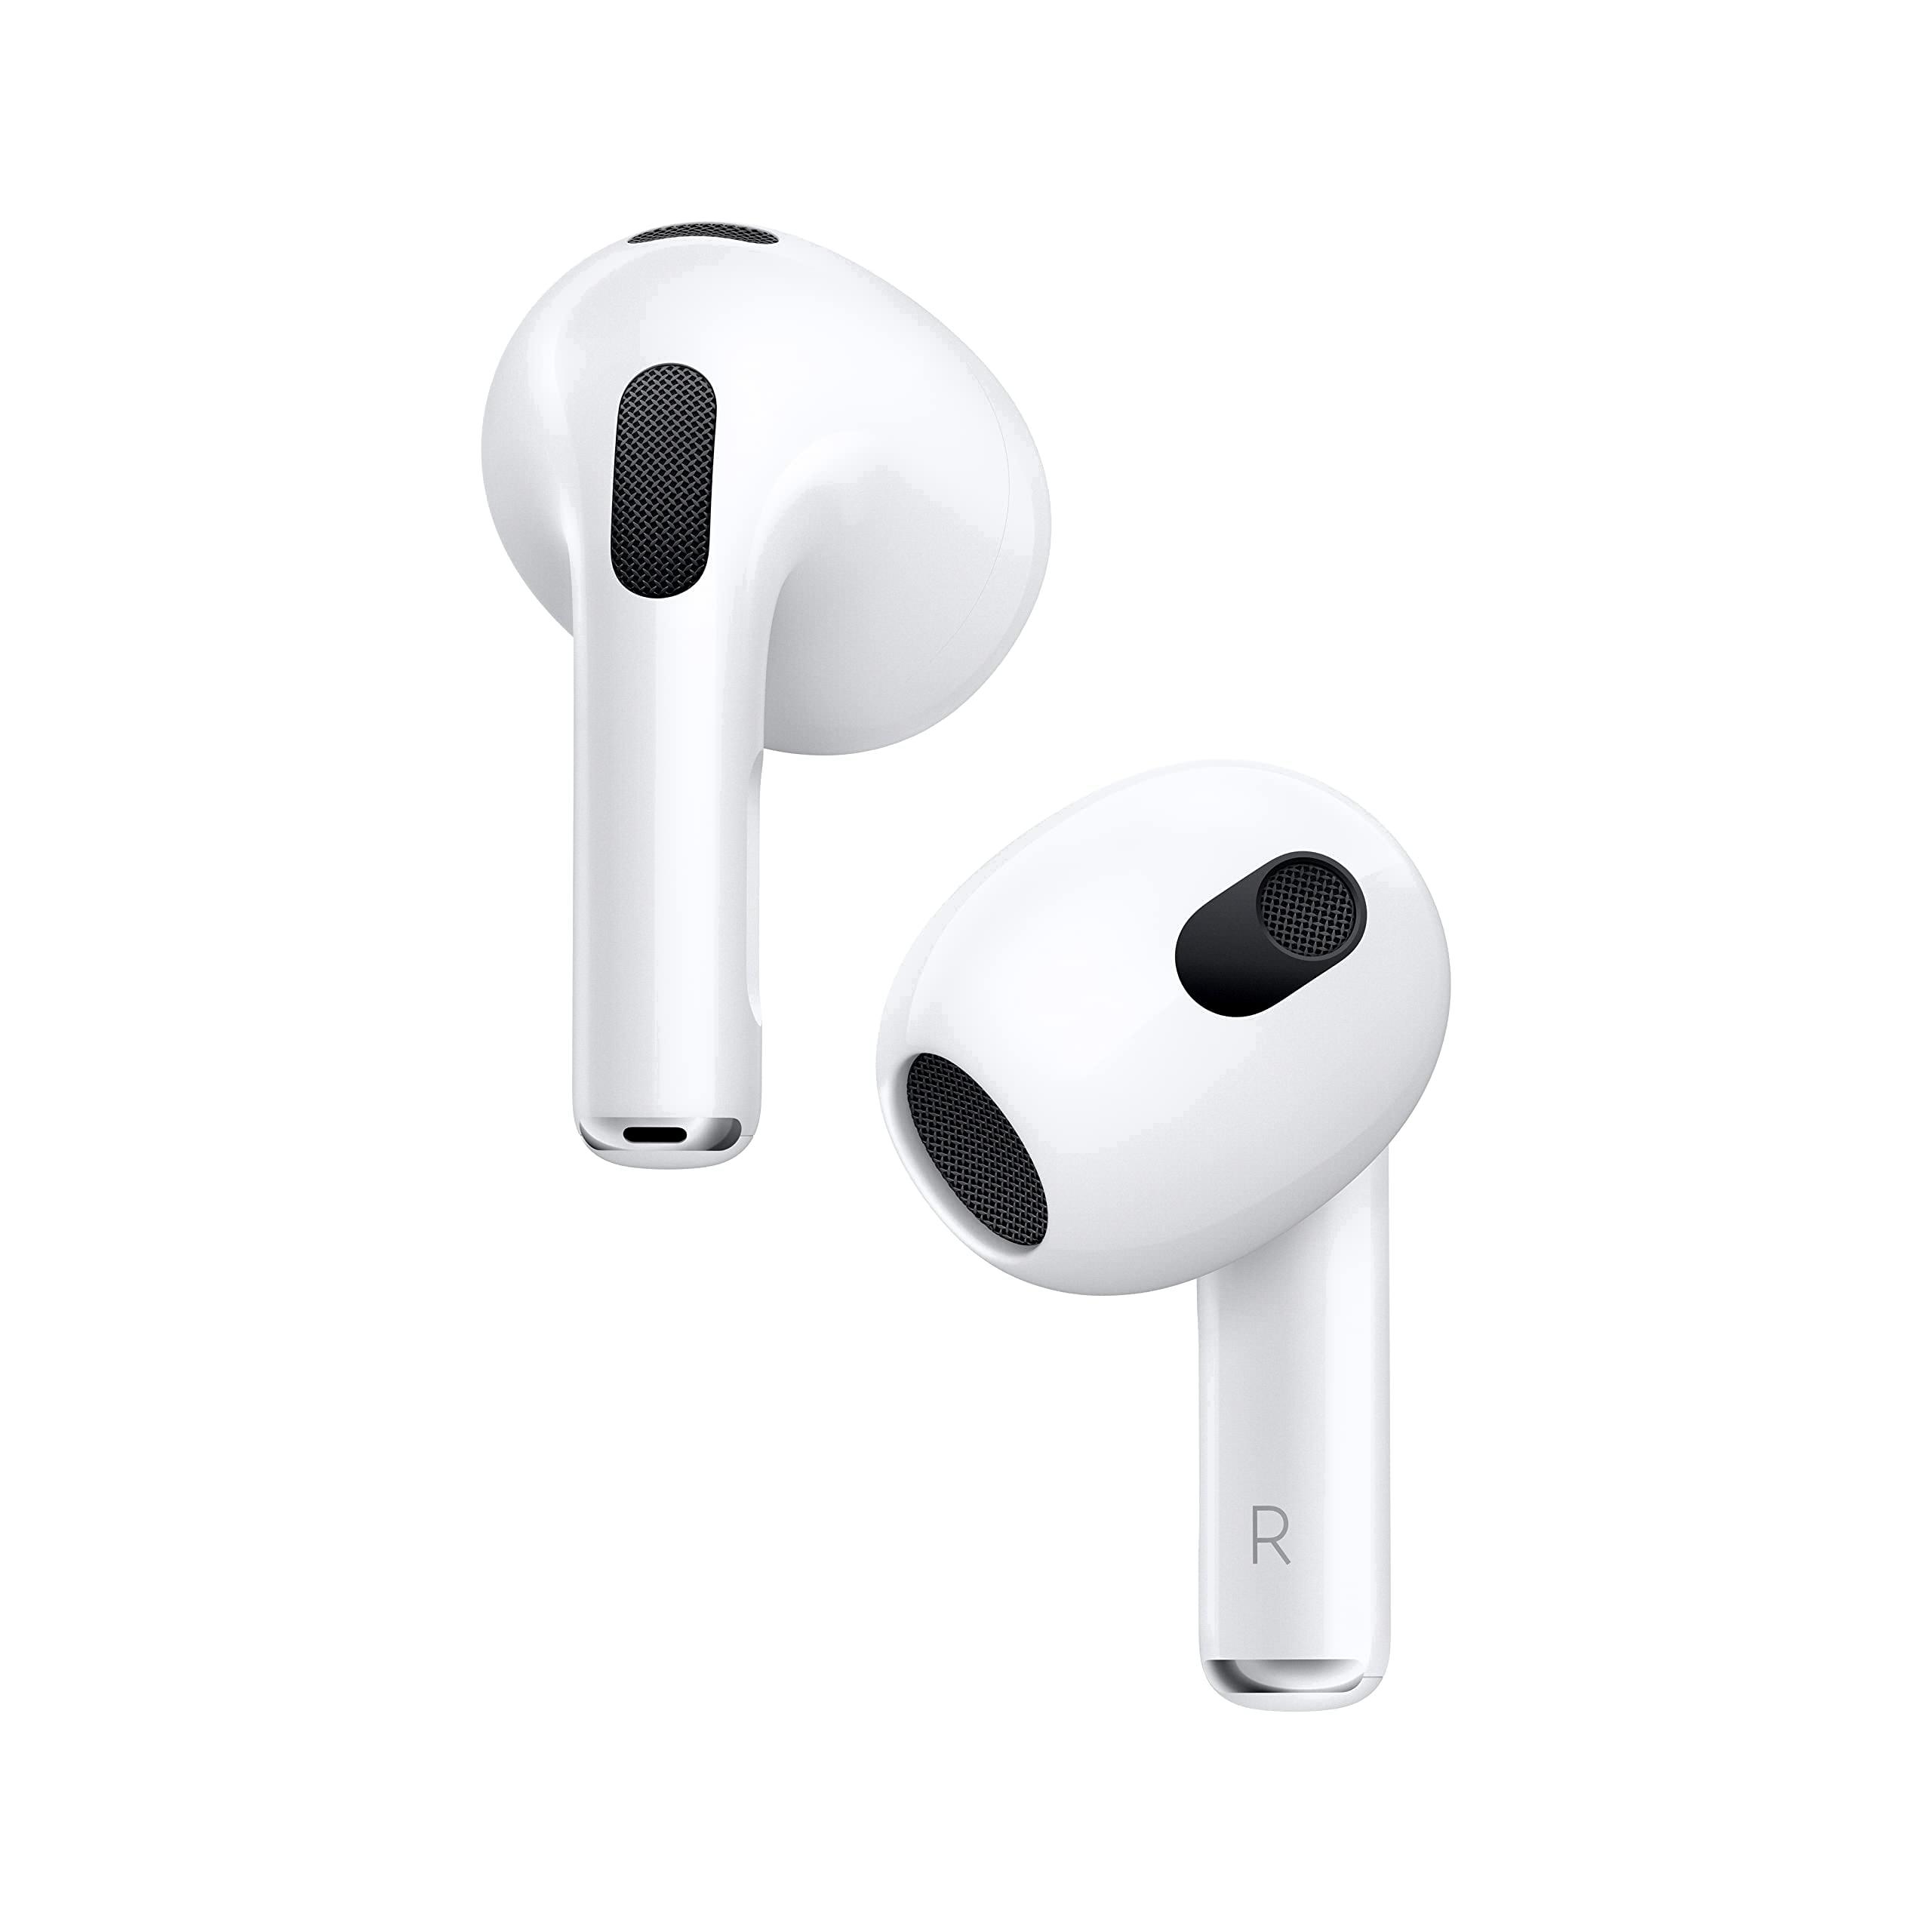
Are you looking for a way to test your Spatial Audio AirPods? If so, you’ve come to the right place! In this blog post, we’ll discuss what Spatial Audio AirPods are, how to test them and make sure they are working correctly.
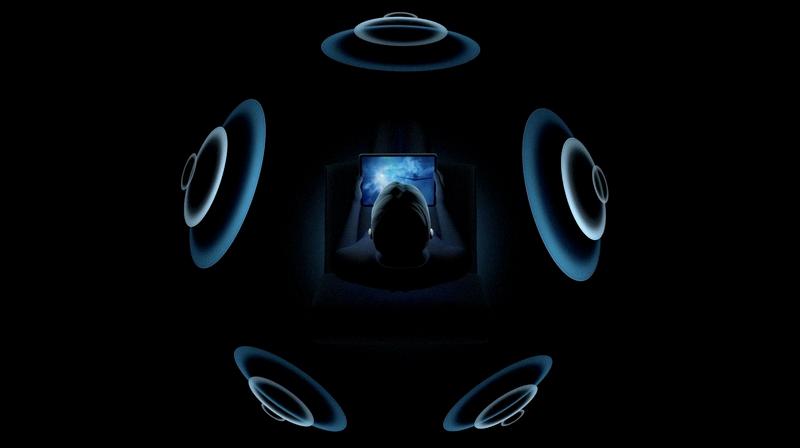
Spatial Audio is a feature available on the third-generation AirPods that enables immersive audio experiences. This feature uses an array of directional microphones and advanced algorithms to create a 3D soundstage that allows you to experience music, movies and other audio content with greater depth and clarity. It’s also great for virtual meetings or online gaming as it helps create an enveloping sound field that makes it easier to identify where sounds are coming from.
So how do you test your Spatial Audio AirPods? The first step is to make sure your AirPods are connected to your iPhone or iPad. Once they’re connected, go into Settings > Bluetooth and tap the More Info button next to your AirPods in the list of devices. From there, tap Ear Tip Fit Test. Then tap Continue and then tap the Play button. This will trigger a series of tones that will help determine if your AirPods have good seal in your ears. If everyhing checks out, you should hear the tones clearly in both ears with no muffled sound or background noise.
Once you have confirmed that your AirPods have a good seal in your ears, you can move on to testing Spatial Audio itself. To do this, wear your AirPods and make sure they’re connected to your device. Open Control Center, touch and hold the volume control, then tap Spatial Audio at the lower rght corner of the screen. You should now be able to hear spatial audio when playing certain songs or movies on compatible Apple devices (iPhone 7 or later using iOS 15.1 or above). To check if a song is available in Dolby Atmos (which supports spatial audio), play it on Apple Music/iTunes/Apple TV/etc., then check for the Dolby Atmos badge in Now Playing.
We hope this blog post has helped explain what Spatial Audio is and how to test it on your AirPods!
Testing Audio Quality of Airpods
To test the audio of your AirPods, you’ll need to connect them to your iPhone or iPad. Once you’ve done that, go to Settings > Bluetooth and tap the More Info button next to your AirPods in the list of devices. Tap Ear Tip Fit Test and then tap Continue. Finally, tap the Play button to start the test. You shoud hear a sound from each AirPod so that you can make sure they’re delivering audio evenly. If one AirPod sounds quieter than the other, try adjusting it in your ear or swapping out its ear tip for a different size until it’s even with the other side.
Verifying Apple Music Spatial Functionality
You can easily tell if Apple Music Spatial is working by playing a song that is available in Spatial Audio. You should see a Spatial Audio badge next to the song title on Now Playing. Additionally, you can check for the Spatial Audio badge on the album’s detail page if every song on the album is available in Spatial Audio. If you’re using AirPods Pro or AirPods Max, you may also notice that the soundstage of the song changes when it switches to Spatial Audio. If you don’t see any of tese signs, then Apple Music Spatial is not working.
Enabling AirPods Spatial Audio
To turn on AirPods Spatial Audio, fist make sure that your AirPods are connected to your device. Then open Control Center, touch and hold the volume control, and tap Spatial Audio at the lower right. This will enable Spatial Audio on your AirPods, allowing you to experience a more immersive listening experience with increased sound clarity and directionality.
Testing Spatial Audio on Netflix with AirPods Pro
To test Spatial Audio on AirPods Pro with Netflix, fist make sure that your streaming quality is set to High or Auto. Next, make sure you have an iPhone 7 or later running iOS 15.1 or above. Then, plug in your AirPods Pro and turn on the spatial audio setting on your device. Finally, open up Netflix and select a show with Dolby Atmos support. You should be able to hear the spatial audio now.
Testing Audio Spatial
Testing audio spatial is easy, and can be done from your iPhone or iPad’s Control Center. Simply open the Control Center, then touch and hold the volume control. This will bring up a menu allowing you to turn on Spatial Audio for multi-channel content, or Spatialize Stereo for two-channel stereo content. Once enabled, you can listen to your audio content and experience the improved spatial sound quality. To test this further, you can also move around your device and see how the sound changes depending on were it is in relation to you.

Source: amazon.com
Investigating the Strange Audio Quality of AirPods
There could be a few reasons why your AirPod audio is sounding weird. First, make sure that you have the latest software installed on your connected device (iPhone, iPad, iPod touch, or Mac). Second, check that there is no wireless interference or obstructions between you and your device. Third, try listening to audio from a different app to see if it causes the issue. Finally, if none of these steps work, then it might be time to contact Apple Support for further assistance.
Confirming the Functionality of Spatial Audio
To determine if your spatial audio is working, go to Settings > Accessibility. Scroll down the Physical and Motor section and tap AirPods. Scroll down to Spatial Audio Head Tracking and look at the status of the Follow iPhone toggle. If it is turned on, then your spatial audio is working.
Activating Spatial Audio: Is It Necessary?
Yes, you do need to activate spatial audio for headphones withot a W1 or H1 chip. To do this, open the Apple Music app and go to Settings > Playback > Dolby Atmos. From here, switch the setting from ‘Off’ to ‘Always On’ to enable spatial audio.
The Effectiveness of Spatial Audio
No, Spatial Audio with Dolby Atmos on Apple Music does not always work automatically. You will need to switch it to “Always On” in Settings > Music > Dolby Atmos for it to work with third-party headphones. Additionally, certain devices and audio equipment are not compatible with Spatial Audio and may require additional setup or configuration. Therefore, it is important to check the device specifications before attempting to use Spatial Audio with it.
Troubleshooting Spatial Audio Issues with AirPods
There are a few reasons why your AirPods may not be showing the Spatial Audio option. First, you need to make sure you have the latest software installed on your device. If you do, then check that both your AirPods and iPhone/iPad/Mac are connected to the same Wi-Fi network. Finally, ensure that you are running iOS 14 or later and macOS Big Sur 11 or later on your device. If all of these conditions are met, then the Spatial Audio feature should apper in the Control Center.
Troubleshooting Issues with AirPods Spatial Audio
It is possble that your AirPods are not playing spatial audio because of an unstable connection with your device. This can be caused by a variety of factors, such as interference from other devices or a weak signal. To fix this issue, try resetting your AirPods by disconnecting and reconnecting them to your device. Doing so should help make the connection more stable and enable spatial audio to work again.
Scanning Ears for Spatial Audio
To scan your ears for spatial audio, start by setting up your iPhone so that the microphone is facing your ears. Move your rigt arm 45 degrees to the right and turn your head slowly to the left. This will allow the microphone to capture a view of your left ear. Switch the iPhone to your left hand and move your left arm 45 degrees to the left, then turn your head slowly to the right. This will allow the microphone to capture a view of your right ear. As you adjust, listen for audio cues and watch for visual changes on screen that indicate correct setup.
The Difference Between Dolby Atmos and Spatial Audio
No, Dolby Atmos and Spatial Audio are not the same. Dolby Atmos is an object-based audio format that creates an immersive soundscape with overhead sounds, like you are in a movie theater or listening to a live concert. Spatial Audio is a layer on top of Dolby Atmos that adds extra dimension of movement to the audio experience by providing positional audio in thee dimensions (left/right, up/down, and front/back).

Source: twitter.com
Testing Spatial Audio on Netflix
In order to test spatial audio on Netflix, you will need to have a compatible device that supports Dolby Atmos or Dolby Digital Plus audio. Once you have a compatible device, open the Netflix app and sign in to your account. Go to the show you want to watch that has spatial audio available and open its information page. On this page, look for an option labeled “Audio” or “Spatial Audio.” Select the appropriate option and start playing the show. If your device supports spatial audio, you shold be able to hear the difference in sound quality as you watch the show.
Comparing the Benefits of Head-Tracked and Fixed Spatial Audio
The answer to this question depends on the type of audio experience you are looking for. Head-tracked spatial audio can provide a more immersive experience, as it allows sound to move with you as you move your head. This can be particularly effective when listening to music or playing video games. On the other hand, fixed spatial audio can provide a more consistent soundfield, which may be better suited for spoken word content such as podcasts or audiobooks. Ultimately, it will depend on your preferences and audio needs.
Conclusion
In conclusion, Spatial Audio with AirPods Pro is a great feature for those looking to experience immersive 3D audio. It uses advanced algorithms and motion sensors to create an individualized sound experience for each user. With this technology, users can enjoy the full range of sound from their favorite movies, music, and podcasts. The feature works with compatible Apple devices that are running iOS 15.1 or later and requires the use of the latest generation of AirPods. Spatial Audio is sure to bring a new level of entertainment to any listening experience.


