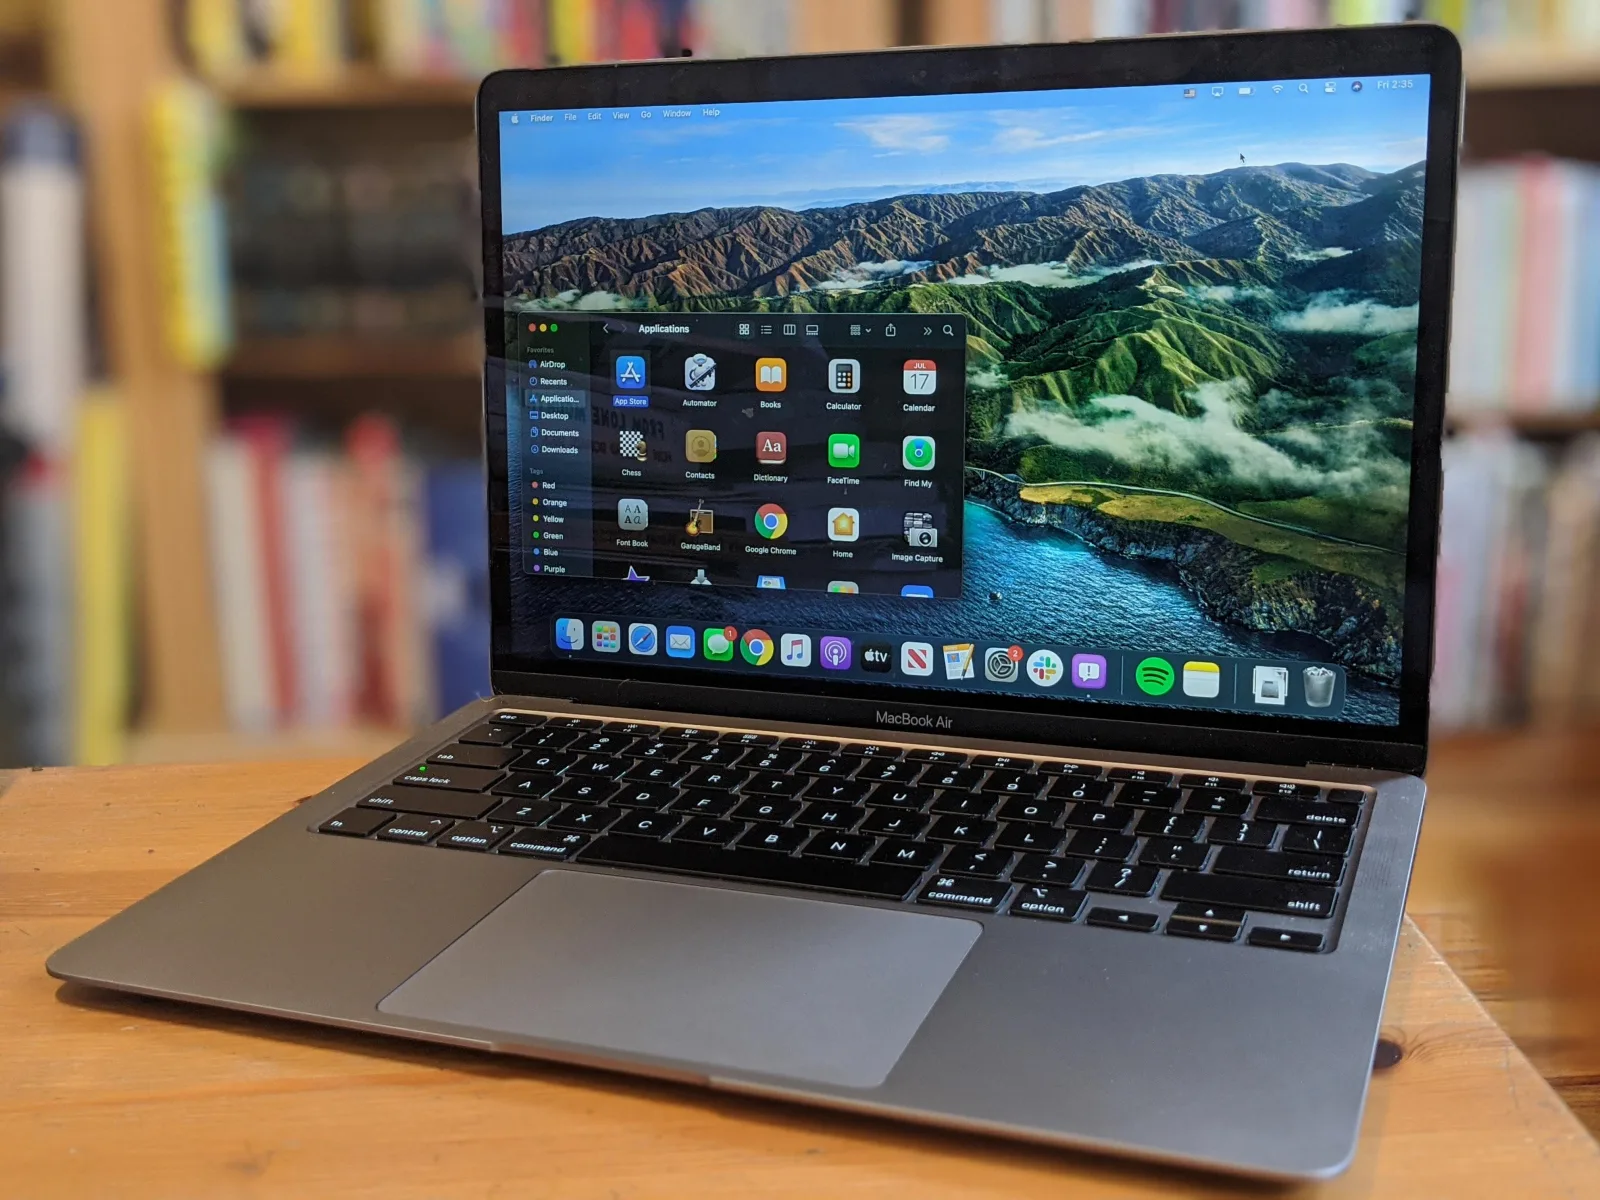
Cleaning your Mac’s microphone is an important step to ensure it functions properly and lasts for a long time. Luckily, cleaning your Mac’s microphone is quie easy and can even be done with everyday household items.
First things first, you need to make sure that your Mac is powered off bfore you start cleaning its microphone. This will help prevent any kind of damage to the delicate components within the microphone. Once you’ve powered off your Mac, unplug any cables or external audio devices from the computer.
Now it’s time to get started with the actual cleaning process. Begin by usng a soft cloth or brush (like a makeup brush) to gently remove any dust or debris from the exterior of the microphone. Make sure not to press too hard when brushing, as this could cause damage to the delicate components inside the microphone. You can also use compressed air in a can to blow away any dust particles that may have accumulated on the exterior of your Mac’s microphone.
Next, you should use a cotton swab dampened with rubbing alcohol or an electronics wipe to clean around and between any crevices in your Mac’s microphone. Make sure not to press too hard and do not submerge any part of your Mac into water during this process!
Once everything has been cleaned, you should reassemble your Mac and plug in all necessary cables or external audio devices back into place. When everything has been plugged back in, turn on your computer and test out the sound quality coming from the microphone – if everything sounds good then congratulations! You have successfully cleaned your Mac’s microphone and are now ready for whatever recording adventure awaits!
We hope this blog post has helped you understand how easy it is to clean your Mac’s microphone and keep it functioning properly for years to come!

Troubleshooting Microphone Issues on MacBook Air
If your microphone is not working on your MacBook Air, thre are a few steps you can take to troubleshoot the issue. First, make sure that sound input settings are correct. To do this, click the Apple logo at the top left and select System Preferences. Then open the Sound tab and select Input. Make sure that both internal microphone and line in are enabled, and that the correct input device is selected as default.
Next, check to see if any other applications have access to the microphone. Open System Preferences again and select Security & Privacy. Under Privacy, make sure that you have given access to any apps that need the microphone for them to work correctly.
If your microphone still isn’t working properly, try restarting your MacBook Air by pressing down on the power button untl it shuts off completely. This can sometimes help reset any settings or processes which may be causing a problem with your microphone.
If restarting doesn’t help, you can try resetting NVRAM or PRAM on your Mac by holding down Command + Option + P + R while powering on your laptop until you hear a startup chime twice (this will take a couple of minutes).
Finally, if none of these steps help fix your microphone issue, try using Dictation instead of the built-in voice-recognition capabilities of apps like Siri or Google Assistant. To enable Dictation go to System Preferences > Keyboard > Dictation and turn it on (you may need an internet connection for this).
We hope tese steps were helpful in fixing your microphone issue on Your MacBook Air!
Troubleshooting Mac Microphone Issues
It is possible that your Mac microphone is not set up correctly, or the input volume is set too low. To check this, open System Preferences from the Apple menu in the top menu bar. On the System Preferences screen, click on the Sound tab. Make sure that your microphone is selected as the input device and that the volume slider for it is at least halfway up. If this does not resolve the issue, you may need to try using a different microphone or check to make sure it is connected properly.
Troubleshooting Crackling in Mac Microphones
Crackling noises from your Mac microphone could be due to a few different factors. First, it could be the result of an electrical interference. This can happen if there are oter electronic devices near your Mac that are emitting radio frequencies, like wireless routers or power supplies. Second, it could be caused by a hardware issue with the microphone itself. The wiring or contacts could be damaged, or there could be a problem with the actual microphone element. Finally, it could also be caused by software issues, such as incorrect settings in your audio preferences or outdated drivers. If none of these solutions solve the problem, you may need to take your Mac to an Apple Store for further diagnosis and repair.
Reducing Background Noise on a Mac Microphone
To reduce background noise when using your Mac’s built-in microphone, you can use the “Use Ambient Noise Reduction” option in the Audio MIDI Setup. This will reduce any background noise that may be picked up by the microphone, allowing for clearer sound. Additionally, you can move the microphone away from other noisy sources such as fans, air conditioners, and other electronic devices. You can also try to find a quiet place to conduct your audio recordings, as this will help to eliminate any background noise that could interfere with your recording.
Conclusion
In conclusion, Mac microphones are an incredibly useful tool for recording audio. They provde excellent sound quality and can be used with a variety of applications. However, if the microphone is not set up correctly or the input volume is too low, it may not work properly. Fortunately, there are a few steps you can take to fix this issue, such as checking the sound input settings, giving microphone permission to the app, restarting your Mac, and checking the app’s internal microphone settings. Additionally, you can reduce background noise when using your computer’s built-in microphone by selecting “Use ambient noise reduction” in System Preferences. With these tips in mind, you should have no problem using your Mac’s microphone for all your audio needs.


