When it comes to computers, Macs are some of the most popular and versatile machines on the market. From Macbooks to iMacs, these devices offer a wide range of features and capabilities that can be incredibly useful for a variety of tasks. However, Macs are not without their own unique quirks and one of these is bootcamp. Bootcamp is a feature that allows you to install Windows on your Mac and dual-boot between the two operating systems. Although this can be helpful in certain situations, it can also cause problems if you no longer need or want Windows on your machine. Fortunately, removing bootcamp from your Mac can help restore your system’s performance and reclaim disk space for othr uses.
In order to remove bootcamp from your Mac, you will first need to ensure that you have backed up any important data or files that may be stored on the Windows partition. Once you have done this, you will need to open the Boot Camp Assistant application by going to “Applications/Utilities” in Finder. From here, select “Remove Windows 7 or later version” from the list of options and follow the on-screen instructions to complete the process. The Boot Camp Assistant will then guide you through uninstalling any other necessary components associated with bootcamp before finally formatting the partition cotaining Windows and restoring it back into unused disk space.
Once this process has been completed successfully, bootcamp will no longer be installed on your Mac and its associated files will be removed from your system completely. If you ever decide in future that you would like to reinstall Windows onto your machine using bootcamp again, then simply repeat this process in reverse order with the help of Boot Camp Assistant once more.
By following these steps carefully, you should now have removed bootcamp from your Mac successfully with minimal effort required!
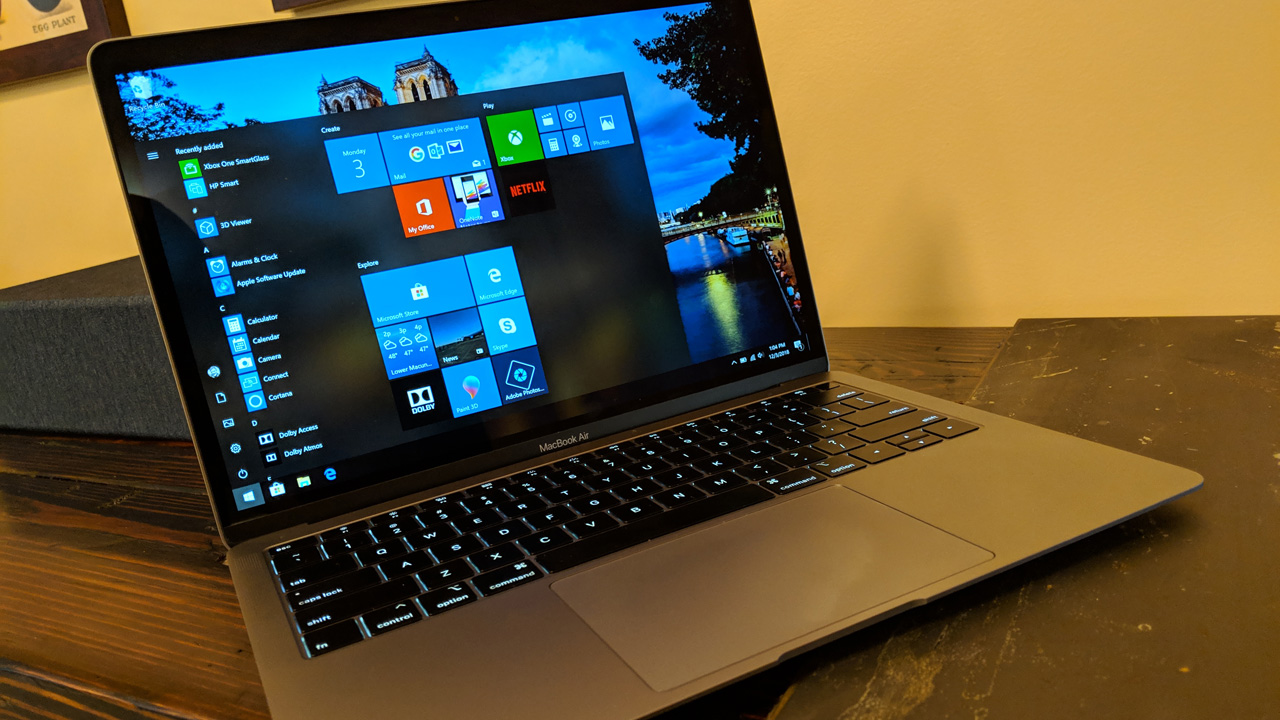
Removing Bootcamp from a Mac
To delete Boot Camp from your Mac, start by quitting all open applications and logging out any other users. Then, open Boot Camp Assistant and click “Continue”. If the Select Tasks step appears, select “Remove Windows 10 or latr version” and then click “Continue”. Next, follow the onscreen instructions to complete the removal process. When prompted, you may need to enter your administrator password. When finished, restart your Mac to complete the process.
Uninstalling Bootcamp Using Disk Utility
To uninstall Bootcamp with Disk Utility, you need to first open Disk Utility from the Utilities menu. Once in Disk Utility, select the Windows partition that is associated with your Bootcamp installation. Click on the “Erase” button and select either the “Mac OS Extended (Journaled)” for Macs running macOS 10.12 Sierra or earlier, or “APFS file system” for users on macOS 10.13 High Sierra and beyond. Finally, erase the partition by selecting it again from the complete disk list shown in Disk Utility. This process will effectively uninstall Bootcamp from your Mac.
Deleting Bootcamp Services
Yes, you can delete Boot Camp Services. To do so, first make sure you have the Boot Camp drivers installer in Windows. Then, go to the folder where you have the drivers and find the Apple folder. Right-click “BootCamp” and select Uninstall. This will uninstall the Boot Camp services from your system. Please note that it is recommended to back up any important data before deleting Boot Camp services to prevent any potential data loss.
Does Boot Camp Impact Mac Performance?
No, having Boot Camp installed does not slow down your Mac. In fact, it can be used to improve the performance of certain applications that are beter suited for Windows. However, if you are using a Mac with limited storage space, Boot Camp may take up valuable disk space, and this can affect the overall performance of your computer. To avoid this issue, you can exclude the Windows partition from Spotlight searches in your settings control panel. This will help to keep your Mac running smoothly and efficiently.
Locating Boot Camp on a Mac
Boot Camp is a feature of the Mac operating system, included with all modern Apple computers. It’s located in the Utilities folder of your Applications folder. To access it, open your Applications folder and double-click on the Utilities folder. You’ll see Boot Camp Assistant listed there. Double-click on Boot Camp Assistant and follow the onscreen instructions to create a bootable USB drive for Windows installation.
Understanding How Boot Camp on Mac Works
Boot Camp on Mac is a tool that allows users to install and run Windows XP on Intel-based Macs. Boot Camp Assistant helps you partition your hard drive into two separate volumes: one for Mac OS X and another for Windows. Once the installation of Windows is complete, you can then choose which operating system to boot from during startup. This allows users to switch between the two OSes without needing to restart ther computer.
The installation process is relatively straightforward, with the main steps being: downloading the correct version of Windows XP, setting up the Boot Camp partition, installing Windows XP, and then restarting your computer in order to select which OS to use. Once installed, users can take advantage of all their existing hardware and software while using either operating system.
Switching Between Mac and Boot Camp Without Restarting
To switch between Mac and your Boot Camp partition without restarting, you can use Parallels Desktop. To get started, right-click on the Parallels Desktop icon in your Mac dock and open the Control Center. From there, you can select the Boot Camp-based Windows option to immediately launch Windows without restarting. Alternatively, you could import your Boot Camp partition into Parallels Desktop using the ‘Import Boot Camp’ option, which will alow you to access both macOS and Windows in one convenient place.


