Are you consiering a Macbook Air for your new laptop? If so, you’ve made an excellent choice. The Macbook Air is a lightweight and powerful laptop that is perfect for students, professionals, and casual users alike. With its sleek design, long battery life, and powerful processor, the Macbook Air is a great addition to any tech arsenal.
Once you get your hands on your new Macbook Air, the first step is to set it up. Setting up your Macbook Air is straightforward and can be completed in just a few steps. Here’s what you need to do:
1. Unpack Your Macbook Air: Start by unboxing your Macbook Air and setting up the power adapter. Connect the power cable to the port on the side of your Macbook Air and plug it into an outlet or surge protector.
2. Turn On Your Device: Once everything is connected properly, press the power button located on the top riht corner of your device. You will then be taken to the welcome screen where you can begin setting up your device.
3. Connect To Wi-Fi Network: Next, select your home Wi-Fi network from the list of available networks and enter in the password if prompted to do so. Once connected, you will be able to access webpages, download applications from the App Store, etc.
4. Set Up User Account: You will then be prompted to create a username and password for yourself which will be used as part of logging into your device each time you turn it on or wake it from sleep mode.
5. Download Software Updates: After creating an account for yourself on your device, make sure all software updates are downloaded by selecting “Check Now” under “Software Updates” found in System Preferences > Software Update > Check Now . This will ensure that you have all of the latest features availale for use on your device once setup has been completed .
6 . Personalize Your Device : Now that everything has been setup , take some time to personalize your device with photos , background themes , etc . You can also use this time to explore various applications available through Apple Store such as Pages , Numbers , Notes , Photos , etc .
Congratulations! You have now successfully setup your new Macbook Air! Enjoy exploring all of its features!
Setting Up a New MacBook Air
1. Begin by powering on the MacBook Air by pressing the power button.
2. On the first screen, select your language and click Continue.
3. On the next page, select your country or region and click Continue. This will set the language, time zone, and other regional settings for your Mac.
4. If you want to customize accessibility options such as Vision, Motor, Hearing or Cognitive abilities, you can do so now by clicking Accessibility Options. Otherwise, click Not Now to continue setup without changing any settings.
5. Next, you will be asked to transfer data from another computer or an external drive if desired. Otherwise select Don’t transfer any information now and click Continue.
6. Create a user account with a userame and password that can be used to login to your Mac in the future and click Continue when done.
7. You will then be prompted to connect to a Wi-Fi network if available by selecting the network from a list of available connections and entering a password if necessary before clicking Join when done.
8 . The last step is agreeing to Apple’s terms and conditions by clicking Agree and then selecting whether or not you want to send diagnostic data back to Apple before clicking Accept when finished setting up your new MacBook Air!
Setting Up a New MacBook Air
Congratulations on your new MacBook Air! Here are the top 10 steps to take when you firt get your device:
1. Set up your Apple ID: Your Apple ID is essential for accessing all the features of your Mac, including iCloud, the App Store and more.
2. Back up early and often: Make sure to back up regularly so that you can keep all of your important files safe and secure.
3. Use the Help menu: The Help menu will provide you with helpful tutorials and tips for using your Mac.
4. Get familiar with the ? Menu: This will allow you to access all of the applications aailable on your Mac.
5. Visit the Mac App Store: Here, you can find a variety of apps to customize and enhance your experience with your Mac.
6. Set up your email: You can set up multiple email accounts on your Mac so that it is easy to manage all of them in one place.
7. Find your printer: If you have an AirPrint-compatible printer, you can quickly connect it to your Mac through Wi-Fi or Bluetooth so that you can print documents easily from anywhere in the house or office.
8. Get to know Spotlight: Spotlight is an incredibly powerful search tool that enables you to quickly find documents, photos and more on your Mac without having to go digging trough folders and searching endlessly for a file or document name.
9. Customize settings: Take some time to review the settings in System Preferences so that they are tailored specifically to how you like them before getting started with day-to-day use of the machine.
10. Organize your dock: Drag applications from anywhere on the desktop into the dock for easy access at any time while uing your MacBook Air!
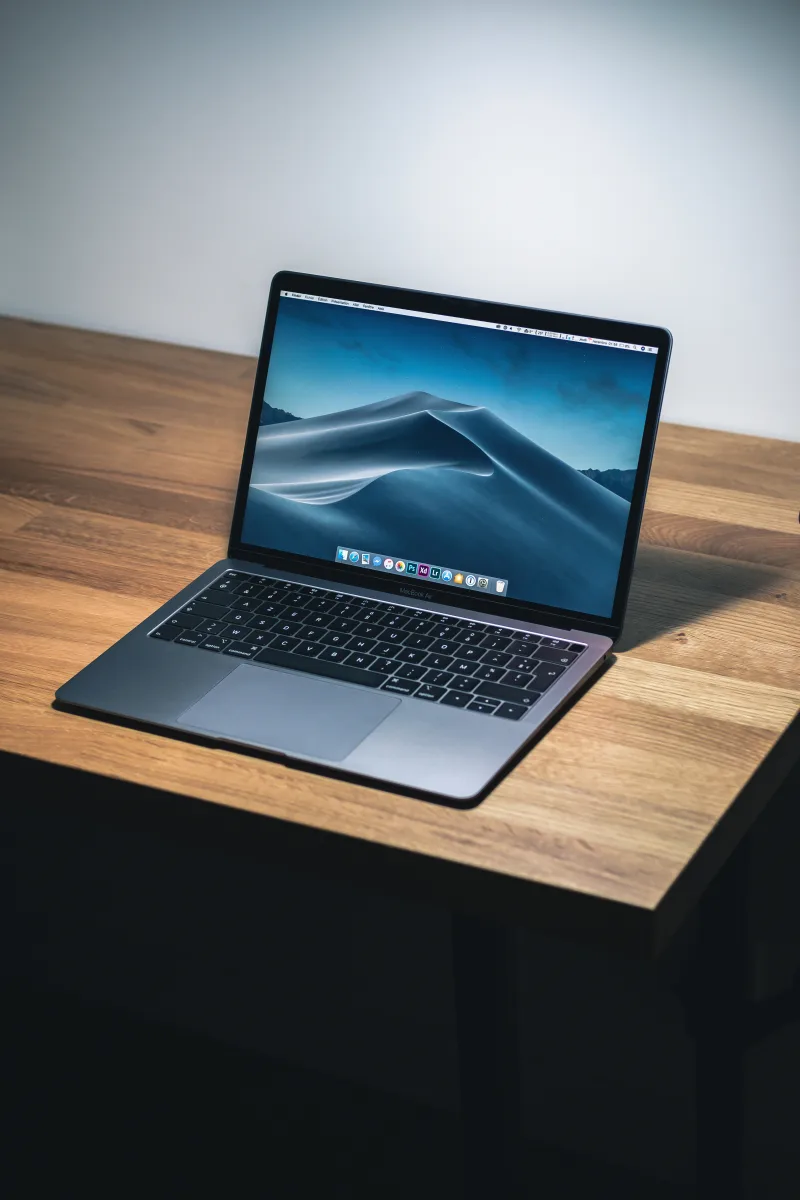
Setting Up a MacBook Air
Setting up a MacBook Air is very easy and straightforward. The Setup Assistant will guide you through the entire process, allowing you to personalize your Mac according to your preferences. You can skip some of the steps if you prefer, such as setting up Hey Siri or Touch ID. All in all, setting up a MacBook Air is a simple process that shoud take no more than a few minutes.
Getting Started With a MacBook Air
Getting started with your MacBook Air is easy! First, lift the lid or plug it into power. Once the laptop is powered on, you’ll see the Setup Assistant. Follow the prompts to complete setup and start using your laptop. You may need to enter your Apple ID and password, select a region and language, and set up security preferences. Once you’ve finished setting up your laptop, you’re ready to go!
Setting Up a MacBook Air
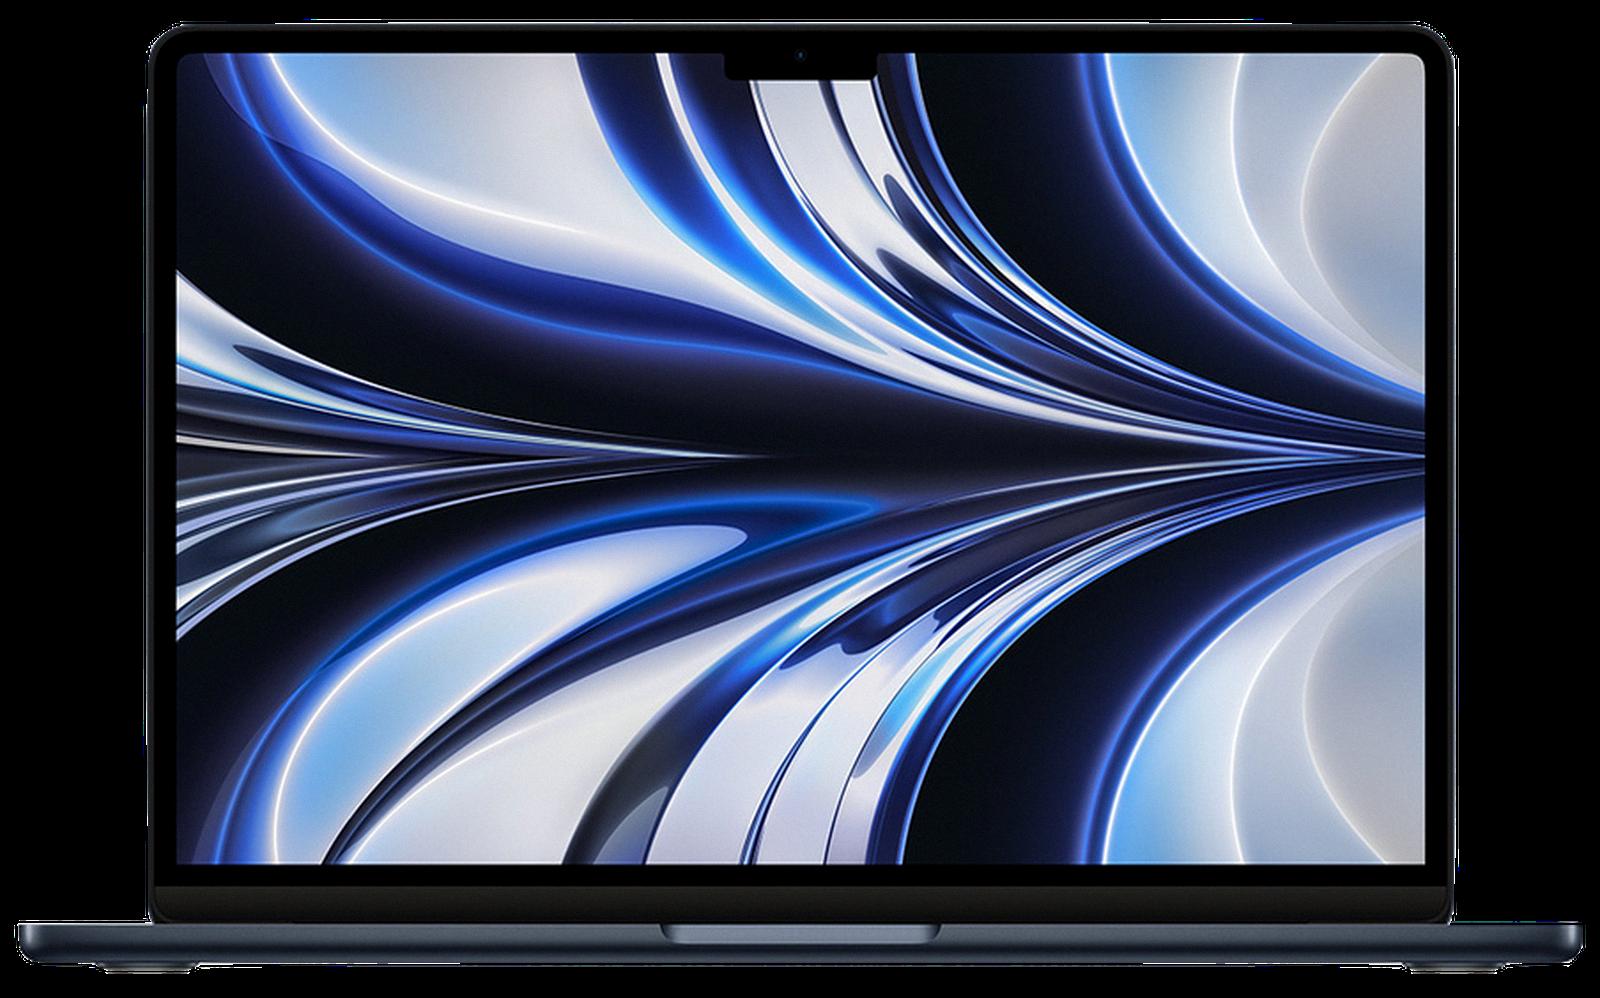
It generally takes around an hour to set up a MacBook Air, although the process may take longer if you are restoring your Mac from a Time Machine backup of anoher Mac.
To get started, you’ll need to connect your Mac to a power source and turn it on. From there, you’ll be guided through the setup process with instructions on the screen. The first step is to select your language and country or region. Next, you will create a user account and set up iCloud. This is followed by connecting your Mac to Wi-Fi and signing into other Apple services such as iTunes and App Store. Finally, you can choose how you want to customize your Mac’s settings and begin using it.
If you’re restoring from a Time Machine backup, the process will take longer than an hour as it involves copying files from the backup drive and setting up preferences for all of your applications. You may also need to re-download any applications that weren’t included in the backup.
Overall, setting up a MacBook Air shuld take around an hour—however, this time can vary depending on what steps are required for your particular setup.
Source: macrumors.com
Charging MacBook Air Before First Use
A: Yes, it is recommended that you charge your MacBook Air before first use. Before plugging the power adapter into an electrical outlet, ensure that the power adapter is the correct type and voltage for your MacBook Air. When you plug in the power adapter, a light on the power adapter should turn from orange (amber) to green when it is fully charged. It is best to let your laptop charge until the light turns green before using it for the first time.
Should I Leave My MacBook Air Plugged In?
Yes, you should keep your MacBook Air plugged in. Doing so will help ensure that the battery is properly charged and can maintain its full lifespan. By keeping it plugged in, you can also reduce the number of times you have to charge it, which can help preserve battery life. Additionally, keeping your MacBook Air plugged in may be beneficial for certin tasks like gaming or video editing as it can provide a more consistent power source.
Do I Need Antivirus Software on a Mac?
Yes, you do need antivirus software on a Mac. While Mac computers are generally considered more secure than Windows PCs, they are still vulnerable to viruses and other forms of malicious software. It’s important to understand that not all threats come from the internet—some malicious programs are downloaded when you install certain applications or connect to untrusted networks. Antivirus software can protect your Mac from these threats by scanning incoming files and emails for malicious code, blocking known malicious websites, and regularly updating its virus definitions to stay ahead of new threats. Additionally, some antivirus packages include features such as password managers and browser extensions that can improve your device’s overall security. Ultimately, uing an antivirus program is an important step in helping keep your Mac secure.
Installing Necessary Software on a New Mac
If you’re looking to set up your new Mac, there are a few essential apps that you should consider installing. Adobe Creative Cloud Photography is powerful software for editing and managing your photos, and Alfred is a great tool for creating shortcuts on your keyboard. Bear Notes is a simple note-taking app, while Deliveries helps you track shipments and packages. GIF Brewery 3 allws you to easily create GIFs from videos or images, while Moom lets you quickly reposition and resize windows on your screen. Paprika 3 is an excellent recipe manager, while Pixelmator Pro provides advanced image editing capabilities. Finally, don’t forget to install the latest version of macOS and any other browser or app that you use regularly.
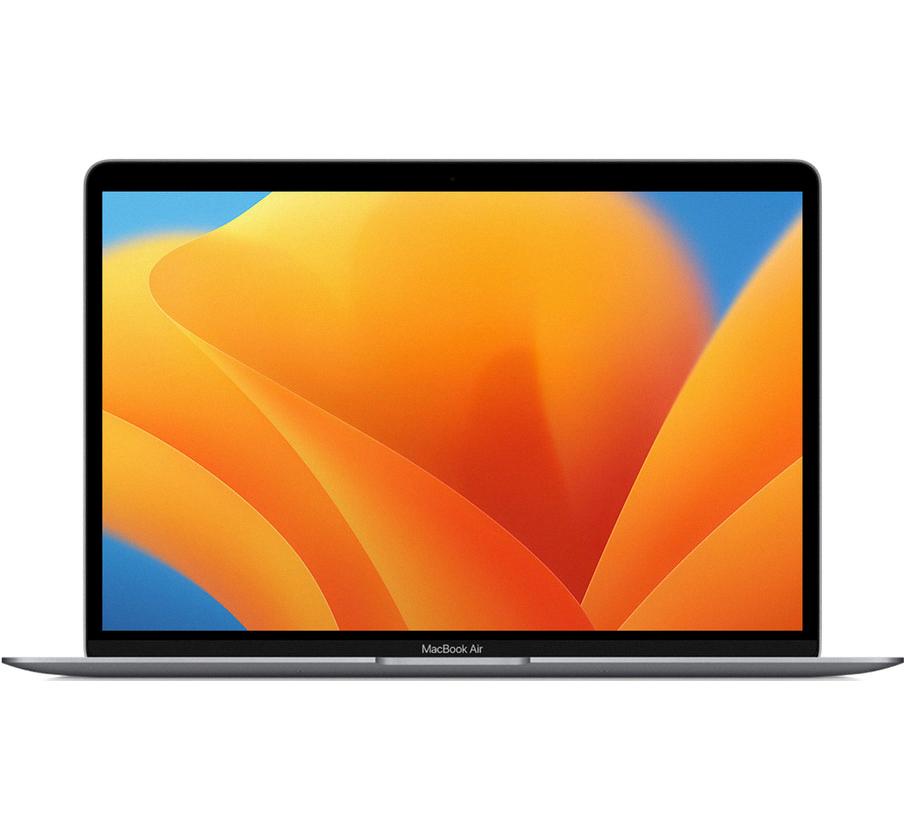
Source: apple.com
Transferring Data to a New Mac
When transferring your data to a new Mac, you’ll want to make sure to transfer all of the important files, folders, and settings that you use on a regular basis. This includes documents, photos, music, movies, contacts and email accounts. You’ll also want to transfer any applications you’ve purchased from the Mac App Store as well as any software licenses you may have acquired. Additionally, consider transferring important settings like system preferences and custom keyboard shortcuts. Lastly, if you’ve used iCloud Keychain or iCloud Drive on your old Mac it’s important to make sure that this informaton is transferred over as well.
Connecting to WIFI on a MacBook Air
To connect to Wi-Fi on your MacBook Air, first make sure that your Wi-Fi is turned on. This is done by opening the System Preferences from the Apple menu and then selecting Network. Then click Wi-Fi and make sure that the “Show Wi-Fi status in menu bar” box is checked. Next, open the Wi-Fi menu in your menu bar at the top of your screen and select the network you want to join. You may be prompted to enter a password if it’s a secured network, so be sure to enter the correct password before proceeding. Once you’ve entered the correct password, click Join and wait whie your MacBook Air connects to the network. Your MacBook Air is now connected to Wi-Fi!
Switching from PC to Mac: How Difficult Is It?
No, switching from PC to Mac isn’t hard at all. With Windows Migration Assistant, transferring your data is a simple process that only requires a few steps. All you need to do is connect both computers to the same network, open the Windows Migration Assistant on your PC, and then select the files you want to transfer. Once done, go to your Mac and open the Windows Migration Assistant where you’ll be able to see the files you selected for transfer. From there, just click “Transfer” and your data will be moved over in no time! After that’s complete, you can start downloading any software that would help with your business needs.
The Debate of Mac vs PC: Which is Better?
The answer to this question really depends on the user’s needs. PCs are generally better for hard-core gaming due to their better backwards compatibility and the large number of different systems and users. Macs, on the oher hand, are generally considered to be more user-friendly and provide a more integrated experience with their software ecosystem. Macs also have better security features, as they are not as vulnerable to viruses. Ultimately, it comes down to personal preference: if you’re looking for an easier to use system that is secure and integrated, then a Mac may be the best option; if you’re looking for a system that can handle hardcore gaming better, then a PC is likely your best bet.
Setting Up Mac: How Long Does It Take?
The setup process for macOS or a new Mac should take no more than 10 minutes to complete. However, if you find that your Mac is stuck on the ‘Setting Up Your Mac’ screen for longer than this, then there may be an issue preventing it from finishing the setup assistant. In this case, it’s best to contact Apple Support to troubleshoot the issue and ensure that your Mac is set up correctly.
Lifespan of a MacBook Air
MacBook Airs are reliable and well-designed machines, lasting an average of 7 years before needing replacement. However, if you’re using your Macbook Air for more intensive tasks like animation, photo editing, or gaming, its RAM and storage limitations may reduce its lifespan by a year or two. To help extend the life of your MacBook Air it’s important to perform regular maintenance including cleaning out dust and debris from the fan vents, closing down unused applications when not in use, and keeping software up to date. Additionally, using a good antivirus program can help protect your machine from malicious software that can slow down processing speeds. With proper care and maintenance you can ensure that your MacBook Air will continue to proide reliable performance for many years.
Charging Time for a New MacBook Air
It is recommended to charge your new MacBook Air for at least 3 hours before using it for the first time, and then let it charge until the charger light turns green. This typically takes between 4-5 hours. It is important to ensure your device is fully charged before use in order to get the most out of its battery life. After that, you can continue charging it as long as you like – just be sure to unplug it when it’s not in use.
How Often Should I Recharge My MacBook Air?
It is recommended that you charge your MacBook Air when the battery reaches 20-25% and unplug it when it reaches around 80-90%. This ensures that your MacBook Air’s battery is well balanced and keeps its longevity. You should also ensure you give the battery a full cycle at least once a month. This can be done by using the calendar event that Apple provies to remind you when to do so. The cycle consists of fully charging the battery, then draining it completely until the computer shuts off, and then charging it back up again. Doing this every month will help keep your battery in good condition for as long as possible.
Should I Unplug My MacBook Air When Fully Charged?
No, you do not need to unplug your MacBook Air when it is fully charged. The battery will stop charging automatically once it reaches full capacity. Continuing to leave the charger plugged in will not harm your laptop or battery.
Is Overnight Charging of MacBooks Safe?
Yes, it is generally safe to charge your MacBook Pro overnight. It’s best to use the original charger that came with your laptop and keep the charging cables in good condition. You should also make sure the laptop is in a well-ventilated area with plenty of airflow, as excessive heat can damage your battery over time. Additionally, if you notice any signs of damage such as extreme heat or swelling on your battery then you should avoid charging it overnight.
Finding the Best Virus Protection for a Macbook Air
The best virus protection for a Macbook Air is Bitdefender Antivirus for Mac. This reliable and lightweight antivirus program is easy to use and offers strong protection aainst malware and other online threats. It provides real-time scanning, automatic updates, and advanced ransomware protection. Additionally, it comes with a parental control feature that helps keep your children safe from inappropriate online content. Bitdefender also offers a free 30-day trial so you can test the service before committing to a subscription. Other top antivirus programs for Macbook Air include Norton 360 Standard, Avast Security for Mac, Trend Micro Antivirus for Mac, Intego Mac Internet Security X9, Sophos Home Premium, and McAfee Antivirus Plus.
Does a Macbook Include Microsoft Office?
Yes, Macbook does have Microsoft Office. It comes in the form of an app called Microsoft Office for Mac which includes Word, Excel, and PowerPoint. The macOS also provides built-in support for the latest version of Microsoft Exchange Server. The app is available to download from the Apple App Store, or you can purchase a physical copy of it from your local retailer. With this app, you can easily create professional-looking presentations, documents, and spreadsheets without any difficulty.
Essential Apps for a Macbook Air
If you have a Macbook Air, there are several essential apps that you should download to get the most out of your device.
First, Dropbox is a great app for storing and sharing documents, photos, and other files. It allows you to sync files across multiple devices and share them with others easily.
Next, Tweetbot is an excellent Twitter client that provdes an intuitive user interface, powerful filtering options, and the ability to customize many settings.
Microsoft Edge is a wlcome addition to Macbook Airs as it provides a secure web browsing experience with its built-in tracking protection feature.
Fantastical is a must-have calendar app for staying organized on the go. It has a simple design that makes it easy to view upcoming events at a glance.
1Password is another helpful tool for Mac users as it securely stores all of your passwords in one place and can even generate new ones when needed.
DaisyDisk is anoter great tool for managing hard drive space as it scans your system for large files that can be deleted or moved to free up space quickly and easily.
Bartender helps organize your menu bar by hiding infrequently used items out of sight while still allowing you to access them when needed.
Alfred is a powerful search tool that helps you find files quickly and save time when searching through folders on your Macbook Air.
Last but not least, Screens is an excellent remote access app which alows you to access all of your computers from any device with internet connection anywhere in the world!
What Apps Are Available for Macbook Air?
The Macbook Air cmes pre-installed with a variety of useful apps to help you stay productive, including Apple’s Pages and Numbers for word processing, Keynote for presentations, GarageBand for audio recording and editing, and iMovie for video editing. For more creative tasks, you can download the full suite of Adobe Creative Cloud apps like Photoshop, Illustrator, and Premiere Pro.
You can also access popular services like FaceTime, iCloud Drive, and iTunes from the Macbook Air. Popular third-party apps like Netflix, Spotify, and Slack are all available as well. If you’re looking to be more productive on your Macbook Air then check out the productivity apps like Trello or Evernote. For more leisurely activities you can download games from the App Store or explore other entertainment options like YouTube or Hulu.
Transferring Data From an Old Computer to a New Computer
Transferring your data from an old computer to a new one can seem like quite the daunting task. However, with the right steps and some patience, you can get everything moved over quickly and easily. The most common methods for transferring data are cloud storage or web data transfers, SSD and HDD drives via SATA cables, basic cable transfer, using software to speed up your data transfer, transferring your data over WiFi or LAN, and using an external storage device or flash drive.
To start off, you should make sure that both machines have the same operating system installed so that no compatibility issues arise during the transfer. Then, back up all of your current files on the old computer so that they will be easily accessible on the new machine. After this is done, you can begin transferring your files either thrugh cloud storage or web transfer services such as Google Drive or Dropbox. This is usually the quickest and easiest way to move your files over because it requires minimal effort on your part.
Alternatively, if you don’t want to use cloud storage services for whatever reason, you can use an external storage device such as a flash drive or hard drive to move everything from one machine to another. To do this, simply plug in your external device into both computers and then copy all of the necessary files onto it before moving them onto the new machine.
Finally, if these two options don’t work for you then you could try using software such as Laplink PCmover Express or EaseUS Todo PCTrans which will help automate the process of transferring all of your data from one computer to another. These programs take care of all of the tedious steps involved in manually moving things between machines and are excellent options if you don’t have a lot of time to spare.
Overall, transferring everything from an old computer to a new one doesn’t have to be a difficult task – just follow these simple steps and you should be able to move all of your important information with ease!
Troubleshooting Wi-Fi Connection Issues on MacBook Air
It’s possible that your MacBook Air isn’t connecting to Wi-Fi for sveral reasons. First, make sure you’re using the correct network and password. Then, run Wireless Diagnostics from the Utilities folder to identify any problems with the network connection. If that doesn’t work, check for any available software updates, as well as any physical damage to the hardware or incorrect DNS settings. You may also need to reset your PRAM and SMC or restart your Mac altogether.
Accessing the Internet on a MacBook Air Without Wi-Fi
If you do not have access to Wi-Fi, you can still get Internet access on your MacBook Air by using an Ethernet cable. To do this, connect one end of the Ethernet cable to the Ethernet port (identified by a symbol resembling a triangle with three curved lines) on your MacBook Air, and the other end to a modem or router that is connected to an Internet service provider. Alternatively, you coud also use a USB modem or mobile hotspot device to gain access to the Internet.
Troubleshooting MacBook Internet Connection Issues
There could be several reasons why your MacBook is not connecting to the internet. First, it may be a problem with your Internet Service Provider (ISP), so you should contact them to make sure that your connection is working properly. Additionally, there may be an issue with your Wi-Fi network setup or router settings, so check these to ensure they are configured correctly. Finally, if the connection is still not working, try restarting your Mac or renewing the DHCP lease to force it to reassign the internet address.
The Benefits of Owning a MacBook Air
The MacBook Air is a lightweight, portable laptop that offers a variety of benefits to its users. Its sleek design makes it aesthetically pleasing and easy to carry around, while its aluminum body makes it durable and resistant to wear and tear. Additionally, the battery life of the MacBook Air is impressive, with up to 12 hours of battery life on a single charge. This allows you to take your laptop with you wherever you need without having to worry about running out of power.
For tose who require more storage space, the MacBook Air comes with solid-state hard drives which provide faster performance than traditional hard drives and can store up to 1TB of data. Furthermore, AppleCare protection plans are available for purchase at an affordable price point that help protect your device in case something goes wrong.
Overall, the MacBook Air offers a sleek design, long-lasting battery life, solid-state hard drive storage capacity and additional protection through the AppleCare plan – making it an excellent choice for anyone looking for a reliable yet portable laptop.
How Long Do Macs Last?
The life span of a Mac can vary greatly depending on how often it is used, the type of usage, and the environment in which it is stored. Generally speaking, a Mac can last anywhere from five to eight years with proper care and maintenance. However, after five years, you may begin to experience difficulty obtaining parts for repair or replacement as Apple will no longer manufacture or sell those components. To maximize the life span of your Mac, keep it clean and dust-free by usig a compressed air canister or vacuum cleaner to rid of any buildup. Also make sure to regularly update your operating system and applications, use anti-virus software, and back up your data regularly. With these steps in place, you should be able to get many more years out of your Mac before needing a replacement.
Differences Between MacBook and Laptop
The main differences between a MacBook and a laptop are in their operating systems, design, hardware, and price. A MacBook runs on Apple’s macOS operating system, while a laptop typically runs on Microsoft Windows. Macs are generally more expensive than PCs due to their more premium design, higher-end components and software. They also offer a larger selection of apps and services designed specifically for Apple products. PCs tend to be less expensive than Macs, but they also come with an array of hardware options that are tailored towards different neds and budgets such as gaming or media creation. Additionally, Windows laptops can run many of the same programs as Macs, but some programs may require specific versions of Windows or additional hardware for optimal performance.
Setting Up Your New MacBook Air
1. Charge your MacBook Air: The first thing you should do when you get your MacBook Air is to make sure it’s charged up and ready to go. Plug the charger in and let it charge up for at least an hour or two before you start using it.
2. Set Up Your Mac: Once your Mac is charged, you’ll need to set it up. This includes signing in with your Apple ID, setting up iCloud, registering with Apple, and more. You can also choose whether or not to transfer data from anothr device during this process.
3. Download Software Updates: After setting up your Mac, the next step is to download any available software updates for your computer. This ensures that all the latest features are installed and that your system is secure from potential threats.
4. Customize Your Settings: Once the updates are installed, you can customize your Mac’s settings according to how you plan on using it most often. This includes changing the wallpaper, display settings, sound preferences, and more.
5. Install Applications: Now that everthing is set up and configured properly, you can start installing applications that will help make using your Mac easier and more efficient on a daily basis. Some popular choices include Office Suite (for productivity), Adobe Creative Cloud (for design work), iTunes (for music/video playback), and Dropbox (for cloud storage).
6. Explore the Dock: The dock on a MacBook Air cntains shortcuts to frequently used applications as well as running programs – so make sure to familiarize yourself with this area of the screen so that you can quickly access what you need when needed!
7 Back Up Important Files: Protecting your files is important no matter what kind of device you’re using – but especially so with a laptop like a MacBook Air which could be easily misplaced or stolen if not carefully monitored at all times! Utilizing an external hard drive or a cloud storage service such as Dropbox will help ensure that all of your important files remain safe even if somethng unexpected happens to your laptop itself.
8 Learn About Shortcuts & Gestures : One of the best things about having a laptop is being able to take advantage of shortcuts and other gestures to quickly access different menus or applications without having to manually search through them every time . Taking some time now to learn about these various shortcuts will save you lots of time in the future!
9 Familiarize Yourself With Spotlight : Spotlight is an incredibly usefl tool for searching for files on your computer quickly – so take some time now to get familiar with how it works so that you can use it effectively when needed!
10 Have Fun & Enjoy!: Last but not least – don’t forget why you got a MacBook Air in the first place…to have fun! So go ahead and explore all its features and capabilities while still taking care of important tasks such as backing up data regularly!
Setting Up a MacBook Air
Yes, setting up a MacBook Air is very easy. The Setup Assistant will guide you through each step of the setup process including connecting your Wi-Fi network, creating and protecting your user account, setting up iCloud, and more. You can even choose to skip certain steps (like setting up Hey Siri or Touch ID) if you want to do them at a lter time.
Conclusion
The Macbook Air is a popular laptop choice for many users due to its lightweight design, impressive battery life and powerful performance. It offers a range of features such as a high-resolution Retina display, an 8th Gen Intel Core processor and up to 16GB of RAM. The Macbook Air also has excellent storage capabilities with up to 1TB of SSD storage and with its long battery life it can povide hours of uninterrupted use. It is also compatible with the Touch ID feature for added security and convenience. Overall, the Macbook Air is an excellent choice for those looking for a lightweight laptop that offers great performance, long battery life and plenty of storage options.


