Facebook is one of the most popular social media platforms, allowing users to keep in touch with friends and family from arond the world. One of the key features of Facebook is the ability to manage your Friends list – a list of people you’re connected to on the platform. Whether you’re looking to add more friends or delete old contacts, managing your Friends list can be a breeze with these simple steps.
To begin, open up your Facebook account and click on the “Friends” tab on the left side of your home page. Once you’re there, you can begin editing your Friends list. To add new contacts, click on the “Add Friends” button at the top right corner of your page. Search for people by name or email address and click on their profile picture to send a friend request.
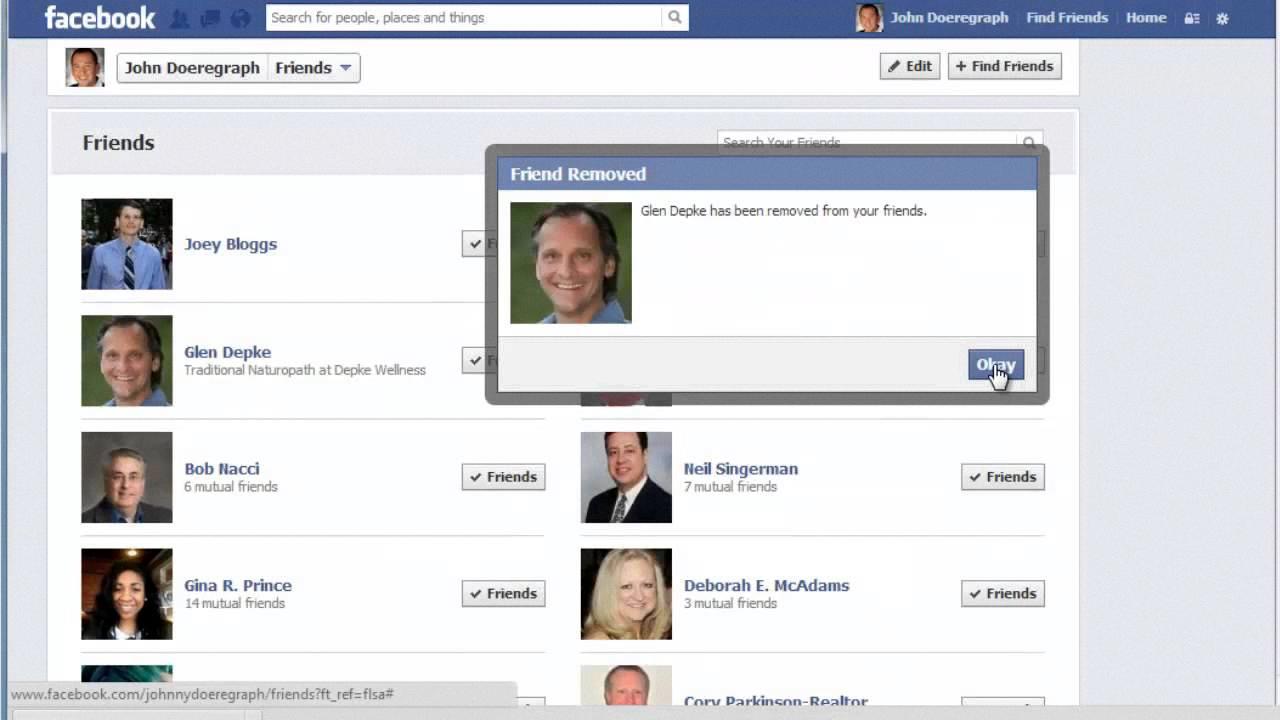
If you wish to remove someone from your Friends list, simply select their profile picture or name from the list and click on “Unfriend” at the top right corner of their profile page. You can also ban someone from seing your posts or sending messages by clicking on “Block” instead of unfriending them completely.

Finally, if you need to organize your friends into different categories for easier access, you can create custom Friend lists in just a few clicks. Click on “Create List” at the top right corner of your Friends page and enter a name for it. Then search for friends by name or email address and select them one-by-one to add them to this list.
Managing your Friends list doesn’t have to be complicated! With these simple steps, you can easily maintain an up-to-date Friend’s list so that you can stay connected with thse who matter most.
Editing a Custom Friends List on Facebook
To edit a custom friends list on Facebook, go to your Friends page and click the Custom Lists link. From there, select the list you want to edit and then click the Edit List Name option in the top right corner of the list’s page. Enter your new list name and click Save to save the changes. Please note that you cannot rename Close Friends, Acquaintances or Restricted lists.
Source: youtube.com
Controlling Friends List on Facebook
To control your friends list on Facebook, you can go to the Privacy Settings page and select Who can see your friends list? from the How People Find and Contact You section. From there, you can choose the audience of people (such as Friends) that you would like to have access to your friends list. You can also use the privacy shortcut menu in the top right corner of Facebook to quickly adjust who sees your friends list.
Editing Friends List on Facebook Mobile
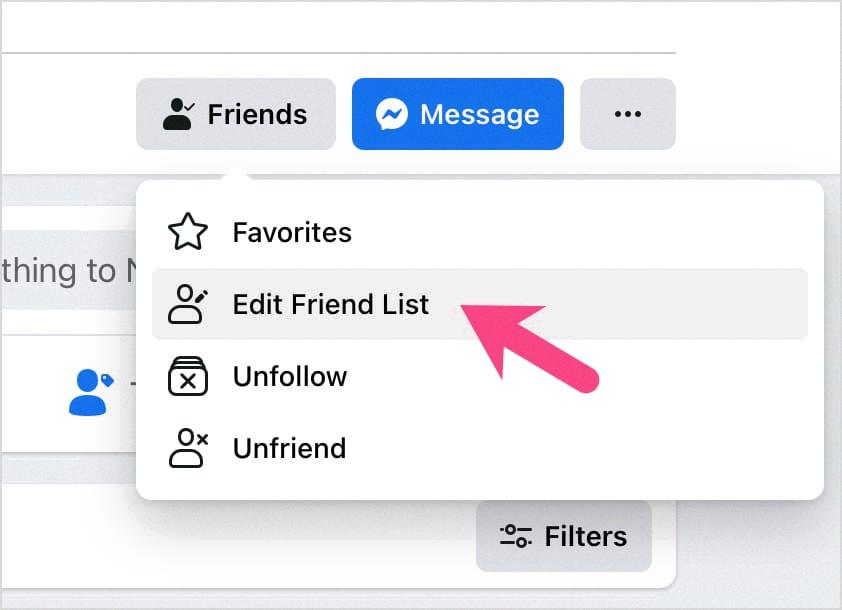
To edit your friends list on Facebook Mobile, open your profile and tap “Friends.” Then, tap “Edit Friend List” at the top of the page. This will open a list of all your custom friend lists and those generated by Facebook. You can then use the check mark next to each list’s name to select which friends should be added or removed from that list. When you are finished making changes, tap “Done” at the top rght of the page to save them.
Can My Custom Friends List Be Seen on Facebook?
No, people cannot see your custom friends list on Facebook. When creating custom friends lists, you can choose to make it private, which means that only you can see the list and its contents. You also have the option to share certain lists with specific friends or groups of friends on Facebook. Additionally, you can also choose to make certain lists public, which will allow anyone with a Facebook account to view the list and its contents.
Making a Friends List Private
To make your friends list private on Facebook, start by going to your profile page and clicking or tapping the “Friends” link. Then click on the edit button, which looks like a pencil, and select “Edit Privacy” from the drop-down menu. You will now be able to choose an audience for your list of friends. Selecting “Only Me” will ensure that only you can see your list of friends; no one else will be able to view it. Once you have made the desired changes, click the “Done” button at the bottom of the page to save thoe changes. Your privacy settings are now set and your friends list is secure.
Source: webtrickz.com
Editing Friends List on Facebook iPhone App
1. Go to your friend’s profile.
2. Tap below their profile picture.
3. Tap Friends.
4. Select Edit Friend Lists.
5. You will see a list of existing friend lists and can edit them by choosing which friends shuld be included in each list or creating new lists to add more friends too.
6. Once you’re done, tap Done to save your changes.
Editing a Custom List on Facebook Using an iPhone
To edit a custom list on Facebook on iPhone, first tap the list you want to edit. Your lists will apper under the “Friends” header at the center of the screen. Next, tap Manage List, which is the drop-down menu at the top-right corner of the screen. You will then see a list of names with check boxes next to them. Uncheck any names that you want to remove from your list, or check any names that you would like to add to your list. Finally, tap Done in the top-right corner when you are finished making changes.
Who Has Access to My Friends List?
By default, ayone with a Facebook account can see your friends list. However, you can customize who is able to view your list by adjusting your privacy settings. You can hide the list from specific people, while leaving it public to the rest of your friends. To do this, open up the “Privacy Settings” page and click on “Friends” in the sidebar. From there you can select which categories of people should be able to view or search for your friends list. You can also choose which individual people should be able to see it as well.
Editing Lists on an iPhone
To edit a list on your iPhone, start by tapping the list you want to edit. Then, tap the More button and select Show List Info. This will bring up a page whee you can change the list’s name, color, or icon. Once you’re finished making your changes, tap Done to save them.

